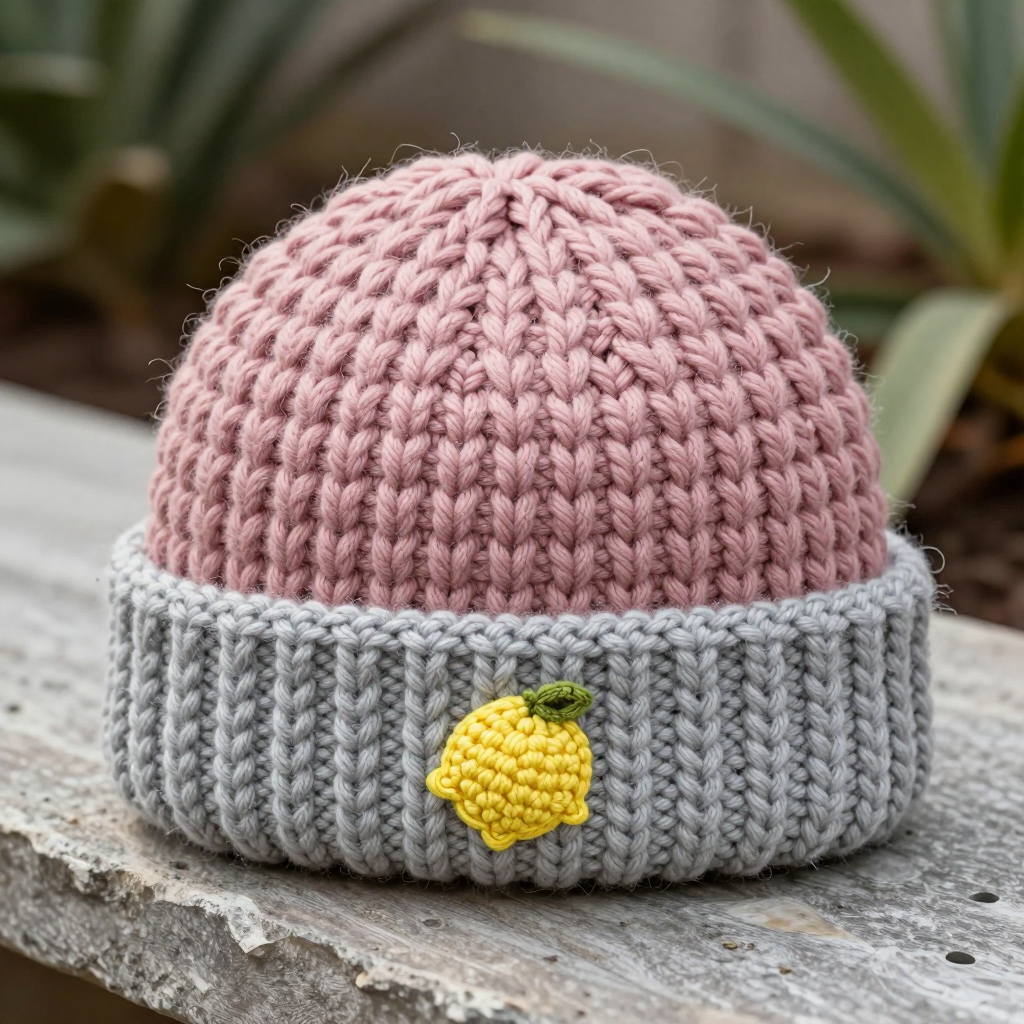
Willowmere Baby Bonnet Knitting Pattern – Free Pattern

Introducing the Willowmere Baby Bonnet: A Timeless Heirloom Knit
There is something truly special about creating a handmade garment for a new arrival. The Willowmere Baby Bonnet is designed to become one of those cherished pieces—a beautiful blend of delicate lace and cozy texture that wraps your little one in warmth and charm. This free knitting pattern is perfect for crafters of all levels, offering a rewarding project that produces a stunning, heirloom-quality result. With its soft, drapey fabric and classic silhouette, this bonnet is as practical as it is beautiful, making it a wonderful gift for a baby shower or a lovely addition to your own nursery collection.
This pattern guides you through creating a bonnet with a scalloped lace brim and a gently textured crown, all worked in a soft DK weight yarn. The step-by-step instructions are detailed and beginner-friendly, ensuring you can confidently create this timeless piece at home. Let’s gather your materials and begin knitting a little piece of history.
Materials Needed for Your Willowmere Bonnet
Before you cast on, ensure you have all the necessary supplies. This project uses simple, readily available materials that are easy to find at your local yarn shop or online.
Yarn
- Weight: DK weight (3) yarn
- Amount: Approximately 100-150 yards (92-137 meters)
- Suggested Yarn: Cascade Yarns 220 Superwash in a soft pastel like blush pink or buttery yellow. Any soft DK weight yarn will work beautifully.
Needles & Notions
- Circular Needle: US 6 (4.0 mm) circular needle with a 16-inch (40 cm) cord, for working the brim and body.
- Double-Pointed Needles (DPNs): US 6 (4.0 mm) double-pointed needles for the crown shaping decreases.
- Stitch Markers: At least 7 markers (one distinct for the beginning of the round, and 6 plain ones for the crown decreases).
- Tapestry Needle: For weaving in ends and finishing.
- Scissors
Gauge
22 stitches and 30 rows to 4 inches (10 cm) in stockinette stitch (after blocking). Always knit a gauge swatch to ensure your finished bonnet fits correctly. Adjust your needle size if necessary to achieve the correct gauge.
Step-by-Step Instructions: Knitting the Willowmere Bonnet
This pattern is worked from the brim up. You will first knit the lace brim back and forth, then join to work the body in the round, and finally shape the crown with decreases. Follow these detailed instructions carefully, and you'll have a beautiful bonnet in no time.
Finished Size
Newborn (0-3 months) – Fits head circumference of 13-14 inches (33-35.5 cm).
Abbreviations
- CO: Cast on
- K: Knit
- P: Purl
- K2tog: Knit two stitches together (right-leaning decrease)
- SSK: Slip, slip, knit (left-leaning decrease)
- YO: Yarn over (creates an increase and a hole for the lace pattern)
- PM: Place marker
- SM: Slip marker
- BO: Bind off
Part 1: The Lace Brim (Worked Flat)
The brim is worked back and forth in rows to create the delicate, scalloped lace edge.
- Cast On: CO 72 stitches using your preferred method (a long-tail cast-on works well).
- Row 1 (Right Side): K1, *YO, K2tog; repeat from * to the last stitch, K1. (This row creates the lace holes and a decorative edge.)
- Row 2 (Wrong Side): Purl all stitches.
- Repeat Rows 1-2 until the brim measures 1.5 inches (4 cm) from the cast-on edge, ending with a Wrong Side (purl) row. Tip: Count your rows to ensure both sides are even.
Part 2: The Bonnet Body (Worked in the Round)
Now you will join the work to knit in the round, creating the seamless body of the bonnet.
- Join in the Round: Carefully place a stitch marker (PM) at the beginning of the round. Join the work in the round, being extremely careful not to twist the stitches. The cast-on edge should form a clean circle.
- Round 1: Knit all stitches.
- Round 2: Purl all stitches. (This purl round creates a subtle textured ridge that contrasts beautifully with the lace brim.)
- Repeat Rounds 1-2 until the body measures 3.5 inches (9 cm) from the brim, ending with a purl round (Round 2).
Part 3: Crown Shaping (Decreases)
This section shapes the top of the bonnet to fit the baby's head. You will be decreasing stitches in a specific pattern to create a rounded crown.
- Place Markers: Place 6 markers evenly spaced around the work. Since you have 72 stitches, place a marker after every 12 stitches. (You will have your beginning-of-round marker plus 6 new markers.)
- Decrease Round 1: *K10, K2tog; repeat from * to the end of the round. (You will knit 10 stitches, then knit 2 together, working your way around. You will have decreased 6 stitches, leaving 66 stitches.)
- Round 2: Knit all stitches. (This is a plain round with no decreases.)
- Decrease Round 3: *K9, K2tog; repeat from * to the end of the round. (You now knit 9 stitches before the decrease. You will have 60 stitches.)
- Round 4: Knit all stitches.
- Continue Decreasing: Keep following this pattern—knitting one fewer stitch before each K2tog every other round. For example, the next decrease round would be *K8, K2tog*, then a knit round, then *K7, K2tog*, and so on. Continue this sequence until you have 12 stitches remaining on your needles.
- Final Decrease Round: K2tog around. (You will knit 2 stitches together all the way around, leaving you with 6 stitches.)
- Finish: Cut the yarn, leaving a 6-inch (15 cm) tail. Thread the tail onto a tapestry needle, slide the needle through the remaining 6 stitches, and pull tight to close the hole. Secure the yarn with a knot on the inside of the bonnet.
Part 4: Finishing Touches
- Weave in Ends: Use your tapestry needle to weave in all loose ends on the inside of the bonnet to keep the outside looking clean and polished.
- Blocking: Gently block the bonnet to shape. You can wet block it by soaking it in lukewarm water, gently squeezing out excess water, and laying it flat to dry on a towel, shaping it with your hands. This will help the lace pattern open up and the fabric to drape beautifully.
- Optional Ties: For a classic bonnet look, you can add ties at the bottom corners of the brim. Using a crochet hook, create a simple chain stitch tie (about 8-10 inches long) at each bottom corner of the brim. Alternatively, you can knit an I-cord for a sturdier tie. These ties help keep the bonnet securely on the baby's head.
Your Willowmere Baby Bonnet is now complete! This beautiful, handcrafted piece is ready to be gifted or treasured. The combination of the delicate lace brim and the cozy, textured crown makes it a truly special garment that will be loved for years to come. Happy knitting!