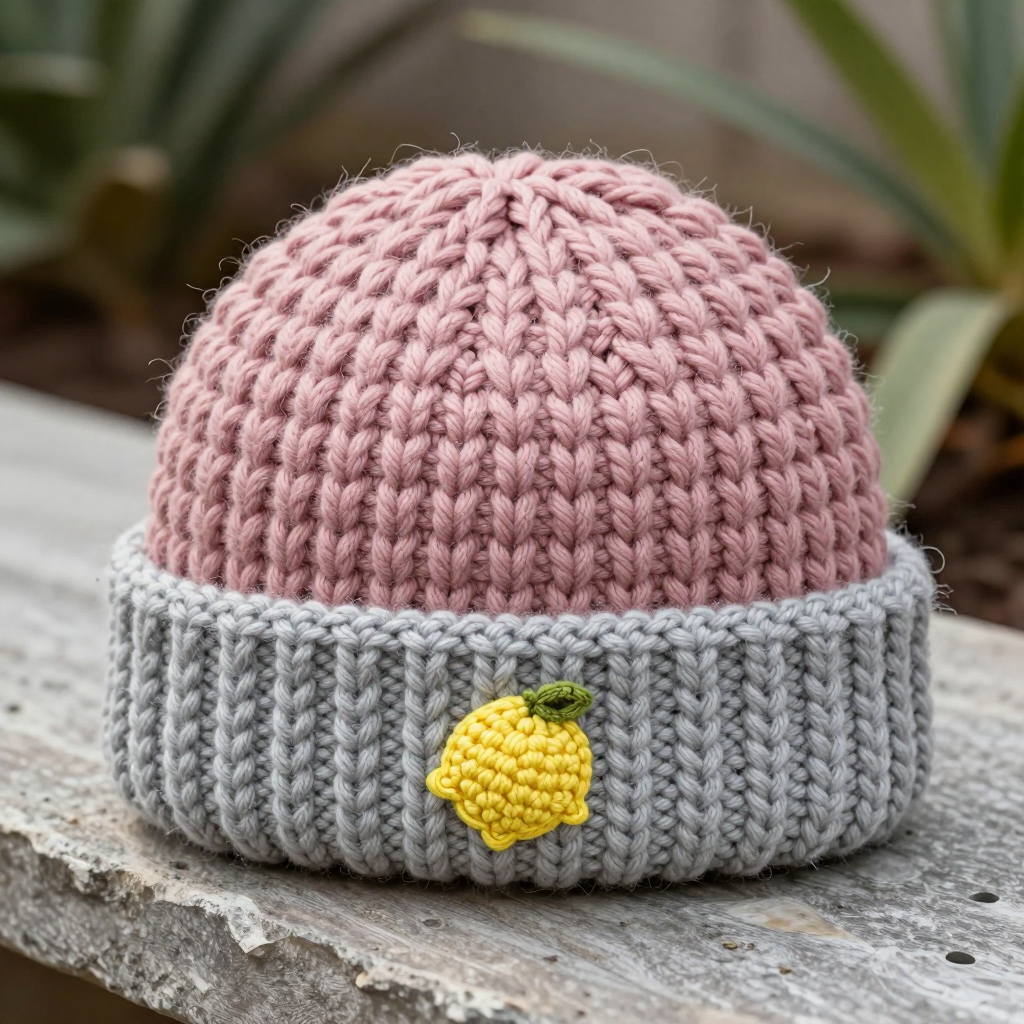
Berry Blossom Baby Bonnet Free Pattern

Berry Blossom Baby Bonnet: A Free Knitting Pattern for a Modern Heirloom
There's something truly magical about knitting for a little one. The softness of the yarn, the tiny scale of the project, and the thought of wrapping a precious new life in something handmade—it's a craft filled with love. Today, I'm thrilled to share a pattern that captures all that magic: the Berry Blossom Baby Bonnet. This isn't just any baby hat; it's a modern heirloom piece, knitted in a dreamy blush pink with a delicate berry lace texture and finished with charming sage green leaves. Whether you're a seasoned knitter looking for a quick, satisfying project or a beginner ready for a beautiful challenge, this bonnet is a joy to create. Let's dive into this delightful pattern and craft something truly special.
Materials Needed
Before we cast on, let's gather our supplies. This project uses simple, readily available materials, making it perfect for a spontaneous knitting session.
- Yarn: DK weight yarn in blush pink (approximately 100g) and a small amount of sage green yarn for the leaves. A soft, merino or cotton blend would be lovely and gentle against a baby's skin.
- Needles: US 6 (4.0 mm) knitting needles. You can use straight needles or circular needles for the flat knitting; whichever you prefer.
- Notions: A tapestry needle for weaving in ends and sewing seams, and a stitch marker (optional but helpful).
- Gauge: 22 stitches and 30 rows = 4 inches in stockinette stitch. It's always a good idea to check your gauge to ensure the perfect fit!
Step-by-Step Instructions
This pattern is worked flat from the front edge to the back, then seamed. Don't be intimidated by the lace pattern—it's a simple repeat that creates a stunning, textured fabric. Let's get started!
Sizes & Abbreviations
Sizes: 0-3 (3-6) months. Finished head circumference: 14 (15) inches.
Abbreviations:
- K = knit
- P = purl
- K2tog = knit two stitches together (decrease)
- SSK = slip, slip, knit (decrease)
- YO = yarn over (increase)
- PM = place marker
- SM = slip marker
Bonnet Body (Worked Flat)
We'll begin by casting on and creating the seed stitch brim, then move into the beautiful berry lace pattern.
Cast On: With your blush pink yarn, cast on 70 (76) stitches.
Seed Stitch Brim:
- Row 1 (RS): K1, *P1, K1; repeat from * to end.
- Row 2 (WS): P1, *K1, P1; repeat from * to end.
Repeat these two rows until the brim measures 1 inch from the cast-on edge. This creates a neat, stretchy, and non-curling edge.
Increase Row (RS): K across, increasing 6 (8) stitches evenly spaced. You should now have 76 (84) stitches on your needle. A simple way to increase is to knit into the front and back of a stitch (KFB).
Begin Berry Lace Pattern
Now for the star of the show! This 8-row repeat creates the delicate, textured berry pattern. Follow these rows carefully.
- Row 1 (RS): K1, *K2tog, YO, K1, YO, SSK, K3; repeat from * to last 3 stitches, K3.
- Row 2 (WS): Purl all stitches.
- Row 3 (RS): K1, *K1, YO, K3, YO, K2; repeat from * to last 3 stitches, K3.
- Row 4 (WS): Purl all stitches.
- Row 5 (RS): K1, *K2tog, YO, K1, YO, SSK, K3; repeat from * to last 3 stitches, K3.
- Row 6 (WS): Purl all stitches.
- Row 7 (RS): K1, *K1, YO, K3, YO, K2; repeat from * to last 3 stitches, K3.
- Row 8 (WS): Purl all stitches.
Repeat these 8 rows until the piece measures 4.5 (5) inches from the cast-on edge, ending with a wrong-side row (Row 2, 4, 6, or 8).
Shape the Crown
Now we'll decrease to shape the rounded crown of the bonnet. This section is straightforward and creates a beautiful curve.
- Row 1 (RS): K1, *K2tog, K4; repeat from * to last 3 stitches, K3. (64 (71) stitches)
- Row 2 (WS): Purl all stitches.
- Row 3 (RS): K1, *K2tog, K3; repeat from * to last 3 stitches, K3. (52 (58) stitches)
- Row 4 (WS): Purl all stitches.
- Row 5 (RS): K1, *K2tog, K2; repeat from * to last 3 stitches, K3. (40 (45) stitches)
- Row 6 (WS): Purl all stitches.
- Row 7 (RS): K1, *K2tog, K1; repeat from * to last 3 stitches, K3. (28 (32) stitches)
- Row 8 (WS): Purl all stitches.
- Row 9 (RS): K1, *K2tog; repeat from * to last 3 stitches, K3. (16 (18) stitches)
Cut your yarn, leaving a long tail (about 12 inches). Thread this tail onto your tapestry needle and slip it through the remaining stitches on your knitting needle. Gently pull tight to gather the crown, and secure with a knot.
Finishing the Bonnet
Now for the final assembly. This is where your bonnet comes together!
- Sew the Back Seam: With your tapestry needle and the yarn tail, sew the back seam of the bonnet, from the crown down to the brim. Use a mattress stitch or whip stitch for a neat, flat seam. Weave in all loose ends.
Knitted Leaf Trim (Make 2)
These adorable leaves add the perfect botanical touch. They're quick to knit and simple to shape.
Cast On: With your sage green yarn, cast on 5 stitches.
- Row 1 (RS): K2, YO, K1, YO, K2. (7 stitches)
- Row 2 (WS): Purl all stitches.
- Row 3 (RS): K3, YO, K1, YO, K3. (9 stitches)
- Row 4 (WS): Purl all stitches.
- Row 5 (RS): K4, YO, K1, YO, K4. (11 stitches)
- Row 6 (WS): Purl all stitches.
- Row 7 (RS): K2tog, K7, SSK. (9 stitches)
- Row 8 (WS): Purl all stitches.
- Row 9 (RS): K2tog, K5, SSK. (7 stitches)
- Row 10 (WS): Purl all stitches.
- Row 11 (RS): K2tog, K3, SSK. (5 stitches)
- Row 12 (WS): Purl all stitches.
- Row 13 (RS): K2tog, K1, SSK. (3 stitches)
- Row 14 (WS): Purl all stitches.
- Row 15 (RS): K2tog, SSK. (1 stitch)
Cut yarn, pull through the last stitch, and weave in the ends.
Attach the Leaves
Using your tapestry needle and the green yarn tails, sew one leaf to each side of the bonnet's front edge, right at the brim. Angle them slightly outward for a blossoming effect. Weave in all remaining ends.
And there you have it—a beautiful, heirloom-quality Berry Blossom Baby Bonnet! The delicate lace pattern and charming leaf trim make it a truly special gift for a baby shower or a lovely project for your own little one. The soft pink and green color palette is timeless, and the textured knit is as delightful to create as it is to behold. Happy knitting!