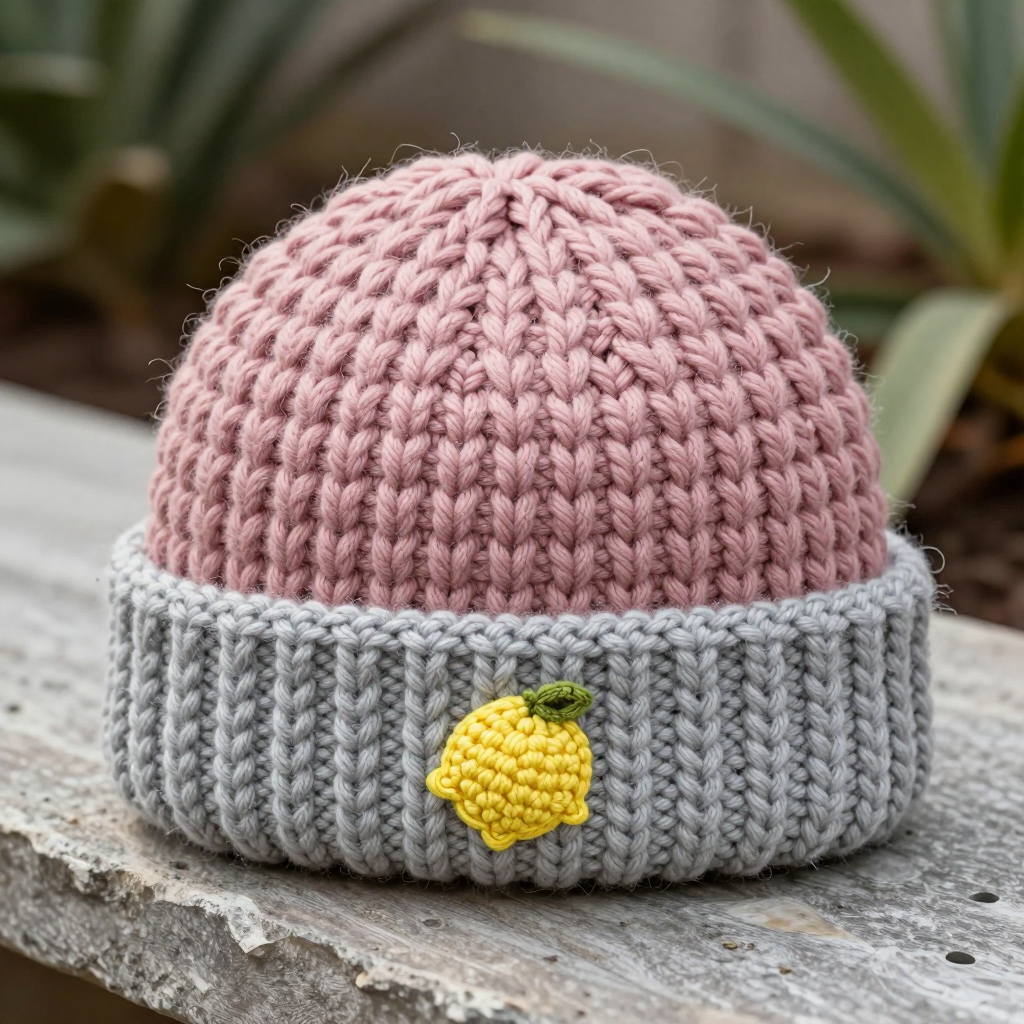
Whirlwind Whimsy Baby Hat Free Pattern

Whirlwind Whimsy Baby Hat: A Free Knitting Pattern for a Mesmerizing Spiral
There's something truly magical about knitting for a little one—each stitch is a tiny wish for warmth, comfort, and sweet dreams. The Whirlwind Whimsy Baby Hat captures that magic in a captivating spiral pattern that seems to dance around the crown. This pattern is a joy for knitters of all skill levels, thanks to its bulky yarn and simple stitch work. The result is a cozy, textured beanie with a snug ribbed brim and an eyelet spiral that's as fun to create as it is to gift. Whether you're a seasoned maker or picking up needles for the first time, this pattern is designed to be your new favorite quick project.
In this guide, we'll walk you through everything you need to know—from gathering your materials to the final gather at the crown. We'll provide detailed, step-by-step instructions for both newborn and 3-6 month sizes, ensuring a perfect fit for your little whirlwind. Let's cast on and create something beautiful!
Materials Needed
Before you begin, gather these simple supplies. The beauty of this pattern lies in its simplicity—you only need a few essentials to create a stunning hat.
Yarn
- Weight: Bulky weight yarn (Category 5)
- Yardage: Approximately 100 yards for newborn size; 120 yards for 3-6 months size.
- Fiber suggestion: A soft, machine-washable wool or acrylic blend works wonderfully. The sample uses a soft pastel lavender, but any color will shine.
Needles
- US Size 10.5 (6.5 mm) 16-inch circular knitting needles—for the main body of the hat.
- US Size 10.5 (6.5 mm) double-pointed needles (DPNs)—for the crown shaping when the circumference gets too small for the circular needle.
- Note: If you prefer, you can use the magic loop method with a longer circular needle instead of DPNs.
Other Tools
- Stitch marker (to mark the beginning of the round)
- Tapestry needle (for weaving in ends)
- Scissors
Gauge
- 14 stitches and 20 rows = 4 inches in stockinette stitch (knit every round).
- Pro Tip: Always knit a gauge swatch to ensure your hat matches the intended size. If your gauge is off, adjust your needle size accordingly.
Step-by-Step Instructions
This pattern is worked in the round from the bottom up. We'll start with the ribbed brim, then move into the mesmerizing spiral pattern, and finish with the crown shaping. Follow along carefully, and you'll have a beautiful hat in no time.
Newborn Size (Approx. 13" Circumference)
Step 1: Cast On
Using your 16-inch circular needle, cast on 56 stitches. Place a stitch marker on the right-hand needle to mark the beginning of the round. Join in the round, being very careful not to twist your stitches. The cast-on edge should lie flat and smooth around the needle.
Step 2: Ribbing
Work the ribbing pattern: K1, P1 (knit 1, purl 1) around for 6 rounds. This creates a snug, stretchy brim that will keep the hat securely on your baby's head. After the 6th round, you'll be ready to start the spiral.
Step 3: Spiral Pattern
The spiral is created by a repeating sequence of knit, knit-two-together (k2tog), and yarn over (yo). The k2tog and yo work together to create the eyelet holes and the diagonal twist that forms the spiral. Follow these rounds exactly:
- Round 1: *K6, k2tog, yo*; repeat from * to * around. (56 stitches)
- Round 2: Knit all stitches.
- Round 3: *K5, k2tog, yo*; repeat from * to * around. (56 stitches)
- Round 4: Knit all stitches.
- Round 5: *K4, k2tog, yo*; repeat from * to * around. (56 stitches)
- Round 6: Knit all stitches.
- Round 7: *K3, k2tog, yo*; repeat from * to * around. (56 stitches)
- Round 8: Knit all stitches.
- Round 9: *K2, k2tog, yo*; repeat from * to * around. (56 stitches)
- Round 10: Knit all stitches.
- Round 11: *K1, k2tog, yo*; repeat from * to * around. (56 stitches)
- Round 12: Knit all stitches.
- Round 13: *K2tog, yo*; repeat from * to * around. (56 stitches)
- Round 14: Knit all stitches.
Note: The stitch count remains at 56 throughout the spiral because the k2tog (decrease) is paired with the yo (increase). This keeps the fabric flat while creating the beautiful eyelet pattern.
Step 4: Crown Shaping
Now it's time to shape the top of the hat. Switch to your double-pointed needles when the circular needle becomes too long to work comfortably (usually after Round 15).
- Round 15: *K2tog*; repeat from * to * around. (28 stitches)
- Round 16: *K2tog*; repeat from * to * around. (14 stitches)
- Round 17: *K2tog*; repeat from * to * around. (7 stitches)
Step 5: Finishing
Cut the yarn, leaving a long tail (about 8-10 inches). Thread the tail onto a tapestry needle. Slide the needle through the remaining 7 stitches, removing them from the knitting needle. Pull the yarn tight to gather the crown closed. Secure the yarn with a knot on the inside of the hat. Weave in all loose ends using the tapestry needle.
3-6 Months Size (Approx. 17" Circumference)
Step 1: Cast On
Using your 16-inch circular needle, cast on 72 stitches. Place a stitch marker and join in the round, being careful not to twist.
Step 2: Ribbing
Work K1, P1 ribbing for 8 rounds. This slightly longer brim provides a bit more coverage for a growing baby.
Step 3: Spiral Pattern
Follow this extended spiral sequence. Notice how it starts with K8 and gradually decreases the knit count before the k2tog, creating a more gradual spiral for the larger size.
- Round 1: *K8, k2tog, yo*; repeat from * to * around. (72 stitches)
- Round 2: Knit all stitches.
- Round 3: *K7, k2tog, yo*; repeat from * to * around. (72 stitches)
- Round 4: Knit all stitches.
- Round 5: *K6, k2tog, yo*; repeat from * to * around. (72 stitches)
- Round 6: Knit all stitches.
- Round 7: *K5, k2tog, yo*; repeat from * to * around. (72 stitches)
- Round 8: Knit all stitches.
- Round 9: *K4, k2tog, yo*; repeat from * to * around. (72 stitches)
- Round 10: Knit all stitches.
- Round 11: *K3, k2tog, yo*; repeat from * to * around. (72 stitches)
- Round 12: Knit all stitches.
- Round 13: *K2, k2tog, yo*; repeat from * to * around. (72 stitches)
- Round 14: Knit all stitches.
- Round 15: *K1, k2tog, yo*; repeat from * to * around. (72 stitches)
- Round 16: Knit all stitches.
- Round 17: *K2tog, yo*; repeat from * to * around. (72 stitches)
- Round 18: Knit all stitches.
Step 4: Crown Shaping
Switch to double-pointed needles when needed.
- Round 19: *K2tog*; repeat from * to * around. (36 stitches)
- Round 20: *K2tog*; repeat from * to * around. (18 stitches)
- Round 21: *K2tog*; repeat from * to * around. (9 stitches)
Step 5: Finishing
Cut the yarn, leaving a long tail. Thread the tail through the remaining 9 stitches, pull tight, and secure. Weave in all ends.
Tips for a Perfect Finish
- Keep your tension even: The spiral pattern relies on consistent tension to create its hypnotic effect. Try to knit each stitch with the same gentle firmness.
- Count your stitches: After each spiral round, take a moment to count your stitches. It's easy to accidentally drop a yarn over or miss a k2tog, and catching it early saves time.
- Blocking (optional): While not strictly necessary, lightly blocking your finished hat can help even out the stitches and give the spiral a more polished look. Simply wet the hat, gently squeeze out excess water, and lay it flat to dry in the desired shape.
- Make it your own: This pattern is a blank canvas! Try a variegated yarn to make the spiral pop, or add a pom-pom to the crown for extra whimsy.
And there you have it—a beautiful, cozy Whirlwind Whimsy Baby Hat that's ready to keep a little head warm. This pattern is a wonderful way to practice your decreases and yarn overs while creating a truly special handmade gift. Whether you're knitting for your own baby, a grandchild, or a friend's new arrival, this hat is sure to be cherished.
Happy knitting, and enjoy watching that spiral whirl to life!