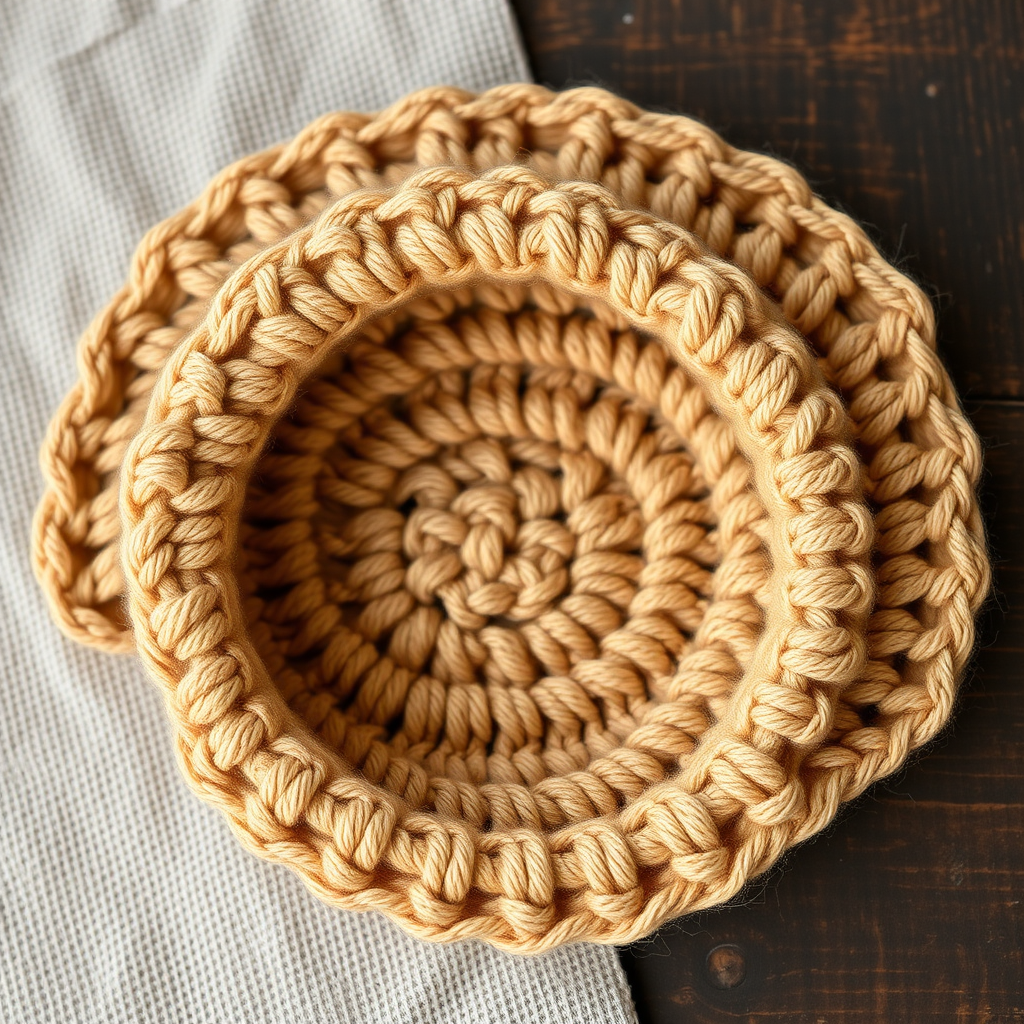
Whispering Pines Texture Stitch Free Pattern
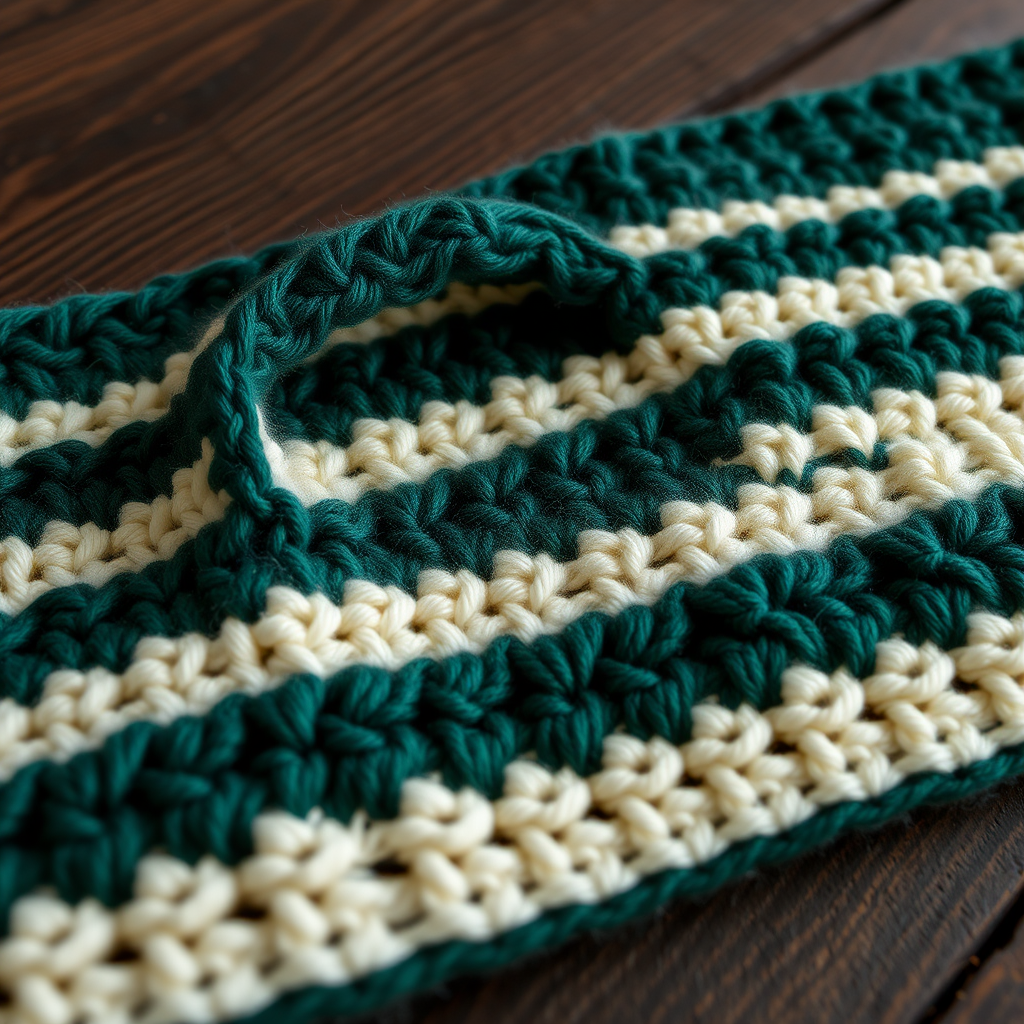
Introducing the Whispering Pines Texture Stitch
Imagine the gentle rustle of pine needles in a cool forest breeze, the earthy scent of moss, and the cozy warmth of a cabin retreat. That's the feeling you'll capture with the Whispering Pines Texture Stitch—a modern crochet pattern that transforms simple single crochet and chain stitches into a dense, beautifully textured fabric.
This stitch is a dream for beginners and experienced makers alike. It's easy to memorize, works up quickly, and creates a fabric that's both cozy and sturdy—perfect for scarves, blankets, sweaters, and even home décor like throw pillows. The subtle ribbed effect mimics the vertical lines of pine bark, while the alternating solid and open spaces add a touch of visual interest without being fussy.
In this tutorial, I'll walk you through everything you need to know to master this pattern, including materials, gauge, and step-by-step instructions with clear explanations. By the end, you'll have a gorgeous swatch (or the start of a beautiful project) that feels like a walk in the woods.
Materials Needed
Before you begin, gather these simple supplies. The beauty of this pattern is that it uses basic materials you likely already have in your stash.
- Yarn: Worsted weight yarn in two complementary colors. The sample uses Forest Green and Cream, but feel free to choose your own palette—think earthy tones like sage, taupe, or even a rich burgundy for a fall vibe.
- Crochet Hook: 5.5 mm hook (US I-9). This size pairs perfectly with worsted weight yarn to create a dense, plush fabric.
- Scissors for cutting yarn.
- Tapestry needle for weaving in ends.
- Stitch markers (optional, but helpful for keeping track of your rows).
Gauge: 14 stitches and 12 rows = 4 inches in pattern stitch. This gauge is important if you're making a garment, but for a scarf or blanket, you can be a bit more relaxed.
Step-by-Step Instructions
This pattern is worked in a simple repeat of two rows, making it perfect for mindless, relaxing crochet. Let's break it down.
Getting Started: The Foundation Chain
To begin, make a slip knot and chain a multiple of 2 + 1. For a scarf, a good starting point is 21 chains (which gives you 20 stitches in the first row). If you're making a blanket, chain more—just remember the formula: any even number + 1.
Row 1: The Base Row
This row sets the foundation for the entire pattern.
- Insert your hook into the 2nd chain from your hook.
- Yarn over and pull up a loop. You now have two loops on your hook.
- Yarn over again and pull through both loops. You've made your first single crochet (sc).
- Continue making 1 sc in each chain across the row. You should have 20 sc total.
- Chain 1 and turn your work.
Tip: Keep your tension even. This row determines how straight your edges will be.
Row 2: Creating the Open Spaces
This is where the magic begins! You'll be creating little chain-1 spaces that give the fabric its texture.
- Chain 1 (this does not count as a stitch).
- Make 1 sc in the first stitch of the row.
- Now, chain 1, then skip the next stitch.
- Make 1 sc in the next stitch.
- Repeat the sequence: *chain 1, skip 1 stitch, sc in next stitch* all the way across the row.
- You'll end with a sc in the last stitch. Chain 1 and turn.
Note: You'll notice that you're skipping stitches, but don't worry—they'll be filled in on the next row.
Row 3: Filling in the Gaps
Now we're going to work into those chain-1 spaces to create a solid, dense fabric.
- Chain 1 (again, not counted as a stitch).
- Make 1 sc in the first stitch.
- Now, look for the chain-1 space from the previous row. It looks like a little hole. Insert your hook into that space (not into a stitch) and make 1 sc.
- Next, make 1 sc in the next sc (the one you made in Row 2).
- Repeat the sequence: *sc in next chain-1 space, sc in next sc* across the row.
- You should end with 20 sc again. Chain 1 and turn.
This is the "filling" row. It's what gives the fabric its dense, cozy feel.
Row 4: Repeat Row 2
You're now in the rhythm! Row 4 is exactly the same as Row 2.
- Chain 1.
- Sc in first stitch.
- *Chain 1, skip next stitch, sc in next stitch* across.
- Chain 1 and turn.
Row 5: Repeat Row 3
And Row 5 is the same as Row 3.
- Chain 1.
- Sc in first stitch.
- *Sc in next chain-1 space, sc in next sc* across.
- Chain 1 and turn.
The Repeat Pattern
From here on, you'll simply repeat Rows 2-5 until your piece reaches the desired length. The pattern is incredibly rhythmic—once you get the hang of it, you won't even need to look at your pattern.
Changing Colors
One of the most charming features of the Whispering Pines swatch is the color blocking. Here's how to change colors seamlessly:
- Work your row until you're ready to make the last stitch of that row.
- Insert your hook, yarn over, and pull up a loop. You'll have two loops on your hook.
- Instead of finishing the stitch with your current color, yarn over with the new color and pull through both loops.
- Chain 1 with the new color and continue with the next row.
This technique creates a clean, invisible color change with no knots.
Finishing Your Project
When you've reached your desired length, it's time to finish off.
- Cut your yarn, leaving a tail of about 6 inches.
- Yarn over and pull through the loop on your hook to secure the stitch.
- Thread the tail onto a tapestry needle and weave it in through the back of your work, going in and out of stitches for about 2 inches.
- Trim any excess yarn.
Blocking for Perfection
Blocking is the final step that will make your stitches look even and professional.
- Lay your piece flat on a blocking mat or towel.
- Lightly mist it with water (or use a steam iron held a few inches above the fabric—don't touch it directly).
- Gently stretch the fabric to even out the stitches and pin it in place if needed.
- Let it dry completely before removing pins.
Blocking helps the fabric relax and settle, making the texture look even more beautiful.
Project Ideas & Final Thoughts
The Whispering Pines Texture Stitch is incredibly versatile. Here are a few ideas to get you started:
- Cozy Scarf: Use the 21-chain foundation and work until the scarf is about 60 inches long. Add fringe for extra charm.
- Baby Blanket: Chain 81 (for a 40-inch wide blanket) and work until you reach your desired length. The dense fabric is perfect for warmth.
- Throw Pillow Cover: Create two panels, seam them together, and insert a pillow form.
- Sweater Panels: Use this stitch for a rustic, textured cardigan or pullover.
I hope you enjoy working with this pattern as much as I do. It's one of those stitches that feels like a hug—simple, warm, and endlessly comforting. Happy crocheting, and may your yarn always be tangle-free!