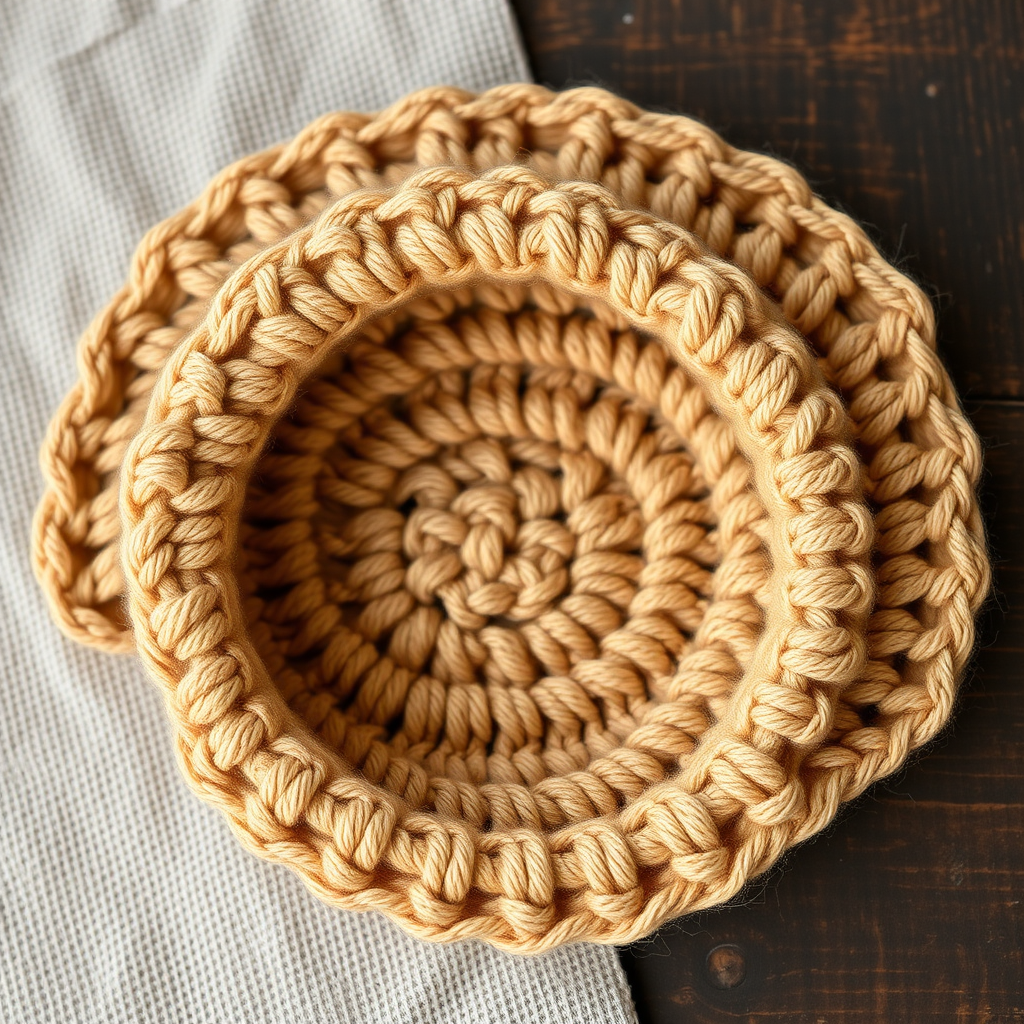
Cloud Nine Double Crochet Decrease Stitch Free Pattern

Master the Art of Shaping: The Cloud Nine Double Crochet Decrease (dc2tog) Pattern
Welcome to a world of seamless shaping and airy elegance! If you've ever wanted to add gentle curves to your wearable crochet projects—think flattering waistlines, beautifully sloped shoulders, and perfectly contoured armholes—you've come to the right place. Today, we're diving deep into the Cloud Nine Double Crochet Decrease, a technique that creates a soft, almost invisible decrease, blending flawlessly into your fabric. This is the "dc2tog" (double crochet two together) method, and it's a game-changer for any crocheter looking to elevate their work from simple squares to sophisticated garments. This beginner-friendly stitch pattern is your ticket to professional-looking finishes, and I'm here to guide you through every single loop and pull.
Why You'll Love This Decrease Stitch
Unlike some decreases that leave noticeable gaps or bulky ridges, the Cloud Nine technique is celebrated for its smooth, flat finish. It leans subtly to the right, creating a gentle, organic line that mimics the natural drape of fabric. Whether you're shaping a cozy sweater, a chic top, or even adding decorative details to accessories, this stitch ensures your decreases are as beautiful as they are functional. It's the secret weapon for a polished, handmade look.
Materials Needed: Your Cloud Nine Toolkit
Before we begin, let's gather our supplies. For this practice session, you'll need just a few basics. The key is to use a light, pastel-colored yarn so you can clearly see your stitch definition and the beautiful decrease you're about to master.
- Yarn: Worsted weight yarn in a light pastel color (e.g., sky blue, lavender, or mint green). A smooth, non-textured yarn is best for learning.
- Crochet Hook: 5.0 mm (H-8) crochet hook. This size pairs perfectly with worsted weight yarn to create a plush, even fabric.
- Other Tools: A yarn needle for weaving in ends and a pair of scissors. That's it!
Gauge Reference: 4 dc x 2 rows = 1 inch in double crochet. While gauge isn't critical for a practice swatch, it's good to know for future projects.
Step-by-Step Instructions: Creating Your Cloud Nine Swatch
Let's get those hooks moving! We'll start with a simple practice swatch to get the feel of the decrease. Follow along closely, and you'll be a pro in no time.
Getting Started: The Foundation
Step 1: Foundation Chain
To begin, make a foundation chain of any length. For our practice, we'll chain a total of 20 stitches. This will give us a nice, wide swatch to work with. Remember, the pattern is a multiple of 1 + 1 for turning, so 20 is perfect.
Row 1: Building the Base
Step 2: First Row of Double Crochet
Now, we'll create our base row. Yarn over (yo) and insert your hook into the 4th chain from your hook. This skipped chain counts as your first double crochet (dc). Complete your double crochet as normal. Now, work 1 double crochet (dc) into each chain across the entire row. When you reach the end, you should have a total of 18 double crochet stitches (including the initial chain-3 that counted as your first dc). Turn your work.
Row 2: Establishing the Pattern
Step 3: Even Rows
This row is a simple, even row to establish your stitch count. Chain 3 (this counts as your first double crochet for this row and all subsequent rows). Skip the first double crochet (the one directly below your chain). Work 1 double crochet (dc) into each of the next 16 stitches. Finally, work 1 double crochet (dc) into the top of the turning chain from the previous row. This is crucial to keep your edges straight. You should still have 18 double crochet stitches. Turn your work.
Row 3: The Magic of the Decrease (dc2tog)
Step 4: The Decrease Row
This is where the magic happens! Chain 3 and skip the first double crochet. Now, we will perform our decrease, which combines two stitches into one. Follow these sub-steps carefully:
- First Incomplete Stitch: Yarn over (yo), insert your hook into the next double crochet. Yarn over and pull up a loop. You should now have 3 loops on your hook. Yarn over and pull through just two loops. You will now have 2 loops left on your hook.
- Second Incomplete Stitch: Yarn over (yo), insert your hook into the following double crochet. Yarn over and pull up a loop. You should now have 4 loops on your hook. Yarn over and pull through just two loops. You will now have 3 loops left on your hook.
- Final Yarn Over: Yarn over (yo) one last time and pull through all three loops remaining on your hook.
Congratulations! You've just completed one dc2tog decrease. You've turned two stitches into one. Now, continue the row by working 1 double crochet (dc) into each of the next 14 stitches. Finish the row by working 1 double crochet (dc) into the top of the turning chain. You should now have 17 double crochet stitches. Turn your work.
Row 4: Solidifying the Shape
Step 5: Another Even Row
This row is worked even, just like Row 2, to solidify the shape and show you how the decrease looks in the fabric. Chain 3, skip the first double crochet, and work 1 double crochet (dc) into each double crochet across. Remember to finish with 1 double crochet (dc) into the top of the turning chain. You will have 17 double crochet stitches. Turn your work.
Repeating and Applying the Pattern
Step 6: Creating a Slanted Edge or Shaping
To create a dramatic, slanted edge like you might see on a shawl or a cardigan, simply repeat Rows 3 and 4. Each time you repeat Row 3, you'll decrease one stitch, causing the fabric to angle inward. For shaping armholes or necklines, you can work your decreases at the beginning and end of a row, or space them evenly across the row. The principle is the same—each dc2tog will remove one stitch from your total count.
Finishing Touches
Step 7: Fastening Off
Once you've reached your desired length or shape, it's time to finish. Cut your yarn, leaving a 6-inch tail. Yarn over and pull the tail through the loop on your hook to fasten off securely. Thread the tail onto your yarn needle and weave it neatly through the back of your work to hide it. Trim any excess yarn.
And there you have it! Your very own Cloud Nine Double Crochet Decrease swatch. Look at that beautiful, subtle diagonal line sloping to the right. Notice how the fabric remains plush and even with no unsightly gaps. You've just mastered a fundamental skill that will open up a world of design possibilities. Practice this on a few swatches, get comfortable with the rhythm of the yarn overs, and soon you'll be incorporating this seamless decrease into all your favorite wearable projects with confidence and flair. Happy crocheting!