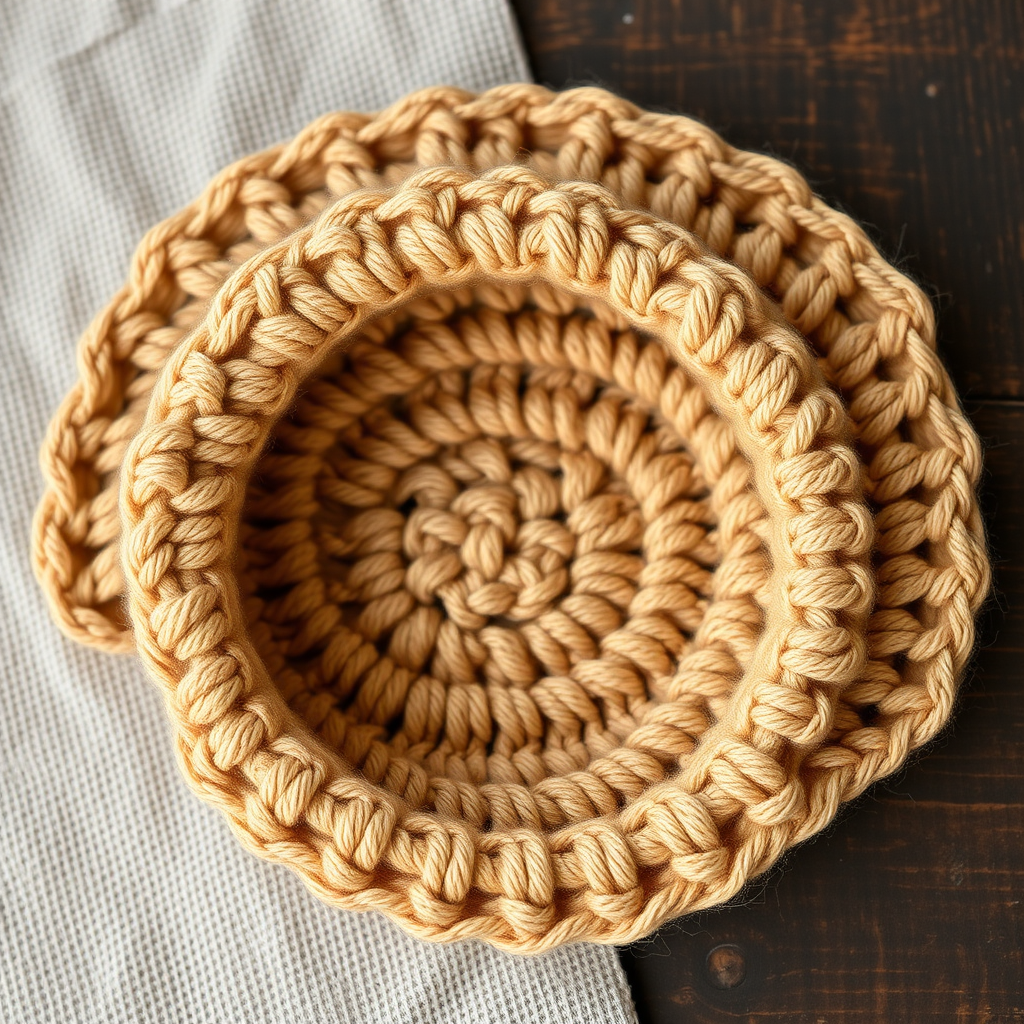
Whispering Dunes Crochet Stitch Pattern – Free Pattern for a Slanted Puff Shell Texture

Whispering Dunes Crochet Stitch Pattern – Free Pattern for a Slanted Puff Shell Texture
Discover the Whispering Dunes stitch, a fresh take on the slanted puff shell technique that creates a soft, flowing texture reminiscent of wind-swept sand. This free pattern is perfect for adding subtle movement to blankets, scarves, and garments. The finished fabric is flat, drapey, and features a repeating pattern of slanted puff shells that lean diagonally across the surface, creating a dimensional, undulating texture that resembles rolling sand dunes. Whether you're a seasoned crocheter or a confident beginner looking for a new challenge, this stitch pattern will quickly become a favorite in your repertoire.
Materials Needed
Before you begin, gather the following materials to ensure a smooth and enjoyable crochet experience:
- Yarn: Worsted weight yarn (Category 4) in a light, heathered neutral like sand or oat, or any color of your choice. The sample shown uses a warm, heathered sand tone with subtle variations, giving it a natural, organic feel.
- Crochet Hook: 6.5 mm (K-10.5) crochet hook
- Gauge: Gauge is not critical for this pattern; adjust hook size to achieve desired drape. A swatch of 4 inches should have about 12-14 stitches and 8-10 rows in pattern.
- Additional Tools: Yarn needle for weaving in ends, scissors, and stitch markers (optional but helpful for keeping track of puff shells).
Special Stitch – Slanted Puff Shell (SPS)
Before diving into the pattern, let's master the special stitch that gives this design its unique character. The Slanted Puff Shell (SPS) is a variation of a classic puff stitch that naturally leans to the right, creating the diagonal flow that makes the Whispering Dunes pattern so distinctive.
Slanted Puff Shell (SPS) – Step-by-Step:
- Yarn over, insert hook into indicated stitch.
- Yarn over and pull up a loop (3 loops on hook).
- Yarn over and pull through two loops (2 loops on hook).
- Yarn over, insert hook into the same stitch.
- Yarn over and pull up a loop (4 loops on hook).
- Yarn over and pull through two loops (3 loops on hook).
- Yarn over, insert hook into the same stitch.
- Yarn over and pull up a loop (5 loops on hook).
- Yarn over and pull through all 5 loops.
- Chain 1 to close the puff. This creates a puff that leans to the right.
Pro Tip: The chain-1 at the end of each SPS is crucial—it creates a small space that you'll use in subsequent rows to place your double crochet stitches.
Step-by-Step Instructions
Foundation Chain
Chain a multiple of 6 + 2. For a swatch, chain 20 (18 + 2). This will give you a nice-sized practice piece to see the pattern develop.
Row 1: Setting the Foundation
- Work 1 double crochet (dc) in the 4th chain from your hook. (The first 3 chains count as your first double crochet.)
- *Skip 2 chains.
- Work a Slanted Puff Shell (SPS) in the next chain.
- Skip 2 chains.
- Work 1 double crochet (dc) in the next chain.
- Repeat from * across the row.
- Turn your work.
For a 20-chain swatch, you will have 3 double crochet total (including the turning chain) and 3 puff shells.
Row 2: Building the Diagonal Flow
- Chain 3 (counts as first double crochet), turn.
- *Skip the next puff shell.
- Work 1 double crochet (dc) in the chain-1 space of the next puff shell. (This is the space created by the chain-1 that closed the puff.)
- Skip the next double crochet.
- Work a Slanted Puff Shell (SPS) in the next double crochet. (This is the dc that sits between the previous puff shells.)
- Repeat from * across the row.
- End with 1 double crochet in the top of the turning chain from the previous row.
- Turn your work.
Row 3: Establishing the Rhythm
- Chain 3 (counts as first double crochet), turn.
- *Skip the next puff shell.
- Work 1 double crochet (dc) in the chain-1 space of the next puff shell.
- Skip the next double crochet.
- Work a Slanted Puff Shell (SPS) in the next double crochet.
- Repeat from * across the row.
- End with 1 double crochet in the top of the turning chain.
- Turn your work.
Repeat Row 3
Continue repeating Row 3 until your piece reaches the desired length. As you work, you'll notice the slanted puff shells naturally offset from row to row, creating the beautiful diagonal, flowing texture that defines the Whispering Dunes pattern.
Helpful Tip for Beginners: If you lose your place, look for the chain-1 spaces from the puff shells below—your double crochet should always go into those spaces, and your puff shells should always go into the double crochet stitches that sit between the puff shells from the previous row.
Finishing
- After your final row, fasten off by cutting your yarn, leaving a 6-inch tail.
- Pull the tail through the last loop on your hook and tighten gently.
- Weave in all ends using your yarn needle, being careful not to pull too tightly so the fabric remains flat and even.
- Block gently to enhance the stitch definition. (Wet blocking or steam blocking works beautifully with worsted weight yarn to open up the puff shells and create a polished, professional finish.)
Pattern Notes & Variations
The Whispering Dunes stitch is incredibly versatile. Here are a few ideas to inspire your next project:
- Blankets & Throws: The drapey, plush texture makes it perfect for cozy blankets. Use a soft, heathered yarn for a modern, organic look.
- Scarves & Cowls: Work a narrower width for a beautifully textured scarf that shows off the diagonal flow.
- Garments: The flat, drapey nature of this fabric makes it suitable for lightweight sweaters, cardigans, or wraps.
- Color Play: Try working in stripes or using a gradient yarn to enhance the undulating, dune-like effect.
We hope you enjoy creating with the Whispering Dunes stitch pattern. Its soft, flowing texture and modern aesthetic make it a joy to work with and a stunning addition to any handmade collection. Happy crocheting!