Whispering Dunes Crochet Stitch Free Pattern
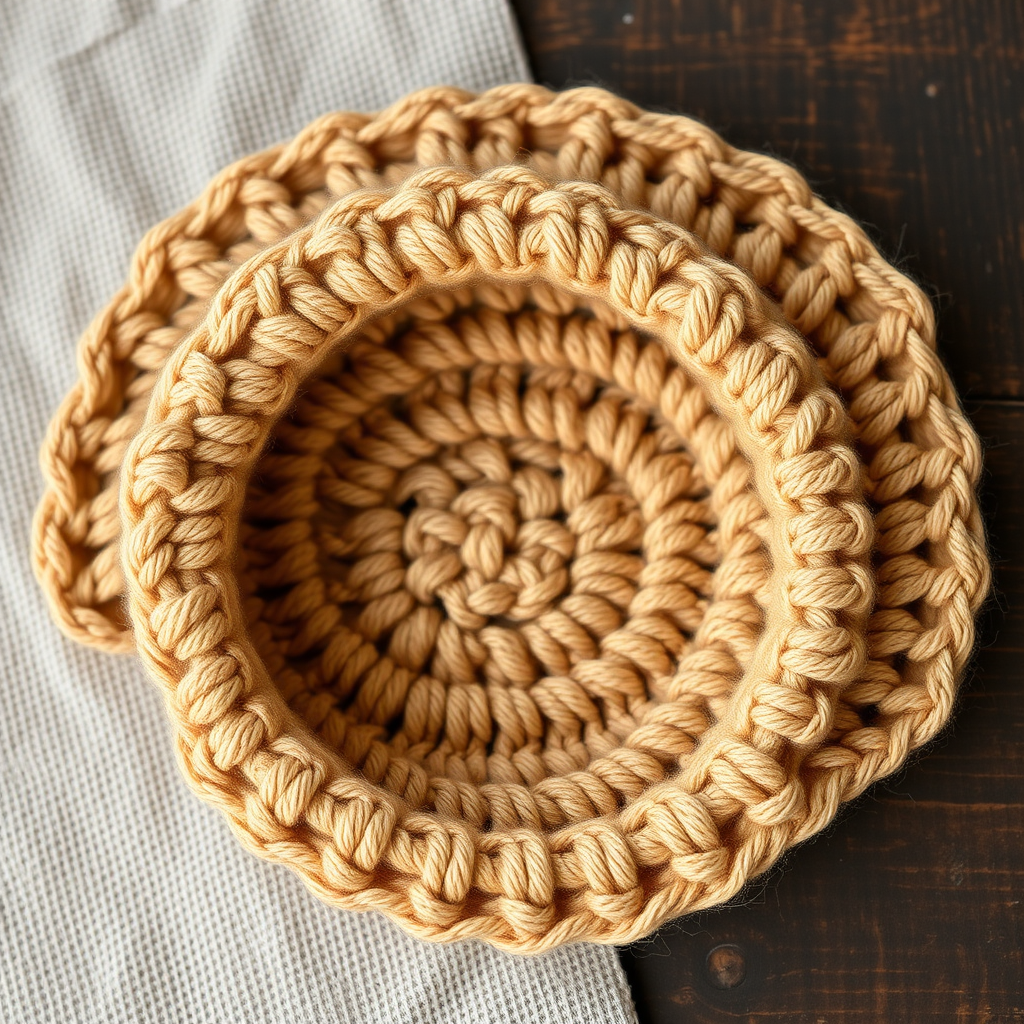
Introducing the Whispering Dunes Crochet Stitch
Are you ready to elevate your crochet repertoire with a stitch that feels as luxurious as it looks? Meet the Whispering Dunes stitch—a modern twist on classic crochet that produces a beautifully ridged, woven texture. Perfect for cozy blankets, stylish garments, and elegant accessories, this pattern is surprisingly simple once you master the art of working into the third loop. The result is a dense, supple fabric with a knitted appearance that will have everyone asking, "Did you knit that?"
This free pattern is designed with beginners in mind, breaking down the technique into clear, manageable steps. Whether you're looking to expand your stitch library or create a stunning new project, the Whispering Dunes stitch is your ticket to a fabric that feels as good as it looks. Let's dive in!
Materials Needed
Before you begin, gather the following supplies to ensure a smooth and enjoyable crochet experience:
- Yarn: Light/DK weight yarn (Category 3). For a standard swatch, you'll need approximately 150–200 yards. A warm desert sand color is ideal to showcase the stitch's texture, but any light-to-medium shade will work beautifully.
- Crochet Hook: G/6 or 4 mm hook (or the size needed to achieve gauge).
- Gauge: 16 hdc x 12 rows = 4 inches in pattern. Tip: Always make a gauge swatch to ensure your finished piece matches the intended dimensions.
- Extras: Yarn needle for weaving in ends, scissors, and a blocking mat (optional but recommended for a polished finish).
Step-by-Step Instructions
Follow these detailed instructions carefully, and you'll be amazed at how quickly the Whispering Dunes stitch comes together. The key is understanding the third loop—a horizontal bar that sits just below the top "V" of each half double crochet stitch.
Foundation Chain
Chain any number of stitches (this pattern works with a multiple of 1). For a practice swatch, chain 20 stitches. This will give you a nice-sized square to test the technique.
Row 1: Setting the Stage
- Work 1 half double crochet (hdc) into the 3rd chain from your hook. The 2 skipped chains count as a ch-2 that acts as your turning chain for this row.
- Work 1 hdc into each chain across the entire row. When you reach the end, turn your work. You should now have 18 hdc (including the ch-2 that counts as a stitch).
Row 2: Discovering the Third Loop
This is where the magic happens! Follow these steps carefully:
- Chain 2 (this counts as your first hdc for this row).
- Locate the third loop of the first hdc from the row below. To find it, look at the front of your stitch. You'll see the top "V" (which is the front loop and back loop). Just below that "V," there is a horizontal bar running across the front of the stitch. This is your third loop.
- Insert your hook under this third loop, going from front to back.
- Yarn over and pull up a loop. You should now have 3 loops on your hook.
- Yarn over again and pull through all 3 loops on your hook. Congratulations—you've just completed a hdc in the third loop!
- Repeat this process across the row: work 1 hdc into the third loop of each hdc from the row below, until you reach the last stitch.
- For the final stitch (which is the top of the ch-2 from the previous row), work a regular hdc into the top of that chain. This keeps your edges straight and neat.
- Turn your work to begin the next row.
Row 3 and Beyond: Building the Rhythm
Now that you've mastered the third-loop technique, the rest is pure repetition:
- Repeat Row 2 until your piece reaches the desired length. Each row will follow the same pattern: ch 2, work hdc into the third loop of each stitch across, and finish with a regular hdc into the top of the turning chain.
- Important tip: Always work the last stitch of each row into the top of the turning chain from the previous row. This ensures your edges remain perfectly straight and prevents any accidental increases or decreases.
Finishing Touches
Once your piece has reached its desired length, it's time to finish:
- Fasten off by cutting your yarn, leaving a 6-inch tail. Pull the tail through the last loop on your hook and tighten gently.
- Weave in all ends using a yarn needle. Be sure to weave them in securely along the wrong side of your work.
- Admire your handiwork! The right side of your fabric will showcase a distinct, ridged texture that resembles a woven or knitted piece. The wrong side will have a smoother, more traditional crochet look.
- Optional but recommended: Block your swatch lightly to even out the stitches and enhance the drape. Simply mist with water and pin to your desired dimensions, then allow to dry completely.
Tips for Perfect Whispering Dunes
- Consistent tension: The third-loop technique can be slightly tighter than regular hdc. Focus on keeping your yarn tension relaxed and even for the best drape.
- Count your stitches: It's easy to accidentally skip a stitch when working into the third loop. Count your stitches at the end of each row to ensure you haven't lost or gained any.
- Practice makes perfect: If the third loop feels tricky at first, practice on a small swatch until the motion feels natural. It's a simple technique that becomes second nature quickly.
Project Ideas for Whispering Dunes
Once you've mastered this gorgeous stitch, the possibilities are endless! Here are a few ideas to spark your creativity:
- Cozy Blankets: The dense, woven texture makes this stitch perfect for warm, snuggly throws.
- Scarves and Cowls: The supple drape and elegant ridges create stunning winter accessories.
- Sweaters and Cardigans: The fabric's structure holds its shape beautifully, making it ideal for garments.
- Pillow Covers: Add a touch of modern texture to your home decor.
We hope you enjoy working with the Whispering Dunes stitch as much as we do. It's a beautiful reminder that sometimes the simplest techniques create the most stunning results. Happy crocheting!


