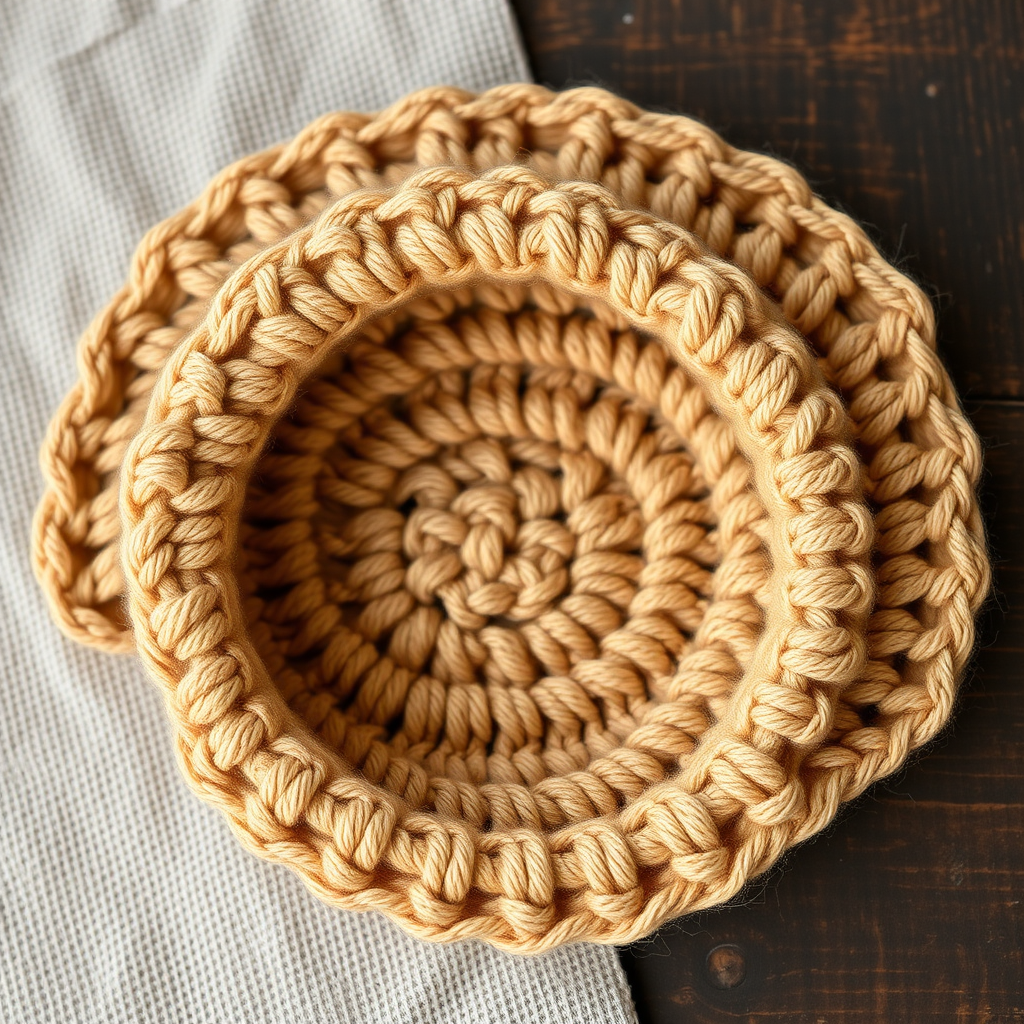
Mosaic Mist Stitch Free Pattern

Discover the Mosaic Mist Stitch: A Modern Crochet Classic
Are you ready to elevate your crochet repertoire with a stitch that is both soothing to create and stunning to behold? Welcome to the Mosaic Mist Stitch, a fresh and contemporary take on the classic alternate single crochet. This pattern produces a dense, richly textured fabric that feels like a high-end textile, making it the perfect choice for modern home decor projects, from cozy scarves to chic throw pillow covers.
The magic of the Mosaic Mist Stitch lies in its rhythmic, meditative repeat. As you work, you will create a beautifully subtle two-tone effect that resembles a woven, basket-like texture. The sample shown uses a soft sage green and a warm cream, but this pattern is incredibly versatile—feel free to experiment with your favorite contrasting color combinations to match your personal style. Whether you are a beginner looking for your next challenge or an experienced maker seeking a new favorite, this pattern is designed to inspire and delight.
Materials Needed: Your Checklist for Success
Before you begin your crafting journey, gather the following materials. Having everything ready will ensure a smooth, uninterrupted crochet session.
Yarn
- Worsted weight yarn in two contrasting colors (Color A and Color B).
- Approximate yardage: For a scarf, you will need about 100g of each color. For a throw pillow cover, plan on 200g of each color.
- Pro Tip: Choose colors with high contrast to make the textured pattern pop, or select similar tones for a more subtle, tonal look.
Hook and Notions
- 4.5 mm crochet hook (or the size needed to obtain the gauge specified below).
- Yarn needle for weaving in ends.
- Scissors.
- Optional: Stitch markers to help keep track of your rows, especially when working on larger projects.
Gauge
- 16 stitches and 20 rows of alternate single crochet = 4 inches square.
- Why Gauge Matters: Matching the gauge ensures your finished project will be the correct size. Always make a small swatch first to check your tension.
Step-by-Step Instructions: Crafting the Mosaic Mist Stitch
Follow these detailed instructions carefully to create your own beautiful Mosaic Mist fabric. The pattern is worked in rows, and the unique "alternate" effect is achieved by skipping stitches and then working into them on the following row. Let's get started!
Foundation Chain
With Color A, make a slip knot and chain an even number of stitches. For a scarf, a chain of 30 is a great starting point. This will give you a foundation that is easy to work with and a good width for a scarf or a small throw.
Row 1 (Right Side): Establishing the Base
This row creates the foundation for the entire pattern.
- Working in the back loops only, single crochet (sc) in the 2nd chain from your hook.
- Continue to single crochet in the back loop of each chain across the row.
- At the end of the row, you should have 29 single crochet stitches. Turn your work.
Row 2: Creating the Skip
This row introduces the "alternate" effect by skipping stitches.
- Chain 1 (this does not count as a stitch).
- Working in the back loops only, single crochet in the first stitch.
- Now, *skip the next stitch, and single crochet in the following stitch.*
- Repeat from * to * across the row, ensuring you end with a single crochet in the very last stitch.
- Turn your work.
Row 3: The Mosaic Magic
This is the key row where you will work into the skipped stitches from the previous row, creating the beautiful woven texture.
- Chain 1. Working in the back loops only, single crochet in the first stitch.
- Now, locate the skipped stitch from the previous row. It will appear as a horizontal bar in front of your work.
- Insert your hook under that horizontal bar and into the back loop of the stitch directly behind it (this is the stitch you skipped). Yarn over and pull up a loop, then complete a single crochet. This effectively "catches" the skipped stitch.
- Next, single crochet in the next stitch (which is the one you worked into on the last row).
- Repeat from * to * across the row: *work into the skipped stitch, then sc in the next stitch.*
- End the row with a single crochet in the last stitch. Turn your work.
Row 4: Repeating the Skip
This row is an exact repeat of Row 2.
- Chain 1. Working in the back loops only, single crochet in the first stitch.
- *Skip the next stitch, single crochet in the following stitch.* Repeat from * to * across.
- End with a single crochet in the last stitch. Turn.
Row 5: Introducing Color B
Time to switch colors and repeat the "Mosaic Magic" row!
- Change to Color B.
- Repeat Row 3, but this time, the skipped stitches you will be working into are from Row 4.
Repeating the Pattern
You will now repeat Rows 2 through 5 to continue your fabric, alternating colors every two rows. This means you will work two rows of Color A, then two rows of Color B, and so on.
- Rows with Color A: Work Row 2, then Row 3.
- Rows with Color B: Work Row 4 (which is a repeat of Row 2), then Row 5 (which is a repeat of Row 3).
Continue this sequence until your piece reaches your desired length. For a neat and balanced finish, it is recommended to always end with a Color A row.
Final Row: A Clean Edge
To give your project a polished, professional edge, work a final row in Color A.
- With Color A, chain 1.
- Single crochet in each stitch across, but this time, work through both loops of each stitch. This creates a firm, neat edge that helps the fabric lie flat.
- Fasten off and weave in all loose ends with your yarn needle.
Project Ideas and Customization
Making a Scarf
Simply follow the pattern as written, working until your scarf reaches your preferred length. The dense, textured fabric will be warm, cozy, and look beautifully handcrafted.
Making a Throw Pillow Cover
This stitch is perfect for home decor! To make a pillow cover:
- Crochet a rectangle that is twice the width of your pillow form. For example, if you have a 16-inch pillow form, you will need a rectangle that is 32 inches wide.
- Once your rectangle is the correct size, fold it in half, with the right sides facing each other.
- Seam the sides together using a whip stitch or mattress stitch, leaving one end open.
- Insert your pillow form and seam the final opening closed.
The Mosaic Mist Stitch is a joy to work up, offering a perfect balance of rhythm and texture. We hope this pattern inspires you to create something beautiful for your home or a loved one. Happy crocheting!