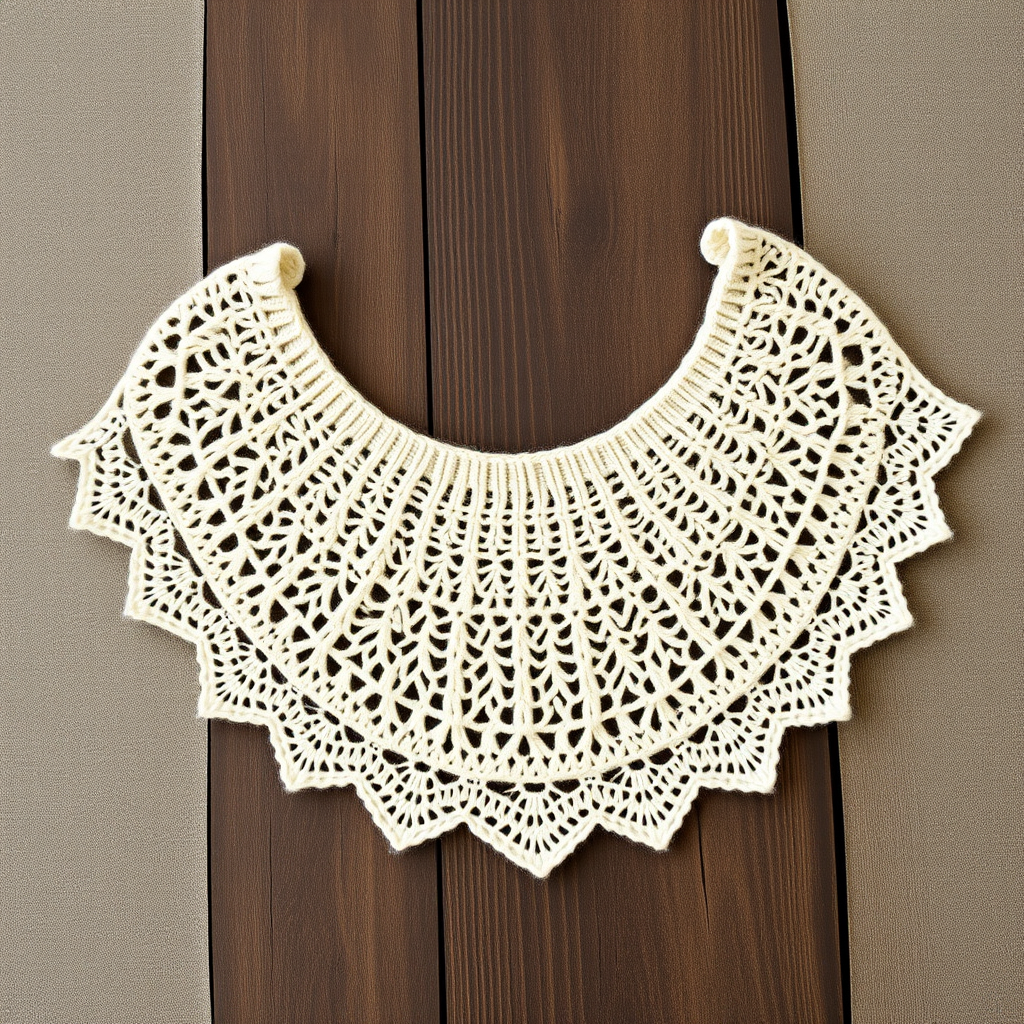
Whispering Pines Gradient Shawl Free Pattern – Knitted Forest Mist Wrap

Whispering Pines Gradient Shawl: A Free Knitting Pattern for the Forest Mist Wrap
Wrap yourself in the serene beauty of a misty forest with this stunning gradient shawl. The Whispering Pines Gradient Shawl features a unique pine needle lace stitch that cascades like morning dew, creating a fabric that is both airy and warm. This cozy knit is perfect for cool evenings, thoughtful handmade gifts, or simply treating yourself to a touch of woodland elegance. Whether you are a seasoned knitter or an adventurous beginner, this pattern is designed to guide you through every step with clarity and ease.
This triangular shawl is worked from the top center down, increasing at the edges and center to form a beautiful, wearable shape. The gradient effect—transitioning from deep forest green to soft sage and finally to misty grey—mimics the layers of a forest canopy, making this wrap a true statement piece. Let's dive into the materials and instructions so you can begin creating your own piece of forest magic.
Materials Needed
Before you begin, gather the following materials. Having everything ready will make your knitting experience smooth and enjoyable.
- Yarn: Fingering weight yarn in 3 gradient shades (e.g., deep forest green, soft sage, misty grey) – 400g total. This allows for a balanced gradient across the shawl.
- Needle: US 6 (4.0 mm) circular knitting needle with a 32-inch cable. The long cable is essential for accommodating the increasing number of stitches as the shawl grows.
- Notions: Stitch markers (at least 2), a tapestry needle for weaving in ends, and blocking pins for the final shaping.
- Gauge: 20 stitches and 28 rows = 4 inches in stockinette stitch (blocked). While gauge is important for size, the shawl is forgiving; focus on consistent tension for the best drape.
Step-by-Step Instructions
This shawl is worked from the top center down, increasing at the edges and center to form a triangular shape. Follow these detailed instructions carefully, and you'll be amazed at how quickly the pattern comes together.
Abbreviations
- k = knit
- p = purl
- yo = yarn over (creates an eyelet and increases a stitch)
- k2tog = knit two together (right-leaning decrease)
- ssk = slip, slip, knit (left-leaning decrease)
- pm = place marker
- sl = slip (move marker from left needle to right needle without knitting)
Setup
Let's start by creating the foundation of your shawl.
- Cast on 3 stitches.
- Knit 6 rows in garter stitch (knit every row). This creates a small, sturdy base.
- Pick up and knit 3 stitches along the side edge of this garter strip, then pick up and knit 3 stitches from the cast-on edge. You should now have 9 stitches on your needle. This forms the top edge of your triangle.
Increasing Section (Garter Stitch Body)
This section establishes the shape of the shawl with simple increases at the edges and center.
- Row 1 (Right Side): k3, yo, k1, yo, pm, k1, pm, yo, k1, yo, k3. (You will now have 13 stitches).
- Row 2 (Wrong Side): k3, p to last 3 stitches, k3. (The garter stitch border is maintained on both edges).
- Row 3: k3, yo, k to marker, yo, sl marker, k1, sl marker, yo, k to last 3 stitches, yo, k3. (You will have 17 stitches).
- Row 4: k3, p to last 3 stitches, k3.
Repeat Rows 3 and 4 until you have 45 stitches on your needle, ending with a wrong-side row. This creates a solid, growing triangle with a clear center spine.
Begin Pine Needle Lace Pattern
Now for the magic! This lace pattern creates the delicate pine needle effect. The increases continue, but the lace adds texture and airiness.
- Row 1 (RS): k3, yo, *k2tog, yo* repeat from * to * until 2 stitches before marker, k2, yo, sl marker, k1, sl marker, yo, k2, *yo, ssk* repeat from * to * until 3 stitches before end, yo, k3.
- Row 2 (WS): k3, p to last 3 stitches, k3.
- Row 3: k3, yo, k to marker, yo, sl marker, k1, sl marker, yo, k to last 3 stitches, yo, k3.
- Row 4: k3, p to last 3 stitches, k3.
Repeat Rows 1-4 for the lace pattern. Change yarn color every 2 repeats (approximately every 8 rows), transitioning from deep green to sage to misty grey. Continue this sequence until you have used all your yarn or the shawl reaches your desired size (approximately 60 inches wingspan). The lace pattern is rhythmic and meditative once you get going.
Edging
This final lace border adds a beautiful, scalloped finish to your shawl.
- Row 1 (RS): k3, yo, *k2tog, yo* repeat to marker, yo, sl marker, k1, sl marker, yo, *yo, ssk* repeat to last 3 stitches, yo, k3.
- Row 2: k3, p to last 3 stitches, k3.
- Row 3: k3, yo, *k2tog, yo* repeat to marker, yo, sl marker, k1, sl marker, yo, *yo, ssk* repeat to last 3 stitches, yo, k3.
- Row 4: Bind off loosely knitwise. (Be careful not to bind off too tightly, as this will prevent the scalloped edge from lying flat).
Finishing Touches
Your shawl is almost complete! The finishing steps are crucial for showcasing the lace pattern.
- Weave in all ends using a tapestry needle. Be sure to weave them in securely along the edges or in the garter stitch borders to keep them hidden.
- Block the shawl to shape. Soak it in lukewarm water with a gentle wool wash for about 20 minutes. Gently squeeze out excess water (do not wring). Lay it flat on a clean towel and roll it up to remove more water.
- Pin out the shawl on a blocking mat. Stretch it gently to the desired dimensions, pinning the points along the edges to create gentle scallops. This opens up the lace pattern and gives the shawl its beautiful drape. Allow it to dry completely before unpinning.
Once dry, your Whispering Pines Gradient Shawl is ready to wear or gift. The combination of the gradient yarn and the pine needle lace creates a truly unique piece that captures the tranquil spirit of a forest. Enjoy the process, and happy knitting!