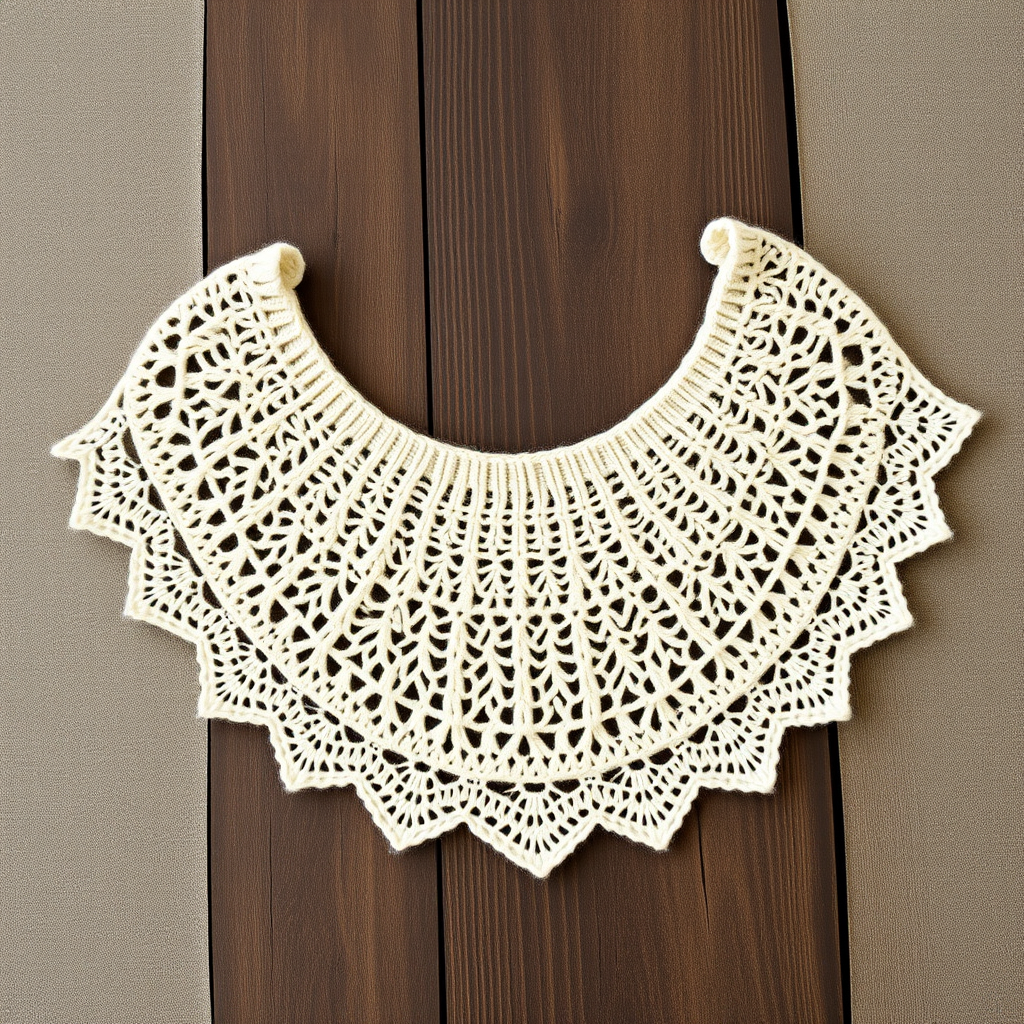
Aurora Dusk Wrap Free Pattern

Wrap Yourself in Twilight: The Aurora Dusk Shawl Knitting Pattern
There's something magical about the moment when day melts into night—the sky shifting through a spectrum of deep teal, dusty rose, and soft gold. The Aurora Dusk Wrap captures that fleeting beauty in a stunning gradient knit shawl that's as cozy as it is elegant. This free knitting pattern features a rich textured stitch pattern with delicate eyelets and twisted stitches, creating a modern essential that transitions beautifully through every season.
Whether you're a confident beginner looking for your next challenge or an experienced knitter seeking a meditative project, this triangular shawl delivers. Worked from the top down, it grows organically as you knit, with a flowing shape that drapes beautifully over your shoulders. The worsted weight yarn means it works up quickly, and the gradient color transitions add visual interest without complicated colorwork techniques.
Materials Needed
Before you begin your Aurora Dusk journey, gather these supplies:
- Yarn: Worsted weight yarn in 3 colors (approximately 400g total)
- Color A: Deep teal (approximately 135g)
- Color B: Dusty rose (approximately 135g)
- Color C: Soft gold (approximately 130g)
- Needle: US 9 (5.5mm) circular knitting needle, 32 inches or longer (the long cord is essential as your stitch count grows)
- Notions: Stitch markers (at least 2), tapestry needle for weaving in ends, blocking pins and mat
- Gauge: 16 stitches and 24 rows = 4 inches in stockinette stitch (gauge is important for achieving the proper drape, but this shawl is forgiving—just keep your tension consistent)
Pro tip: Choose yarns with similar fiber content and weight for all three colors to ensure consistent drape and blocking behavior.
Step-by-Step Instructions
This shawl is worked from the top down in a triangular shape with a beautiful textured stitch pattern. Don't be intimidated by the pattern—once you establish the rhythm, it becomes wonderfully meditative.
Abbreviations
Before we begin, let's review the abbreviations used throughout this pattern:
- k = knit
- p = purl
- yo = yarn over
- k2tog = knit two together
- sl = slip
- psso = pass slipped stitch over
- pm = place marker
- sm = slip marker
Setup Section
Let's start at the very beginning—the top edge of your shawl:
Cast on: Cast on 3 stitches with Color A (deep teal).
Row 1 (RS): k1, yo, k1, yo, k1 (5 stitches)
Row 2 (WS): k2, p1, k2
Row 3 (RS): k2, yo, k1, yo, k2 (7 stitches)
Row 4 (WS): k2, p3, k2
Row 5 (RS): k2, yo, k1, yo, k1, yo, k1, yo, k2 (11 stitches)
Row 6 (WS): k2, p7, k2
You've just created the foundation of your triangular shawl. Notice how the increases are happening at the edges and at the center—this is what creates the beautiful triangular shape.
Body of the Shawl
Now we'll establish the main body pattern. Continue working in this shape, increasing 4 stitches every right-side row (one yarn over near each edge and one yarn over on each side of the center stitch).
Place markers: Place a marker on each side of the center stitch. This will help you keep track of where your center increases go.
Now work the textured stitch pattern between the edge stitches. The first 2 and last 2 stitches of every row are always knit on the right side and purled on the wrong side—this creates a neat garter stitch edge that prevents curling.
Row 1 (RS): k2, *yo, k2tog, k1, yo, sl1, k1, psso, k1, yo, k2tog, k1, yo, sl1, k1, psso, k1, yo, k2tog, k1* repeat from * to * until 2 stitches remain, k2.
Let's break this down: You're creating a pattern of yarn overs paired with decreases (k2tog and sl1-k1-psso). The k2tog leans right, and the sl1-k1-psso leans left, creating beautiful mirrored eyelets. The yarn overs between them add the delicate openwork that makes this shawl so special.
Row 2 (WS): k2, purl all stitches until 2 stitches remain, k2.
Row 3 (RS): k2, *k1, yo, sl1, k1, psso, k1, yo, k2tog, k1, yo, sl1, k1, psso, k1, yo, k2tog, k1, yo* repeat from * to * until 2 stitches remain, k2.
Row 4 (WS): k2, purl all stitches until 2 stitches remain, k2.
Repeat these 4 rows, continuing to increase at the edges and center as established. The pattern will naturally grow as your stitch count increases—each repeat of the pattern adds width to your shawl.
Important: As you work, remember to maintain your edge stitches (first 2 and last 2) and your center increases. The textured pattern flows between these established elements.
Continue working until the shawl measures approximately 24 inches from the cast-on edge, ending with a wrong-side row. This gives you a beautifully proportioned triangular shawl that drapes elegantly.
Color Changes for the Gradient Effect
Now for the magic—the gradient transition that gives this shawl its name. The color changes are simple but create a stunning effect:
- Color A (deep teal): Work the first 8 inches of the shawl body.
- Color B (dusty rose): Switch to Color B and work the next 8 inches.
- Color C (soft gold): Switch to Color C and work the final 8 inches.
Tip for seamless color changes: When switching colors, work the first stitch of the new color on a wrong-side row. This creates a cleaner transition. Leave a tail of about 6 inches when you cut the old color, and weave in ends later.
The gradient effect works beautifully because each color section is substantial enough to be appreciated, but the transitions happen gradually enough that the colors seem to melt into one another—just like a twilight sky.
Edging: The Picot Bind-Off
With Color C (soft gold), work a picot bind-off to finish your shawl with a delicate, decorative edge:
Picot bind-off:
- Bind off 3 stitches normally.
- *Slip the stitch on the right needle back to the left needle.
- Cast on 2 stitches using the knitted cast-on method.
- Bind off 4 stitches normally.*
- Repeat from * to * until all stitches are bound off.
This creates a series of tiny decorative loops along the edge—the perfect finishing touch for this elegant shawl. Fasten off and weave in all ends with your tapestry needle.
Blocking: The Final Transformation
Blocking is where the Aurora Dusk truly comes to life. This step is essential for opening up the lace pattern and achieving that beautiful drape:
- Fill a basin or sink with lukewarm water and add a gentle wool wash according to the product instructions.
- Submerge your shawl and let it soak for 20 minutes. This allows the fibers to relax and the stitches to even out.
- Gently squeeze out excess water—never wring or twist, as this can felt the wool and ruin your hard work.
- Lay the shawl flat on a clean towel and roll it up to remove additional moisture.
- Place the shawl on a blocking mat or dry towel, and shape it to your desired dimensions. Gently stretch the points and edges to open up the eyelets and create that beautiful triangular silhouette.
- Use blocking pins to secure the edges, especially the points and the top edge.
- Allow to dry completely—this can take 24-48 hours depending on humidity.
Once dry, remove the pins and marvel at your creation. The textured stitch pattern will be crisp and defined, the gradient will flow beautifully, and the drape will be perfect.
Wear Your Aurora Dusk With Pride
Your Aurora Dusk Wrap is now complete—a stunning gradient shawl that captures the beauty of twilight in every stitch. The deep teal at the top transitions through dusty rose to soft gold at the point, creating a piece that's both modern and timeless.
This shawl is incredibly versatile. Drape it over your shoulders for a cool evening out, wrap it snugly for cozy winter days, or use it as a stylish accent for a special occasion. The worsted weight yarn makes it substantial enough for warmth, while the openwork pattern keeps it from feeling heavy.
We'd love to see your Aurora Dusk creation! Share your finished shawl on social media with the hashtag #AuroraDuskShawl and tag us—we love seeing how different yarn choices and color combinations transform this pattern.
Happy knitting, and may your stitches always be even and your yarn never tangle!