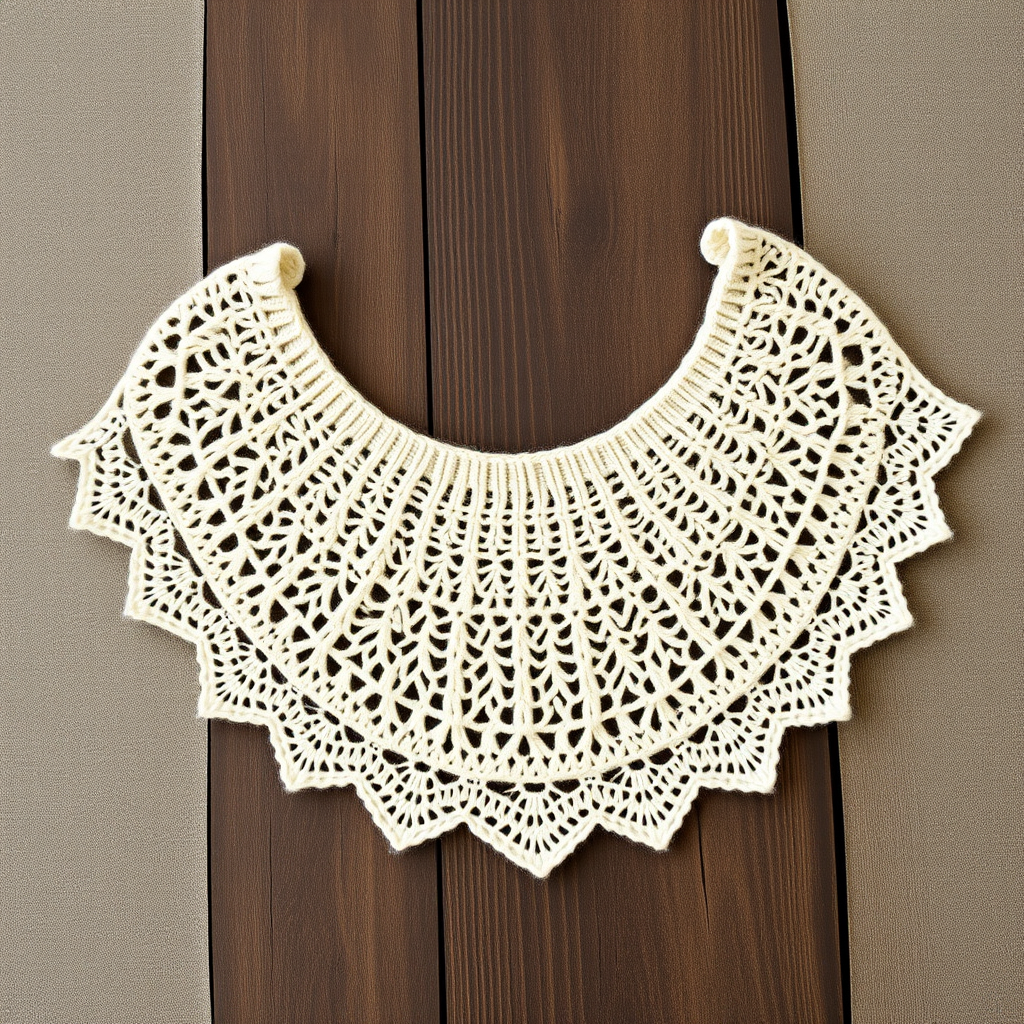
Aurora Dusk Wrap Free Knitting Pattern

Wrap Yourself in Twilight: The Aurora Dusk Wrap Free Knitting Pattern
Imagine the sky at dusk—deep teal fading into dusty rose, then melting into soft gold. That breathtaking gradient is now something you can wrap around your shoulders. The Aurora Dusk Wrap is a crescent-shaped knit shawl that combines the soothing rhythm of garter stitch with a delicate, eyelet lace border. It’s the perfect project for a cozy evening in, and it makes an unforgettable handmade gift. Best of all, this free knitting pattern is beginner-friendly, using simple increases and basic lace stitches to create a stunning, professional-looking result.
This wrap is worked from the top center down, meaning you start with just a few stitches and watch your fabric grow row by row. The construction is intuitive, and the color transitions are built right into the pattern, so you don't have to worry about complicated stranding or intarsia. Whether you're new to knitting or a seasoned maker looking for a relaxing project, the Aurora Dusk Wrap is a joy to create.
Materials Needed: Gathering Your Twilight Palette
Before you cast on, let's gather your supplies. This pattern calls for fingering weight yarn, which creates a drapey, elegant fabric that's perfect for a wrap. The suggested yarn is Malabrigo Sock, but any similar fingering weight yarn will work beautifully.
Yarn Requirements
- Color A (Deep Teal): 400 yards (365 meters) – This forms the top of the shawl, the starting point of your gradient.
- Color B (Dusty Rose): 400 yards (365 meters) – This is the middle transition color.
- Color C (Soft Gold): 400 yards (365 meters) – This forms the bottom section and the lace border.
Note: If you prefer a different palette, any three coordinating colors will work. Just ensure you have roughly equal yardage for each.
Tools & Notions
- Needle: US 6 (4.0 mm) circular knitting needle, 32 inches (80 cm) or longer. The long cord is essential to hold the increasing number of stitches.
- Stitch Markers: (Optional but helpful) to mark the center of your work if you choose to count rows differently.
- Tapestry Needle: For weaving in ends.
- Blocking Mats & Pins: To shape and open up the lace edge.
Gauge
20 stitches and 28 rows = 4 inches (10 cm) in stockinette stitch (after blocking).
Gauge is important for achieving the correct size and drape. While this is a forgiving pattern, it's always a good idea to knit a small swatch to check your tension. If your gauge is off, adjust your needle size accordingly.
Step-by-Step Instructions: Knitting the Aurora Dusk Wrap
This shawl is worked from the top center down, increasing to form a crescent shape. The lace border is worked at the end. Let's break it down into manageable steps.
Special Stitches You'll Need
- K2tog (Knit Two Together): Insert your right needle into two stitches on the left needle as if to knit, and knit them together. This is a right-leaning decrease.
- SSK (Slip, Slip, Knit): Slip two stitches knitwise, one at a time, from the left needle to the right needle. Insert the left needle into the front of these two slipped stitches and knit them together. This is a left-leaning decrease.
- YO (Yarn Over): Bring the yarn to the front of the work, then over the right needle to the back. This creates an eyelet and an increase.
- Kfb (Knit Front and Back): Knit into the front of the next stitch, but don't drop the stitch off the left needle. Instead, bring the yarn to the front, knit into the back of the same stitch, and then drop it off. This creates two stitches from one.
Cast On & Setup: The Birth of Your Shawl
We'll start with a simple cast-on and a few increase rows to establish the top edge.
- With Color A, cast on 5 stitches using your preferred method (a long-tail cast-on works well).
- Row 1 (WS): Knit all stitches. (5 stitches)
- Row 2 (RS): Kfb, knit to the last stitch, kfb. (7 stitches)
- Row 3 (WS): Knit all stitches. (7 stitches)
- Row 4 (RS): Kfb, knit to the last stitch, kfb. (9 stitches)
- Row 5 (WS): Knit all stitches. (9 stitches)
- Row 6 (RS): Kfb, knit to the last stitch, kfb. (11 stitches)
You've now established the increase rhythm. The right side (RS) rows are where all the shaping happens.
Body Section 1: Deep Teal (Color A)
Now we'll continue in garter stitch (knitting every row) to build the body of the shawl.
- Row 7 (RS): Kfb, knit to the last stitch, kfb. (13 stitches)
- Row 8 (WS): Knit all stitches. (13 stitches)
- Repeat Rows 7 and 8 until you have 101 stitches on your needle, always ending with a wrong-side row. This means your last row before the color change should be a WS row.
- Cut Color A, leaving a 6-inch tail to weave in later.
Body Section 2: Dusty Rose (Color B)
Time to introduce the second color of your twilight sky.
- Join Color B with a simple knot or by leaving a tail and starting to knit.
- Continue in garter stitch, repeating the increase row (Kfb, knit to last stitch, kfb) on every right-side row, and knitting all stitches on wrong-side rows.
- Work in this manner until you have 201 stitches on your needle, ending with a wrong-side row.
- Cut Color B, leaving a 6-inch tail.
Body Section 3: Soft Gold (Color C)
Now for the final, sunlit color.
- Join Color C.
- Continue in garter stitch, repeating the increase row on every right-side row, and knitting all stitches on wrong-side rows.
- Work until you have 301 stitches on your needle, ending with a wrong-side row. This is the widest point of your shawl body.
The Delicate Lace Border
This is where the magic happens. The lace border adds that beautiful, airy finish. Don't worry—it's simpler than it looks. You'll be repeating a simple pattern across each row.
- Row 1 (RS): K1, *YO, K2tog, K1; repeat from * to the last 2 stitches, K2. (301 stitches)
- Row 2 (WS): Knit all stitches.
- Row 3 (RS): K1, *K2tog, YO, K1; repeat from * to the last 2 stitches, K2.
- Row 4 (WS): Knit all stitches.
- Row 5 (RS): K1, *YO, SSK, K1; repeat from * to the last 2 stitches, K2.
- Row 6 (WS): Knit all stitches.
- Row 7 (RS): K1, *K1, YO, K2tog; repeat from * to the last 2 stitches, K2.
- Row 8 (WS): Knit all stitches.
Pro Tip: The stitch count remains constant at 301 throughout the lace border. The YO increases are perfectly balanced by the K2tog and SSK decreases.
Binding Off Loosely: The Final Stretch
A tight bind-off will ruin the drape of your shawl, so this step is crucial.
- On the next right-side row, bind off all stitches very loosely.
- Recommended method: Use a larger needle (e.g., US 8 or 9) to bind off, or use a "yarn-over bind-off." To do this: *Knit one stitch, yarn over, pass the knit stitch over the yarn over and off the needle. Repeat from * until all stitches are bound off. This creates a stretchy, decorative edge.
Finishing Touches: Weaving & Blocking
Your shawl is almost complete! The final steps are what transform it from a knitted rectangle into a beautiful, wearable wrap.
- Weave in all ends: Use your tapestry needle to carefully weave in the tails from your cast-on, bind-off, and all color changes. Weave them in on the wrong side of the work, following the path of the yarn to keep them invisible.
- Block the shawl: This is the most important step for lace. Soak the shawl in lukewarm water with a gentle wool wash for 20-30 minutes. Gently squeeze out excess water (do not wring or twist).
- Lay the shawl on a clean towel, roll it up to remove more water, and then place it on your blocking mats.
- Pin out the shawl to its full dimensions, focusing on the crescent shape. Gently stretch the lace edge to open up the eyelets and create the scalloped effect. Pin each point of the lace pattern if desired.
- Allow it to dry completely, which may take 24-48 hours. Once dry, unpin and enjoy your stunning Aurora Dusk Wrap!
You've done it! You've created a beautiful, gradient shawl that captures the beauty of twilight. The soft garter stitch body is cozy and warm, while the lace edge adds a touch of elegance. This wrap is perfect for draping over your shoulders on a cool evening or giving as a heartfelt, handmade gift. Happy knitting!