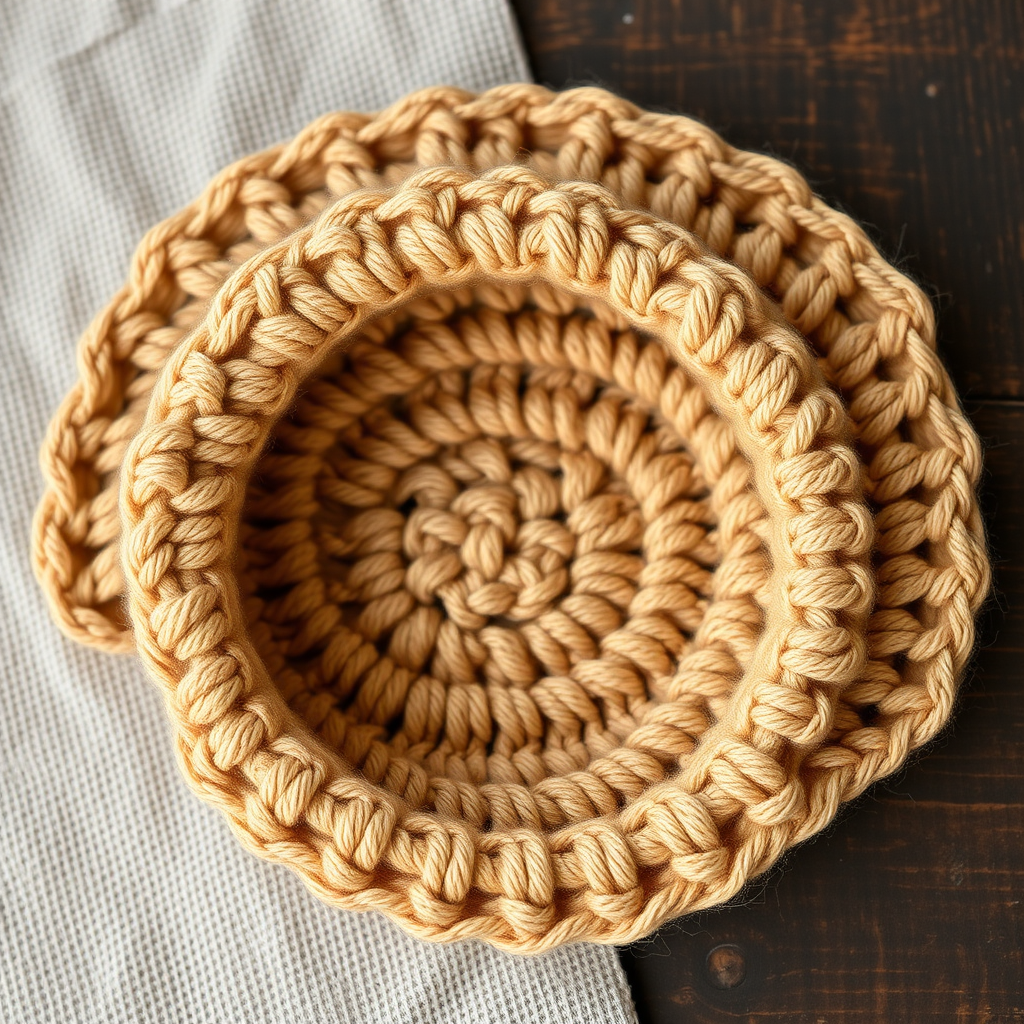
The Whispering Waves Stitch Sampler: A Free Pattern for a Textured Afghan Square

Discover the Whispering Waves Stitch: A Beginner-Friendly Textured Afghan Square
Are you ready to transform a simple hook and some yarn into a stunning, tactile work of art? Meet the Whispering Waves Stitch Sampler—a modern reimagining of the classic shell stitch that produces a mesmerizing, rippling texture reminiscent of gentle ocean swells. This free crochet pattern is designed with beginners in mind, yet it offers a satisfying rhythm that experienced makers will adore. Whether you're crafting a cozy afghan, a plush pillow, or a standalone decorative piece, this textured square brings a touch of organic sophistication to any space. Let's dive into the soothing flow of this pattern and create something beautiful together.
Materials Needed for Your Whispering Waves Square
Before we begin, gather your supplies. This project is wonderfully portable and requires minimal materials, making it perfect for a relaxing afternoon of crafting.
- Yarn: Worsted weight yarn in two complementary colors. The sample uses a soft sage green (Color A) for the main body and a cream (Color B) for the border. Choose shades that speak to your decor—earthy tones, ocean blues, or warm neutrals all work beautifully.
- Crochet Hook: 5.0 mm (H-8) crochet hook. This size pairs perfectly with worsted weight yarn to create a dense, plush fabric.
- Other Tools: A yarn needle for weaving in ends and a pair of scissors. Optional but recommended: blocking mats and pins to shape your final square.
Gauge: For best results, aim for a 4-inch square that measures 16 stitches and 12 rows in single crochet. While gauge isn't critical for a sampler square, maintaining consistent tension will ensure your waves lie flat and even.
Step-by-Step Instructions: Crocheting the Whispering Waves Pattern
This pattern is built on a simple, repeatable rhythm of shells and single crochet valleys. Follow along carefully, and you'll see the wave texture emerge row by row. Let's get started!
Foundation and Row 1: Setting the Base
Foundation: With Color A, make a slip knot and chain 26. This loose chain gives your work a flexible edge.
Row 1: Single crochet (sc) in the 2nd chain from your hook. Continue making one sc in each chain across the row. When you reach the end, you should have 25 single crochet stitches. Turn your work.
Row 2: Creating Your First Shells
This row introduces the shell pattern that forms the basis of the waves.
Row 2: Chain 1 (this does not count as a stitch). Work 1 sc in the very first stitch. Now, *skip the next 2 stitches. In the following stitch, work 5 double crochet (dc) stitches—this cluster of 5 dc is your "shell." Skip the next 2 stitches, then work 1 sc in the next stitch.* Repeat the sequence between the asterisks (*) across the row. You should finish with a sc in the very last stitch of the row. Turn your work. At the end of this row, you will have created 4 beautiful shells.
Row 3: Building the Wave Peaks and Valleys
Now we begin the offset pattern that creates the rippling effect.
Row 3: Chain 3 (this counts as your first double crochet). Work 2 dc into the very first stitch to create a "half shell." *Now, work 1 sc into the center dc of the next shell (which is the 3rd dc of that 5-dc group). Then, work 5 dc into the next sc (the sc that sits between the shells from the previous row).* Repeat the sequence between the asterisks (*) across the row. At the very end, work 3 dc into the last stitch to form a matching "half shell." Turn your work.
Row 4: Alternating the Rhythm
This row mirrors Row 2 but is shifted, locking in the wave pattern.
Row 4: Chain 1. Work 1 sc in the first stitch. *Work 5 dc into the next sc (this is the sc you made between the shells in Row 3). Then, work 1 sc into the center dc of the next shell.* Repeat the sequence between the asterisks (*) across the row. Finish by working 1 sc into the top of the turning chain (the chain-3 from the beginning of Row 3). Turn your work.
Rows 5-12: Repeating the Wave Sequence
You're now in the groove! To build the full square, you will alternate Rows 3 and 4.
Rows 5-12: Simply repeat Row 3, then Row 4, then Row 3, and so on. Continue this alternating sequence until you have completed Row 12. The texture will grow organically, creating gentle peaks and valleys. At the end of Row 12, fasten off Color A by cutting your yarn and pulling the tail through the loop on your hook. Weave in this end later.
Adding the Finishing Border (Optional but Recommended)
The border frames your work and adds a polished, modern touch with your contrasting color.
Border Round: Join Color B with a slip stitch in any corner of your square. Chain 1. Work a round of single crochet evenly around the entire perimeter of the square. When you reach each corner, work 3 sc into that corner stitch to help the border turn smoothly. Continue around all four sides. When you return to your starting corner, join with a slip stitch to the first sc of the round. Fasten off Color B and weave in all loose ends with your yarn needle.
Finishing Touches: Blocking for Perfection
To truly unlock the beauty of the Whispering Waves stitch, blocking is key. This process evens out your stitches and accentuates the wave texture.
How to Block: Soak your square in lukewarm water for about 15 minutes. Gently squeeze out excess water (do not wring). Lay the square flat on a blocking mat or a dry towel. Gently stretch and pin it into a perfect square shape, paying attention to the scalloped edges. Allow it to dry completely before unpinning. You'll be amazed at how crisp and defined the waves become.
Congratulations! You've completed your Whispering Waves Stitch Sampler. This square is a joy to make and a treasure to display. Make several and seam them together for a breathtaking blanket, or use a single square as a textured cushion cover. The rhythmic, meditative nature of this pattern makes it a perfect mindful project. Happy crocheting!