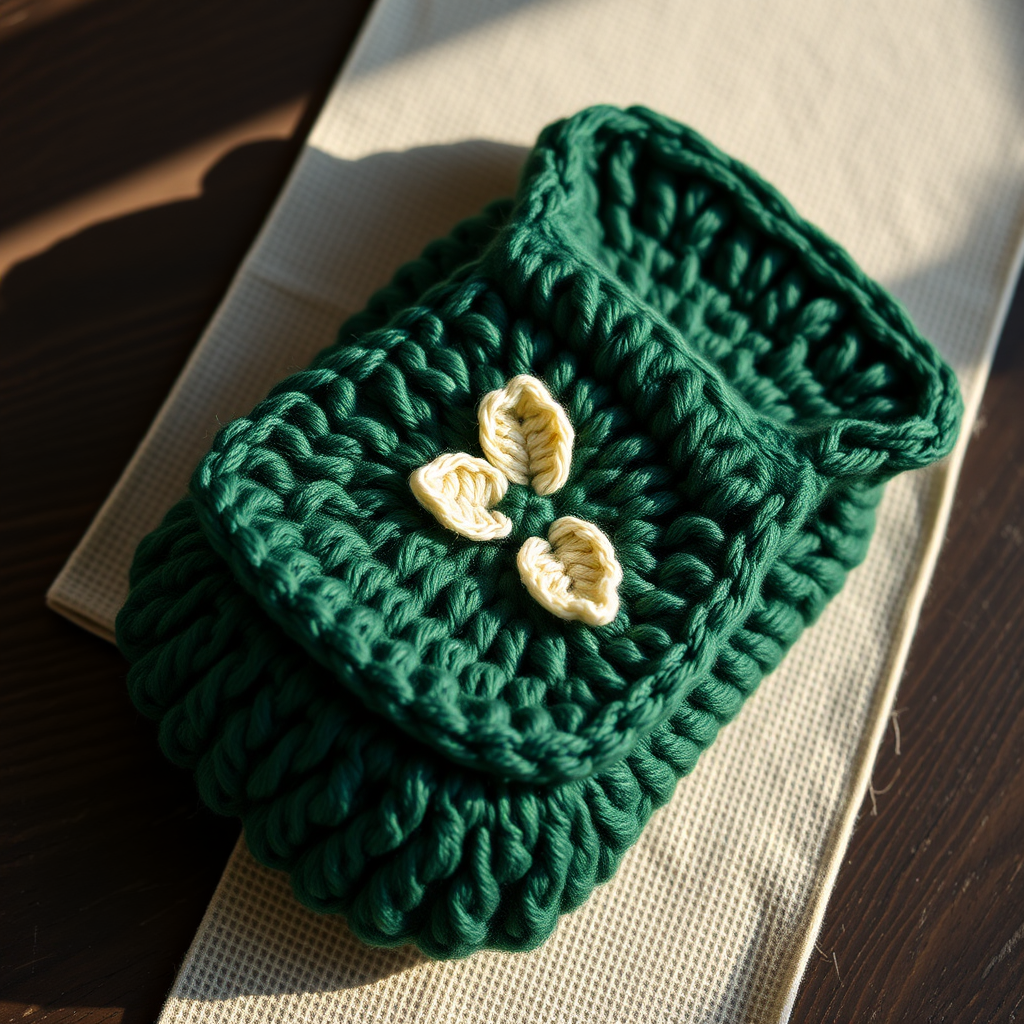
Whimsical Woodland Phone Pouch Free Pattern

Wrap Your Phone in Woodland Charm: The Whimsical Woodland Phone Pouch Free Crochet Pattern
Are you a nature lover looking to add a touch of the forest to your everyday carry? This Whimsical Woodland Phone Pouch is the perfect project to bring a cozy, organic aesthetic to your tech. Featuring a gorgeous, textured leaf stitch and an earthy two-tone color palette, this pouch is as delightful to make as it is to use. Whether you're crafting for yourself or searching for a unique handmade gift, this free pattern is designed to guide you through every step with clarity and ease. Let's grab our hooks and yarn to create a charming, forest-inspired accessory that stands out from the crowd.
Materials Needed
Before we dive into the stitches, let's gather our supplies. This project uses simple, readily available materials, making it a great weekend project for crocheters of all levels.
- Yarn: Light/DK weight yarn in two colors:
- Forest Green (MC): Approximately 100 yards
- Cream (CC): Approximately 100 yards
- Crochet Hook: J/10 (6.0 mm) hook
- Notions: Stitch marker, yarn needle, scissors, and one button (approx. 1 inch in diameter).
- Gauge: 14 sc x 16 rows = 4 inches in single crochet. (While gauge is important for fit, this pouch is forgiving. A slightly tighter or looser tension will still yield a lovely pouch, just adjust the size accordingly.)
Step-by-Step Instructions
This pattern is worked in continuous rounds (spiral) for the body unless otherwise noted. Use a stitch marker to keep track of your rounds—this is crucial for a seamless finish!
Part 1: The Pouch Body (Worked in One Piece)
We'll start with a magic ring to create a tight, neat base for the pouch.
- Round 1: With MC, make a magic ring, work 6 sc into ring. (6 sts)
- Round 2: 2 sc in each st around. (12 sts)
- Round 3: *Sc in next st, 2 sc in next st* repeat around. (18 sts)
- Round 4: *Sc in next 2 sts, 2 sc in next st* repeat around. (24 sts)
- Round 5: *Sc in next 3 sts, 2 sc in next st* repeat around. (30 sts)
- Round 6: *Sc in next 4 sts, 2 sc in next st* repeat around. (36 sts)
- Round 7: *Sc in next 5 sts, 2 sc in next st* repeat around. (42 sts)
- Round 8: *Sc in next 6 sts, 2 sc in next st* repeat around. (48 sts)
You should now have a flat circle. This forms the bottom of your pouch.
- Rounds 9-18: Sc in each st around. (48 sts) – This forms the main body of the pouch. Continue in a spiral without joining until you reach the desired height. Your pouch should be tall enough to cover your phone.
Part 2: The Leaf Stitch Pattern (Worked in Rows)
Now for the fun part—the textured leaf stitch! This is worked back and forth in rows, not in the round. We will be switching to the Cream (CC) yarn for this section to create the beautiful contrast.
- Row 1 (CC): Ch 1, turn. Sc in first st, *skip next st, work 5 dc in next st, skip next st, sc in next st* repeat from * to * across, ending with sc in last st. (8 leaf clusters)
- Row 2 (CC): Ch 1, turn. Sc in first st, *ch 3, sc in the center dc of the next leaf cluster* repeat from * to * across, ending with sc in last st.
- Row 3 (CC): Ch 1, turn. Sc in first st, *work 5 dc in the ch-3 space, sc in next sc* repeat from * to * across, ending with sc in last st.
Repeat Rows 2-3 for a total of 6 leaf rows (or desired height). This will create a lovely, dimensional leaf pattern. After completing the leaf rows, fasten off the CC yarn and rejoin the MC yarn for the flap.
Part 3: The Flap
The flap is worked in rows, decreasing at the beginning and end of each row to create a tapered, pointed shape.
- Row 1 (MC): Ch 1, turn. Sc in next 24 sts. (24 sts)
- Row 2: Ch 1, turn. Sc2tog, sc in next 20 sts, sc2tog. (22 sts)
- Row 3: Ch 1, turn. Sc2tog, sc in next 18 sts, sc2tog. (20 sts)
- Row 4: Ch 1, turn. Sc2tog, sc in next 16 sts, sc2tog. (18 sts)
- Row 5: Ch 1, turn. Sc2tog, sc in next 14 sts, sc2tog. (16 sts)
- Row 6: Ch 1, turn. Sc2tog, sc in next 12 sts, sc2tog. (14 sts)
- Row 7: Ch 1, turn. Sc2tog, sc in next 10 sts, sc2tog. (12 sts)
- Row 8: Ch 1, turn. Sc2tog, sc in next 8 sts, sc2tog. (10 sts)
- Row 9: Ch 1, turn. Sc2tog, sc in next 6 sts, sc2tog. (8 sts)
- Row 10: Ch 1, turn. Sc2tog, sc in next 4 sts, sc2tog. (6 sts)
- Row 11: Ch 1, turn. Sc2tog, sc in next 2 sts, sc2tog. (4 sts)
- Row 12: Ch 1, turn. Sc2tog twice. (2 sts)
Fasten off, leaving a long tail for sewing.
Part 4: The Button Loop & Finishing
Let's add the final touches to bring your pouch to life.
- Button Loop: With CC, ch 12, sl st to form a loop. Fasten off, leaving a tail.
- Assembly:
- Sew the button loop securely to the center of the flap tip.
- Sew a button on the front of the pouch body, aligning it with the loop. Make sure it's positioned so the flap closes comfortably over your phone.
- Weave in all ends carefully to ensure a neat finish.
- Optional Strap: To make your pouch hands-free, create a simple strap: With MC, ch 100, sc in each ch, fasten off. Attach the ends of the strap securely to the sides of the pouch.
And there you have it—a beautiful, whimsical woodland phone pouch that's both functional and full of charm. The textured leaf stitch and earthy colors make it a true statement piece. We hope you enjoyed this pattern and feel proud of your handmade creation. Happy crocheting!