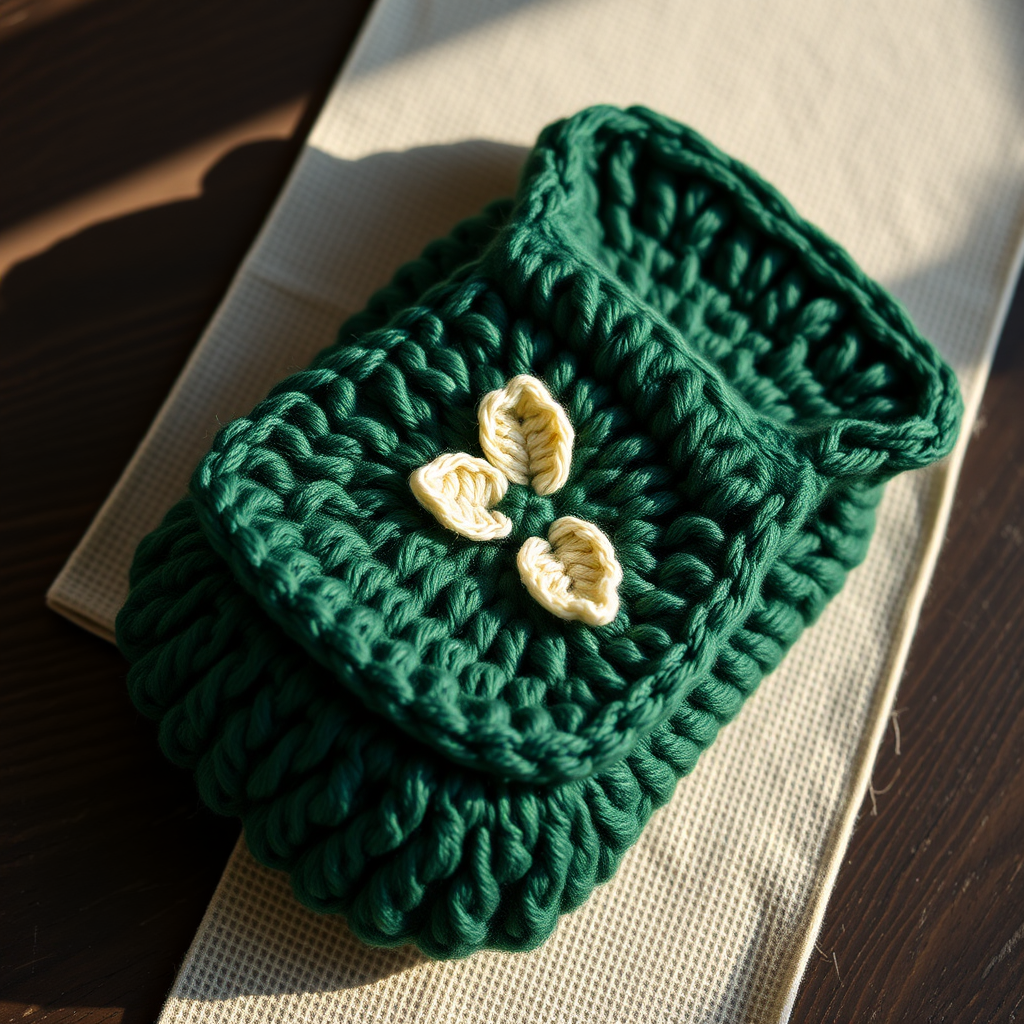
Whimsical Wisteria Wrap Free Pattern

Whimsical Wisteria Wrap: A Free Crochet Pattern for a Romantic, Garden-Inspired Accessory
Imagine wrapping yourself in a cascade of delicate wisteria blossoms, their soft lavender and pale green hues whispering of spring gardens and romantic evenings. The Whimsical Wisteria Wrap is more than just a shawl—it's a wearable piece of art that combines textured puff stitches with a flowing, triangular silhouette. This free crochet pattern is designed to be both accessible for confident beginners and delightfully engaging for experienced makers. The magic lies in the staggered clusters that mimic the natural, drooping beauty of wisteria vines, creating a cozy, textured fabric that drapes elegantly over your shoulders. Whether you're curling up with a book or stepping out for a twilight stroll, this wrap adds a touch of handcrafted garden magic to any outfit.
In this comprehensive guide, we'll walk you through every step, from gathering your materials to weaving in those final ends. You'll learn how to create the signature puff stitch clusters, manage increases for a perfect triangle shape, and add charming accent stripes. Let's pick up your hook and bring this whimsical vision to life!
Materials Needed: Gathering Your Garden Essentials
Before you begin your crochet journey, it's essential to gather all the right tools and yarn. The beauty of this pattern is its versatility—you can easily swap colors to match your personal style. Here’s exactly what you'll need:
Yarn
- Main Color (MC): DK weight yarn in a soft, romantic shade like lavender, dusty rose, or sage green. You will need approximately 600 yards (550 meters).
- Accent Color (AC): DK weight yarn in a contrasting or complementary shade, such as pale green, cream, or a deeper purple. You will need approximately 200 yards (183 meters).
Pro Tip: When choosing your yarn, look for a plied DK weight (light #3) that has good stitch definition. This will make your puff stitches pop beautifully. A soft blend of cotton and acrylic or a merino wool would work wonderfully.
Hook and Notions
- Crochet Hook: 5.5 mm (I/9) hook. This size is crucial for achieving the correct gauge and a drapey, yet structured, fabric.
- Yarn Needle: A tapestry needle with a large eye for weaving in ends.
- Scissors: For cutting your yarn.
- Stitch Markers (Optional): Helpful for marking the center ch-2 space as your wrap grows.
Gauge and Size
- Gauge: 4 repeats of the shell pattern (16 sts) and 8 rows = 4 inches in the pattern stitch. Always check your gauge to ensure your wrap turns out the correct size.
- Finished Dimensions: Approximately 60 inches (152 cm) from point to point, but you can easily adjust the length by working more or fewer rows.
Step-by-Step Instructions: Crafting Your Wisteria Wrap
This wrap is worked from the top down, starting with a simple ring and increasing at the center to form a beautiful triangle. Don't be intimidated by the puff stitches—they are easier than they look and create a stunning, textured effect. Let's break it down into manageable steps.
Understanding Your Abbreviations
Before we dive in, let's review the abbreviations used in this pattern:
- ch: chain
- sc: single crochet
- dc: double crochet
- puff: puff stitch (yarn over, insert hook, pull up loop) 4 times, yarn over and pull through all loops on hook, ch 1 to close
- sk: skip
- sp: space
- st(s): stitch(es)
- rep: repeat
- sl st: slip stitch
Foundation and First Rows: Building the Base
We'll start by creating a solid foundation that will form the top edge of your wrap.
Foundation: With your main color (MC), ch 4, join with a sl st to form a ring.
Row 1: Ch 3 (counts as your first dc), 3 dc in ring, ch 2, 4 dc in ring. Turn. (You should have 8 dc and 1 ch-2 sp)
Row 2: Ch 3, dc in same st (this is your increase), dc in next 3 sts, (dc, ch 2, dc) in the ch-2 sp, dc in next 3 sts, 2 dc in last st. Turn. (12 dc, 1 ch-2 sp)
Row 3: Ch 3, dc in same st, dc in next 5 sts, (dc, ch 2, dc) in ch-2 sp, dc in next 5 sts, 2 dc in last st. Turn. (16 dc, 1 ch-2 sp)
Row 4: Ch 3, dc in same st, dc in next 7 sts, (dc, ch 2, dc) in ch-2 sp, dc in next 7 sts, 2 dc in last st. Turn. (20 dc, 1 ch-2 sp)
You've now created the solid base of your triangle. Notice how we are increasing by 2 stitches on each side every row, with the ch-2 sp acting as the center spine.
Introducing the Wisteria Clusters: Row 5
This is where the magic happens! We'll now add the puff stitches that mimic wisteria blossoms.
Row 5 (Wisteria Cluster Row): Ch 3, dc in same st, ch 1, sk 1 st, puff in next st, ch 1, sk 1 st, *dc in next st, ch 1, sk 1 st, puff in next st, ch 1, sk 1 st*; rep from * to * until 1 st remains before the ch-2 sp, dc in that st, (dc, ch 2, dc) in ch-2 sp, then work the same sequence in reverse across the other side: dc in next st, ch 1, sk 1 st, puff in next st, ch 1, sk 1 st, rep from * to * until 1 st remains, dc in last st, 2 dc in last st. Turn.
Don't worry if this feels a bit fiddly at first. The rhythm is simple: dc, ch 1, puff, ch 1, repeat. The key is to ensure your puff clusters are evenly spaced on both sides of the center spine.
Solid Rows and Staggering: Rows 6-10
Now we'll alternate between solid rows and cluster rows to build the fabric and create a staggered, organic pattern.
Row 6: Ch 3, dc in same st, dc in each st and ch-1 sp across to the ch-2 sp, (dc, ch 2, dc) in ch-2 sp, dc in each st and ch-1 sp across, 2 dc in last st. Turn. (This row fills in the gaps, increasing by 2 dc on each side.)
Rows 7-10: Repeat Rows 5 and 6. However, on Row 7 (the cluster row), work your puff stitches into the dc sts from Row 6, skipping the ch-1 sps. This will offset the clusters, creating that beautiful, natural staggered effect. Continue increasing by 2 dc on each side every row.
Pro Tip: To keep your work neat, always place your (dc, ch 2, dc) increase in the exact center ch-2 sp. Using a stitch marker here can be a lifesaver.
Adding Accent Color: Rows 11-13
Time to introduce your accent color for a touch of contrast and visual interest.
Row 11 (Accent Row): Change to your accent color (AC). Ch 3, dc in same st, dc in each st across to the ch-2 sp, (dc, ch 2, dc) in ch-2 sp, dc in each st across, 2 dc in last st. Turn.
Row 12: Ch 3, dc in same st, ch 1, sk 1 st, puff in next st, ch 1, sk 1 st, rep from * to * across, working (dc, ch 2, dc) in the ch-2 sp as before. Turn.
Row 13: Switch back to your main color (MC). Ch 3, dc in same st, dc in each st and ch-1 sp across, (dc, ch 2, dc) in ch-2 sp, dc in each st and ch-1 sp across, 2 dc in last st. Turn.
Continuing the Pattern: Rows 14-20 and Beyond
You're now in the rhythm of the pattern. Let's continue to build the length.
Rows 14-20: Repeat Rows 5 and 6, continuing to increase as established. To add more color blocks, work 2 more accent rows (like Rows 11-12) after Row 16 and again after Row 20, alternating your colors. This will create lovely, evenly spaced stripes of wisteria color.
Continue working in this established pattern (alternating solid and cluster rows, with accent stripes every 4-6 rows) until your wrap reaches your desired length. The pattern suggests approximately 60 inches from point to point. Remember to measure as you go!
Finishing Touches: Edging and Weaving
The final step is what gives your wrap that polished, professional look.
Edging: With your accent color (AC), sc evenly around the entire edge of the wrap. Work 3 sc in each corner to ensure the corners lay flat and are nicely defined. Join with a sl st to the first sc.
Fasten Off: Cut your yarn, leaving a 6-inch tail. Pull the tail through the loop on your hook to secure.
Weave in All Ends: Using your yarn needle, carefully weave in all loose ends along the wrong side of the work. Make sure to weave them in securely so they don't unravel with wear.
Give your wrap a gentle block if desired to open up the stitches and enhance the drape. Lay it flat on a towel, pin it to shape, and mist with water. Allow it to dry completely.
Congratulations! You've just created a stunning, one-of-a-kind Whimsical Wisteria Wrap. This piece is perfect for gifting or for treating yourself to a little handmade luxury. The textured puff stitches and elegant colorwork make it a true statement piece that you'll cherish for years to come. Happy crocheting!