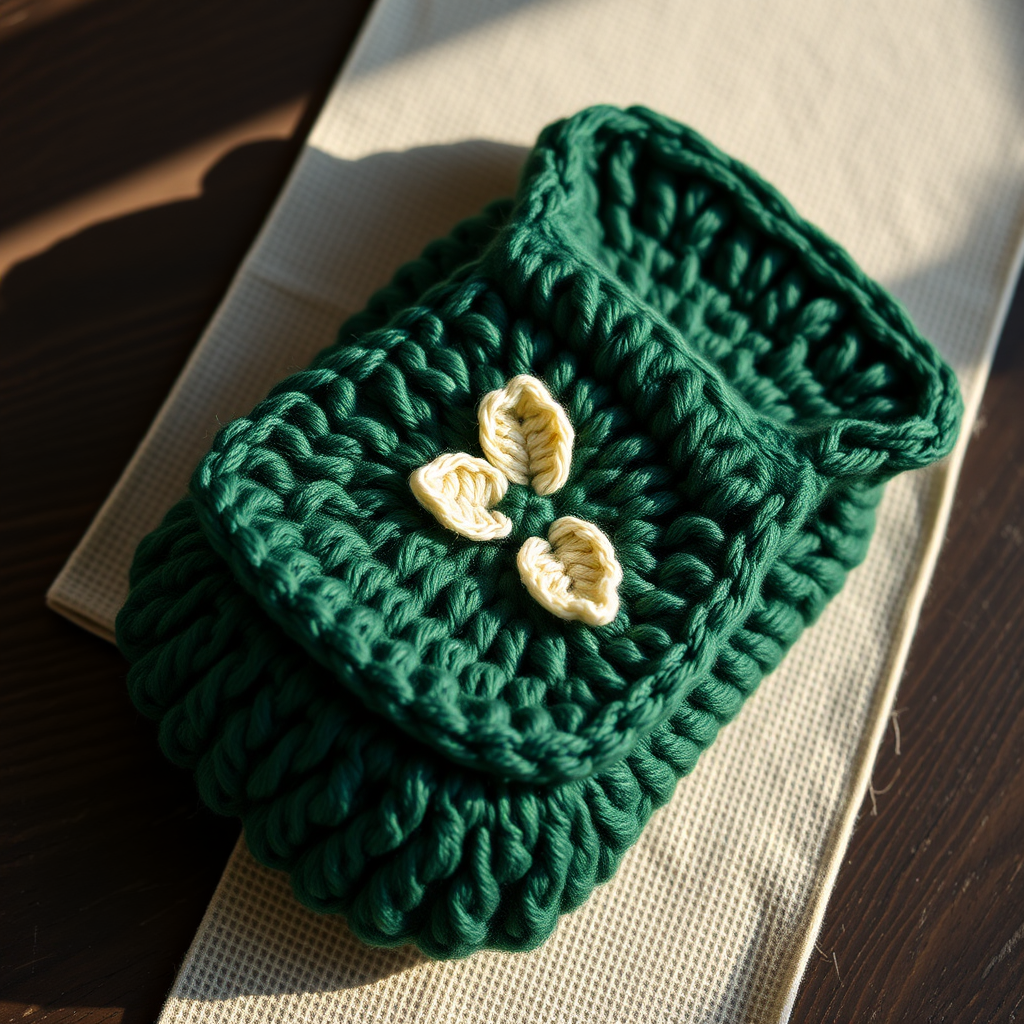
Velvet Cloud Puff Scrunchies Free Pattern

Wrap Your Hair in Luxury: The Velvet Cloud Puff Scrunchie
Are you ready to elevate your everyday hair accessory game? Say goodbye to tight, damaging elastic bands and hello to the plush, cloud-like comfort of the Velvet Cloud Puff Scrunchie. This isn't just a hair tie; it's a statement piece that adds a touch of cozy luxury to any ponytail, bun, or half-up style. Crafted with super bulky velvet yarn, this project works up in under an hour, making it the perfect last-minute gift or a delightful treat for yourself. Even if you're a complete beginner, this pattern is designed to be your gateway into the world of quick, satisfying crochet. Let's dive in and create a stunning accessory that's as gentle on your hair as it is stylish.
Materials Needed
Before we begin, gather your supplies. The beauty of this project lies in its simplicity—you only need a few items to create something truly special.
- Yarn: Super bulky (weight 6) chenille or velvet yarn. You'll need approximately 20-30 yards per scrunchie. Excellent choices include Bernat Blanket Velvet or Lion Brand Go for Faux Thick & Quick. The softness of the yarn is key to achieving that cloud-like feel.
- Crochet Hook: Size K/10.5 (6.5 mm). This hook size is perfect for creating a dense yet flexible fabric that will stretch comfortably over your hair tie.
- Hair Tie: One standard elastic hair tie, about 2 inches in diameter. Choose one that's sturdy but not too thick.
- Yarn Needle: For weaving in ends and cinching the center closed.
- Scissors: To cut your yarn.
Note on Gauge: Gauge is not critical for this project. The goal is to create a fabric that is dense enough to hide the hair tie but flexible enough to stretch. Focus on maintaining a relaxed tension as you work.
Step-by-Step Instructions
Follow these detailed instructions carefully, and you'll have a gorgeous scrunchie in no time. The entire piece is worked in continuous rounds around the hair tie, creating a seamless, puffy result.
Getting Started: The Foundation
Round 1: Begin by attaching your yarn to the hair tie. Make a slip knot on your hook. Insert your hook through the center of the hair tie, yarn over, and pull up a loop. You should now have 2 loops on your hook. Yarn over and pull through both loops—this counts as your first single crochet (sc). Continue to work 14 more single crochets evenly around the entire hair tie, making sure to completely cover the elastic. Join with a slip stitch to the first single crochet. You should have a total of 15 single crochets.
Building the Puff: Increase Rounds
Now we'll rapidly increase the stitch count to create the signature ruffled, cloud-like shape.
Round 2: Chain 1 (this does not count as a stitch). Work 2 single crochets into each single crochet around. Join with a slip stitch to the first single crochet. You should now have 30 single crochets.
Round 3: Chain 1. *Work 2 single crochets in the next stitch, then 1 single crochet in the next stitch*; repeat from * to * around. Join with a slip stitch to the first single crochet. You should now have 45 single crochets.
Round 4: Chain 1. *Work 2 single crochets in the next stitch, then 1 single crochet in each of the next 2 stitches*; repeat from * to * around. Join with a slip stitch to the first single crochet. You should now have 60 single crochets. This is the widest point of your scrunchie.
Adding Height and Fullness
This round adds crucial height to make your scrunchie look plush and voluminous.
Round 5: Chain 1. Work 1 single crochet in each single crochet around. Join with a slip stitch to the first single crochet. You will still have 60 single crochets. This plain round is what gives the scrunchie its puffy, dimensional look.
Shaping the Center: Decrease Rounds
Now we will decrease the stitch count to cinch the scrunchie back together at the center, creating the gathered flower effect.
Round 6: Chain 1. *Work 1 single crochet in each of the next 2 stitches, then work a single crochet 2 together (sc2tog) over the next 2 stitches*; repeat from * to * around. Join with a slip stitch to the first single crochet. You should now have 45 single crochets.
How to sc2tog (Single Crochet Decrease): Insert your hook into the next stitch, yarn over, and pull up a loop (2 loops on hook). Insert your hook into the following stitch, yarn over, and pull up a loop (3 loops on hook). Yarn over and pull through all 3 loops on your hook. One decrease made.
Round 7: Chain 1. *Work 1 single crochet in the next stitch, then sc2tog over the next 2 stitches*; repeat from * to * around. Join with a slip stitch to the first single crochet. You should now have 30 single crochets.
Round 8: Chain 1. *Work sc2tog over the next 2 stitches*; repeat from * to * around. Join with a slip stitch to the first single crochet. You should now have 15 single crochets.
Finishing Touches: Cinching and Securing
This final step is crucial for closing the center hole neatly and securely.
Fasten off your yarn, leaving a long tail of about 12 inches. Thread this tail onto your yarn needle. Carefully weave the needle through the front loops only of all 15 remaining stitches. Once you've woven through all the loops, gently pull the tail tight. This will cinch the center of the scrunchie closed, creating a beautiful gathered flower shape. Secure the closure with a few small stitches through the center, then weave in the end securely to hide it.
Customization & Final Tips
Your plush velvet scrunchie is now complete and ready to wear! Gently stretch it over a ponytail or bun for a soft, stylish hold that won't snag your hair.
Want it even bigger and fluffier? It's easy to customize! Before Round 5, add an extra increase round. For example, after Round 4, work a Round 5 as: *2 sc in the next stitch, 1 sc in each of the next 3 stitches*; repeat around (75 sc). Then, work your plain round (Round 6) with 75 sc, and adjust your decrease rounds accordingly (you'll need one more decrease round to get back down to 15 stitches).
This pattern is a fantastic way to use up scrap yarn or to create a set of matching scrunchies for you and your friends. The luxurious feel of the velvet yarn makes this simple project feel incredibly high-end. Enjoy your new favorite hair accessory!