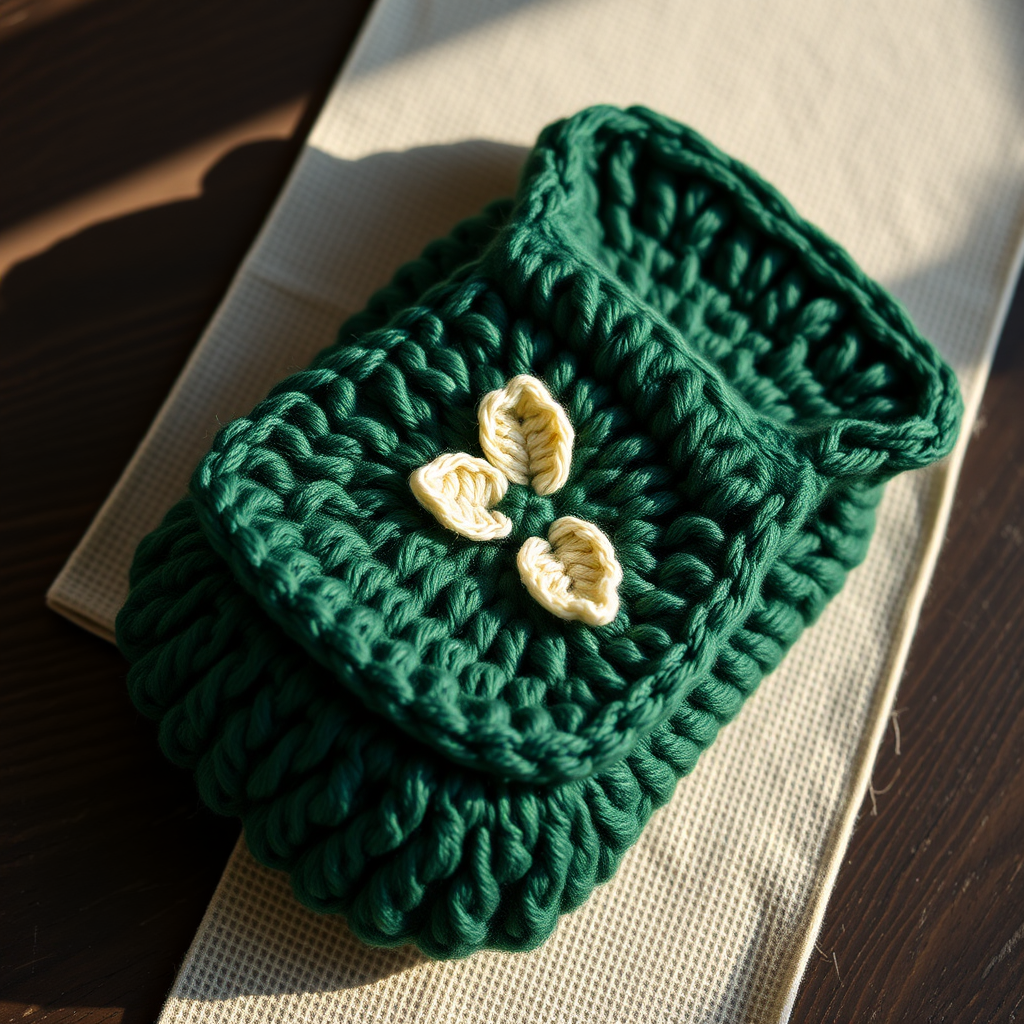
Whimsical Woodland Bloom Brooch Free Pattern

Whimsical Woodland Bloom Brooch: A Free Crochet Pattern
Bring a touch of forest magic to your favorite jacket, scarf, or bag with this charming Whimsical Woodland Bloom Brooch. This quick and satisfying project combines simple crochet stitches to create a textured, nature-inspired accessory that's perfect for gifting or treating yourself. The hidden acorn button center adds a delightful surprise, making this brooch truly one-of-a-kind. Whether you're a seasoned crocheter or just starting your yarn journey, this pattern is designed to be accessible and fun.
Materials Needed
Before you begin, gather these simple supplies. The gauge is not critical for this project, but aim for a tight, firm fabric to help the brooch hold its shape beautifully.
- Yarn: Worsted weight cotton yarn in three colors:
- Warm golden yellow (for petals)
- Rich forest green (for leaves)
- Earthy brown (for the acorn center)
- Hook: G/6 (4.0 mm) crochet hook
- Extras: Yarn needle for sewing, a small piece of scrap yarn for stuffing, and a brooch pin or safety pin for the backing
Step-by-Step Instructions
Follow these detailed instructions to create your own woodland bloom. Take your time, and enjoy the process!
Petal Layer (Make 5)
Each petal is worked in the round to create a lovely scalloped edge. You'll make five petals total.
- Start: With yellow yarn, make a magic ring.
- Round 1: Chain 2 (counts as your first double crochet), then work 11 double crochets (dc) into the ring. Join with a slip stitch (sl st) to the top of the starting chain-2. You should have 12 dc total.
- Round 2: Chain 1, single crochet (sc) in the same stitch. *Chain 3, skip the next dc, sc in the next dc.* Repeat from * to * around, ending with a chain 3. Join with a sl st to the first sc. You'll now have 6 chain-3 loops.
- Round 3: Slip stitch into the first chain-3 loop. Chain 1, then work the following into each chain-3 loop around: (sc, hdc, 3 dc, hdc, sc). Join with a sl st to the first sc. Fasten off, leaving a long tail (about 12 inches) for sewing.
Leaf Layer (Make 3)
These simple leaves are worked in rows and will fan out behind the flower.
- Start: With green yarn, chain 8.
- Row 1: Sc in the 2nd chain from the hook. Hdc in the next chain. Dc in the next 3 chains. Hdc in the next chain. Sc in the last chain. You'll have 7 stitches.
- Row 2: Chain 1, turn your work. Sc in each stitch across. Fasten off, leaving a long tail for sewing.
Acorn Center
This little acorn is the heart of the brooch, worked in a simple spiral-like round.
- Start: With brown yarn, make a magic ring.
- Round 1: Chain 1, work 6 sc into the ring. Pull the ring tight, and join with a sl st to the first sc. (6 sc)
- Round 2: Chain 1, work 2 sc in each sc around. Join with a sl st. (12 sc)
- Round 3: Chain 1, sc in each sc around. Join with a sl st. Fasten off, leaving a long tail for sewing.
Assembly
Now for the fun part—bringing all the pieces together!
- Arrange the Petals: Lay your 5 petals in a circle, overlapping them slightly to form a full, rounded flower. Using the long tails from the petals, sew them together securely at the center point. Weave in the ends neatly.
- Attach the Leaves: Turn the flower over. Position the 3 leaves evenly spaced around the back, pointing outward. Sew each leaf onto the back of the flower using their tails, making sure they are secure.
- Add the Acorn Center: Turn the flower right-side up. Place the acorn center in the middle of the flower. Before sewing it down completely, stuff it lightly with a small piece of scrap yarn to give it a plump, rounded shape. Sew the acorn securely to the flower using its long tail.
- Attach the Pin: Turn the brooch over again. Using the brown yarn tail (or a fresh piece of yarn), securely sew a brooch pin or safety pin onto the back of the flower. Make sure it's centered and well-attached so it can hold the weight of the brooch. Weave in all remaining ends.
And there you have it—your very own Whimsical Woodland Bloom Brooch! This delightful accessory is sure to spark conversations and add a touch of handmade charm to any outfit. Happy crocheting!