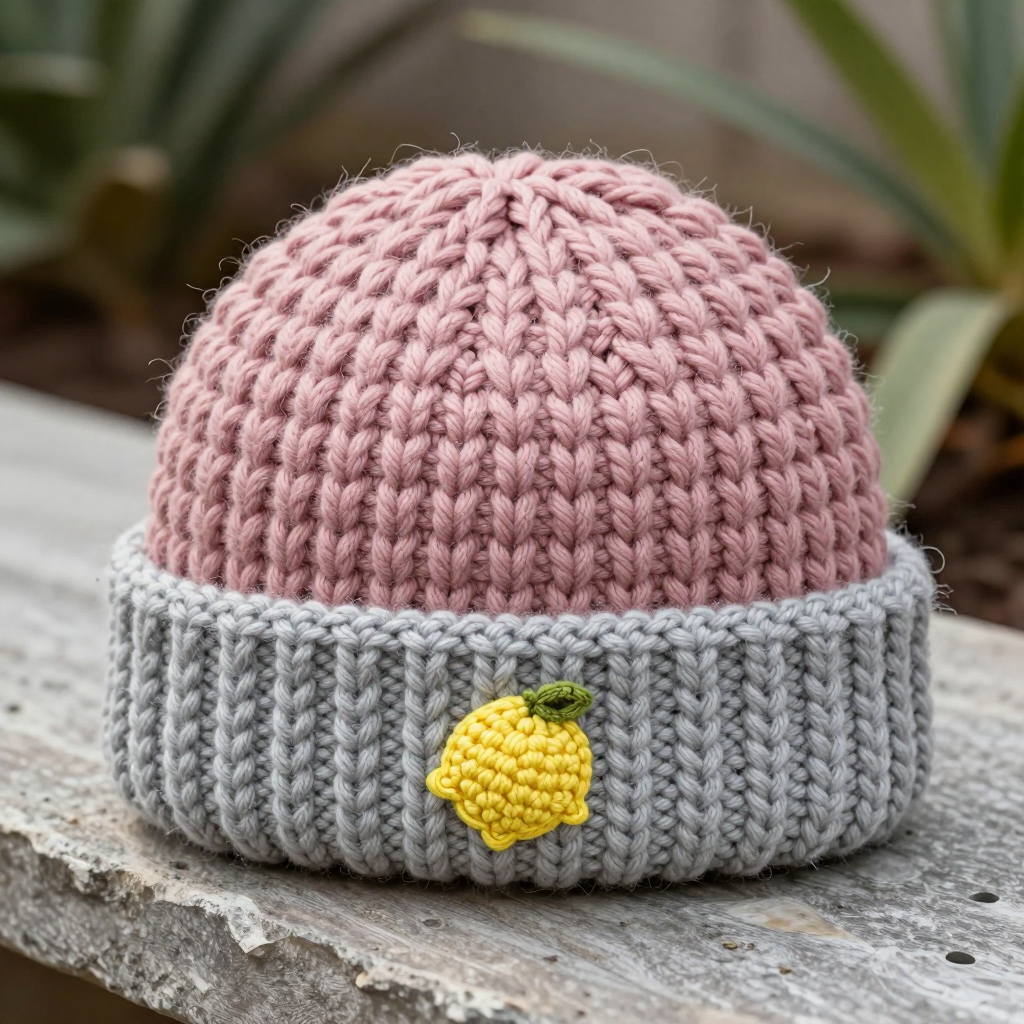
Baby Hat Knitting Patterns
Whimsical Woodland Fawn Hat Free Pattern
FindAmigurumi
•
August 25, 2026

[3-6 months] {6-12 months}. The finished circumference is 13 (14) [15] inches. Follow the numbers in the correct brackets for your desired size.
Abbreviations
- K = Knit
- P = Purl
- K2tog = Knit two stitches together (decrease)
- P2tog = Purl two stitches together (decrease)
- PM = Place marker
- SM = Slip marker
- CO = Cast on
- BO = Bind off
- St st = Stockinette stitch (knit on the right side, purl on the wrong side)
- RS = Right side
- WS = Wrong side
Knitting the Ears (Make 2)
The ears are knitted flat first, then sewn onto the finished hat. Using your Contrast Color (CC) yarn, follow these steps:
- Cast On: CO 10 stitches.
- Row 1 (RS): Knit all stitches.
- Row 2: Purl all stitches.
- Repeat Rows 1-2: Continue repeating these two rows until the piece measures 2 inches from the cast-on edge, ending with a wrong-side row (a purl row).
- Decrease Row 1 (RS): K2tog, K6, K2tog. (You will have 8 stitches).
- Next Row (WS): Purl all stitches.
- Decrease Row 2 (RS): K2tog, K4, K2tog. (You will have 6 stitches).
- Next Row (WS): Purl all stitches.
- Decrease Row 3 (RS): K2tog, K2, K2tog. (You will have 4 stitches).
- Next Row (WS): Purl all stitches.
- Decrease Row 4 (RS): K2tog, K2tog. (You will have 2 stitches).
- Final Row (WS): P2tog. (You will have 1 stitch).
- Finish: Bind off the remaining stitch. Cut the yarn, leaving a long tail (at least 8 inches) for sewing the ear to the hat.
Knitting the Hat Body
Now, let's create the main part of the hat using your Main Color (MC) yarn.
- Cast On: Using your circular needle and MC yarn, CO 72 (80) [88] stitches.
- Join in the Round: Carefully place a stitch marker on your right needle and join the round, ensuring the stitches are not twisted.
- Ribbing: Work in a K1, P1 ribbing pattern for 1 inch. This creates a snug, stretchy brim.
- Stockinette Stitch: Switch to stockinette stitch by knitting every round. Continue knitting until the piece measures 4 (4.5) [5] inches from the cast-on edge.
Shaping the Crown
This is where the hat begins to take its rounded shape. You will need to place 4 markers to divide your work into equal sections.
- Place Markers: Place a marker after 18 (20) [22] stitches, after 36 (40) [44] stitches, after 54 (60) [66] stitches, and at the end of the round (your original marker). You will now have 4 equal sections.
- Decrease Round 1: *Knit to 2 stitches before the next marker, K2tog, slip marker (SM), K1, K2tog.* Repeat from * to * around the entire round. This will decrease a total of 8 stitches.
- Decrease Round 2: Knit all stitches around.
- Repeat: Continue repeating Rounds 1 and 2 until you have 16 (16) [16]Also Check Out: We think you'd love this beautiful pattern on our sister site: Mint Breeze Chevron Afghan Free Pattern – Crochet a Coastal Serenity Throw