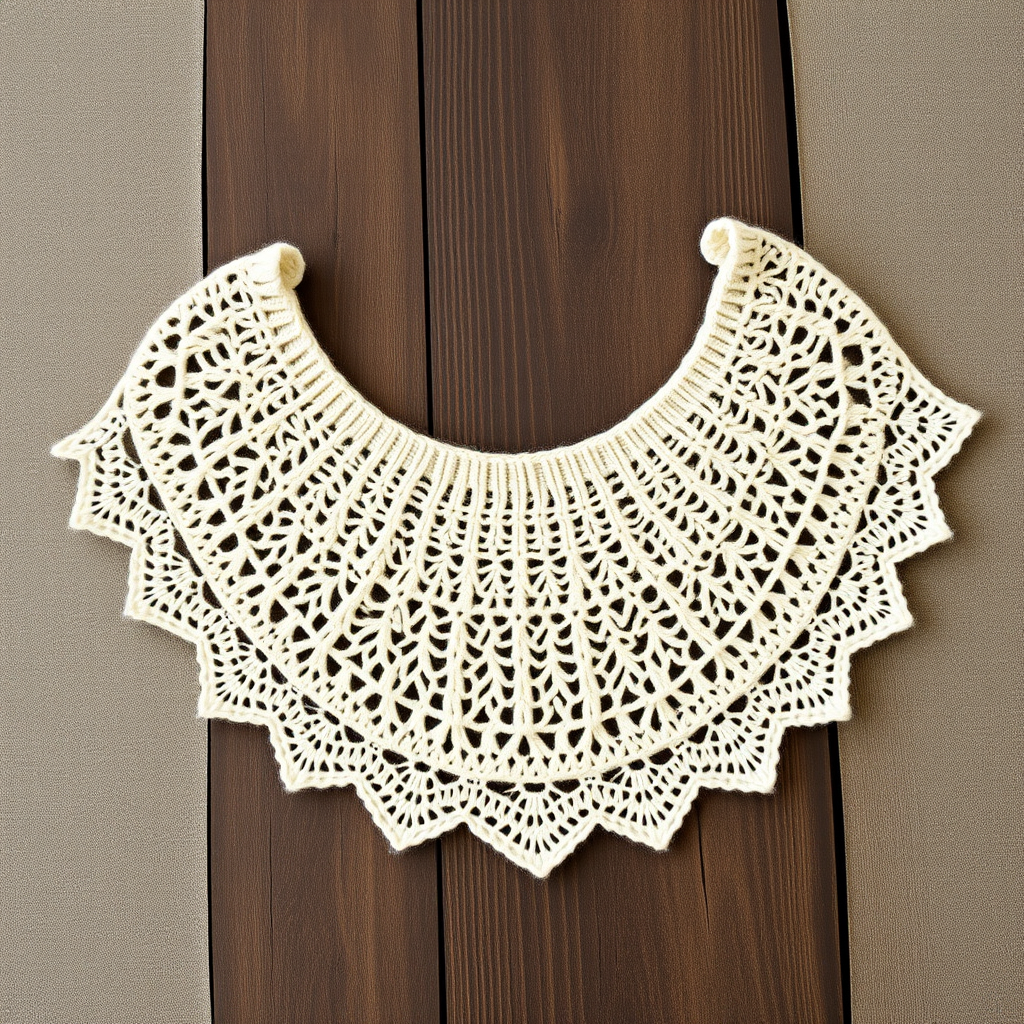
Sunset Serape Wrap Free Pattern – Textured Knitted Fringed Shawl

Wrap Yourself in Warmth: The Sunset Serape Wrap Free Knitting Pattern
Imagine the golden hour of a desert evening, the sky painted in shades of burnt orange, terracotta, and cream. That's the inspiration behind the Sunset Serape Wrap—a richly textured, fringed shawl that combines the cozy comfort of garter stitch with the intricate beauty of seed stitch and bold cables. This isn't just a knitting project; it's an heirloom-quality piece that drapes elegantly and adds a touch of southwestern charm to any outfit. Whether you're a seasoned knitter looking for a new challenge or a confident beginner ready to expand your skills, this free pattern will guide you through creating a stunning, wearable work of art.
This pattern is worked flat in one piece from the top center down, increasing at the edges to form a beautiful triangle. The combination of textures—from the smooth garter border to the bumpy seed stitch and the dramatic cables—creates a visually captivating and deeply satisfying knit. Let's get started on your new favorite wrap!
Materials Needed for Your Sunset Serape Wrap
Before you cast on, gather your materials. This project is portable and uses readily available worsted weight yarn, making it perfect for knitting on the go.
- Yarn: Worsted weight yarn in 3 colors, approximately 800 yards total.
- Color A (Burnt Orange): Approx 270 yards
- Color B (Terracotta): Approx 270 yards
- Color C (Cream): Approx 260 yards
- Needles: US 8 (5.0 mm) circular knitting needle, 32 inches or longer. The long cable is essential to hold the increasing number of stitches.
- Notions: Stitch markers (optional), tapestry needle for weaving in ends, crochet hook (for adding fringe), and scissors.
- Gauge: 18 stitches and 24 rows = 4 inches in stockinette stitch (blocked). Gauge is important for achieving the correct drape and size, so take a moment to swatch!
Step-by-Step Instructions: Knitting Your Shawl
This shawl is knitted from the top center point downwards. Don't be intimidated by the cables—they are simple to execute with a cable needle and add a stunning structural element to the design. Let's break it down.
Understanding Your Abbreviations
Here are the abbreviations used in this pattern. Familiarize yourself with them before you begin.
- CO: Cast on
- K: Knit
- P: Purl
- K2tog: Knit two stitches together (decrease)
- YO: Yarn over (increase)
- C4F: Slip 2 stitches to cable needle, hold in front, knit next 2 stitches, then knit 2 from cable needle.
- C4B: Slip 2 stitches to cable needle, hold in back, knit next 2 stitches, then knit 2 from cable needle.
- St(s): Stitch(es)
- RS: Right side
- WS: Wrong side
Getting Started: The Foundation
We'll begin by casting on and working the initial increase rows to establish the center point of your shawl. With Color A, CO 3 stitches.
- Row 1 (RS): K1, YO, K1, YO, K1 (5 sts)
- Row 2 (WS): K2, P1, K2
- Row 3: K1, YO, K1, YO, K1, YO, K1 (7 sts)
- Row 4: K2, P3, K2
- Row 5: K1, YO, K1, YO, K3, YO, K1, YO, K1 (11 sts)
- Row 6: K2, P7, K2
The Main Pattern: Textures and Cables
Now we begin the main body of the shawl. You will repeat Rows 7-12, and with each repeat, the pattern expands by 4 stitches. The increases are always worked at the beginning and end of every RS row.
- Row 7 (RS): K1, YO, K1, YO, *K1, P1* repeat from * to * until last 3 sts, K1, YO, K1, YO, K1 (15 sts)
- Row 8 (WS): K2, P to last 2 sts, K2
- Row 9: K1, YO, K1, YO, *C4F, C4B* repeat until last 3 sts, K1, YO, K1, YO, K1 (19 sts)
- Row 10: K2, P to last 2 sts, K2
- Row 11: K1, YO, K1, YO, *P1, K1* repeat until last 3 sts, K1, YO, K1, YO, K1 (23 sts)
- Row 12: K2, P to last 2 sts, K2
Pro-Tip: Place a stitch marker after the first 3 stitches and before the last 3 stitches. This will help you easily identify where to work your increases and where the garter stitch border begins and ends.
Continue repeating Rows 7-12, watching your stitch count increase by 4 on each RS row. The seed stitch sections (Rows 7 and 11) will grow, and the cable panels (Row 9) will multiply, creating a beautiful, rhythmic pattern. Work until the shawl measures approximately 28 inches from the center top to the bottom point, ending with a WS row.
Adding the Sunset Colors
This is where the magic of the sunset palette comes to life. The color changes are simple and create bold, horizontal bands.
- Work the first 8 inches in Color A (Burnt Orange).
- Switch to Color B (Terracotta) and work the next 8 inches.
- Switch to Color C (Cream) and work the final 8 inches.
How to change colors: Simply start the new color at the beginning of a RS row. Leave a 6-inch tail of the old and new yarn to weave in later. Do not try to carry the yarn up the side; cutting and weaving in is much cleaner for this type of project.
Finishing Touches: Border and Bind Off
Once you've reached your desired length, it's time to finish the body of the shawl.
- After completing the final 8 inches in Color C, work 4 rows of garter stitch (knit every row) in Color C. This creates a neat, sturdy edge that complements the top border.
- Bind off loosely. A loose bind-off is crucial to prevent the edge from pulling and ruining the drape of your shawl. You can use a larger needle to bind off or use a stretchy bind-off method.
Adding the Flowing Fringe
The fringe is the perfect finishing touch, echoing the desert spirit of the design. It's easier than it looks and adds a beautiful, bohemian flair.
- Cut your strands: Cut strands of Color A, B, and C, each 12 inches long. You will need quite a few, so cut them in batches.
- Group your strands: For each fringe, take 3 strands—one of each color.
- Attach the fringe: Fold the 3 strands in half to create a loop. Insert a crochet hook through the edge stitch of your shawl, from the wrong side to the right side. Pull the loop of yarn through the edge stitch.
- Secure the fringe: Pull the loose ends of the yarn through the loop and pull tight to secure.
- Placement: Space the fringes every 1 inch along the two diagonal edges of the shawl. Don't add fringe to the top cast-on edge.
- Trim to finish: Once all fringes are attached, lay the shawl flat and trim the ends of the fringe evenly for a polished look.
Weave in all your loose ends with a tapestry needle. Give your shawl a gentle block to open up the cables and even out the stitches. Lay it flat to dry, and your stunning Sunset Serape Wrap is ready to be worn and admired!
This pattern is a joy to knit, and the result is a truly special piece that you'll treasure for years. Happy knitting!