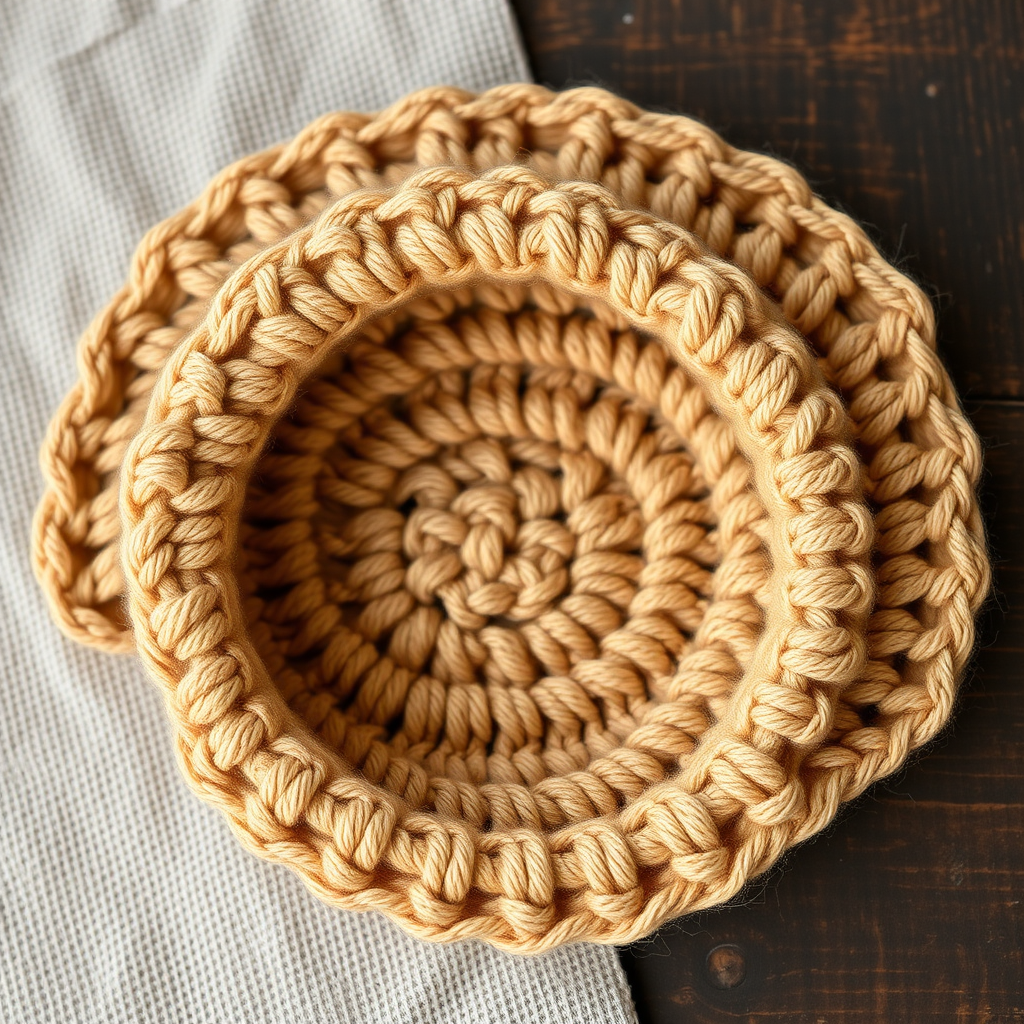
Sunlit Garden Trellis Stitch: A Free Crochet Pattern for Airy Texture

Introducing the Sunlit Garden Trellis Stitch
Imagine a fabric that feels like a gentle breeze—light, airy, and kissed by the sun. That's the magic of the Sunlit Garden Trellis Stitch. This modern crochet technique creates a delicate, openwork mesh that resembles a beautiful garden trellis, with vertical columns of double crochet separated by soft, chain-spaced gaps. The result is a textured, breathable fabric that catches the light beautifully, making it the perfect choice for lightweight scarves, airy throws, or even summer tops.
This free pattern is designed to be accessible for confident beginners while remaining a joy for intermediate crocheters. The simple, rhythmic repeat is meditative once you get going, and the finished texture is truly rewarding. Whether you're looking for a quick gift project or a relaxing stitch to add to your repertoire, the Sunlit Garden Trellis Stitch is a wonderful choice.
Materials Needed
Before you begin, gather these simple supplies. Using the recommended yarn and hook will ensure your finished piece matches the intended drape and gauge.
- Yarn: Worsted weight cotton or cotton blend yarn (e.g., Lion Brand 24/7 Cotton). Choose a light, sun-washed color like pale yellow, soft sage, or sky blue to really make the openwork shine.
- Crochet Hook: 5.5 mm (I-9) crochet hook.
- Other Tools: A yarn needle for weaving in ends and a pair of scissors.
Gauge: For best results, aim for a 4-inch square that measures 14 stitches and 12 rows in the pattern stitch. (Note: Gauge is important for size, but this stitch is forgiving—if your scarf is slightly wider or narrower, it will still look beautiful!)
Step-by-Step Instructions
Follow these detailed instructions carefully, and you'll have a gorgeous, trellis-textured scarf in no time. The pattern is a simple repeat of a single row once you get past the foundation.
Foundation Chain
To begin, make a slip knot and chain a multiple of 3 + 2 chains. For a scarf that is approximately 6 inches wide, chain 32 stitches. (If you want a wider throw, simply chain 35, 38, 41, etc.)
Row 1: Setting the Trellis
This first row establishes the alternating double crochet and chain spaces that form the base of the pattern.
- First Stitch: Double crochet (dc) in the 4th chain from your hook. The skipped chains count as your first double crochet.
- Chain 1: Make one chain stitch.
- Skip: Skip the next chain stitch.
- Double Crochet: Work a double crochet into the following chain.
- Repeat: *Chain 1, skip the next chain, double crochet in the next chain.* Repeat the sequence from * to * across the row until you reach the very last chain.
- Final Stitch: Work one double crochet into that final chain. Turn your work.
Row 2: Building the Columns
Now you'll start working into the spaces created in Row 1. This is where the vertical columns begin to form.
- Turning Chain: Chain 3. This counts as your first double crochet for this row.
- Skip: Skip the first double crochet stitch from the row below (the one directly under your turning chain).
- Into the Space: Work a double crochet into the next chain-1 space (the gap you created in Row 1).
- Chain 1: Make one chain stitch.
- Skip: Skip the next double crochet stitch.
- Repeat: *Double crochet into the next chain-1 space, chain 1, skip the next double crochet.* Repeat from * to * across the row.
- Final Stitch: To finish the row, work a double crochet into the top of the turning chain from the previous row (the 3rd chain of the ch-3 you made at the start of Row 1). Turn your work.
Row 3 and Beyond: The Simple Repeat
Row 3 is identical to Row 2. Once you complete it, you will simply repeat this row until your piece reaches the desired length.
- Turning Chain: Chain 3 (counts as first double crochet).
- Skip: Skip the first double crochet.
- Into the Space: Double crochet into the next chain-1 space.
- Chain 1: Make one chain stitch.
- Skip: Skip the next double crochet.
- Repeat: *Double crochet into the next chain-1 space, chain 1, skip the next double crochet.* Repeat from * across the row.
- Final Stitch: End the row with a double crochet into the top of the turning chain. Turn.
Continue: Keep repeating Row 3 until your scarf measures approximately 60 inches long (or your desired length). Remember to keep your tension consistent for a uniform, even fabric.
Finishing Touches
Once your piece reaches the perfect length, it's time to finish off.
- Fasten Off: Cut your yarn, leaving a 6-inch tail. Pull the tail through the loop on your hook to secure the stitch.
- Weave in Ends: Thread the yarn tail onto a yarn needle and weave it carefully through the stitches on the wrong side of your work. Do the same for the tail from your foundation chain. Trim any excess yarn.
- Blocking (Recommended): To truly open up the stitch pattern and even out the edges, gently block your scarf. Soak it in lukewarm water with a drop of mild soap, then gently squeeze out the excess water (don't wring!). Lay it flat on a towel, gently stretch it to its intended dimensions, and pin the edges if needed. Allow it to dry completely. This step will make your trellis stitch look crisp and professional.
And there you have it—a stunning, sunlit scarf with a beautiful, airy texture. The Sunlit Garden Trellis Stitch is a fantastic pattern to have in your toolkit. Enjoy the process, and don't be afraid to experiment with different yarn weights and colors to make this pattern your own!