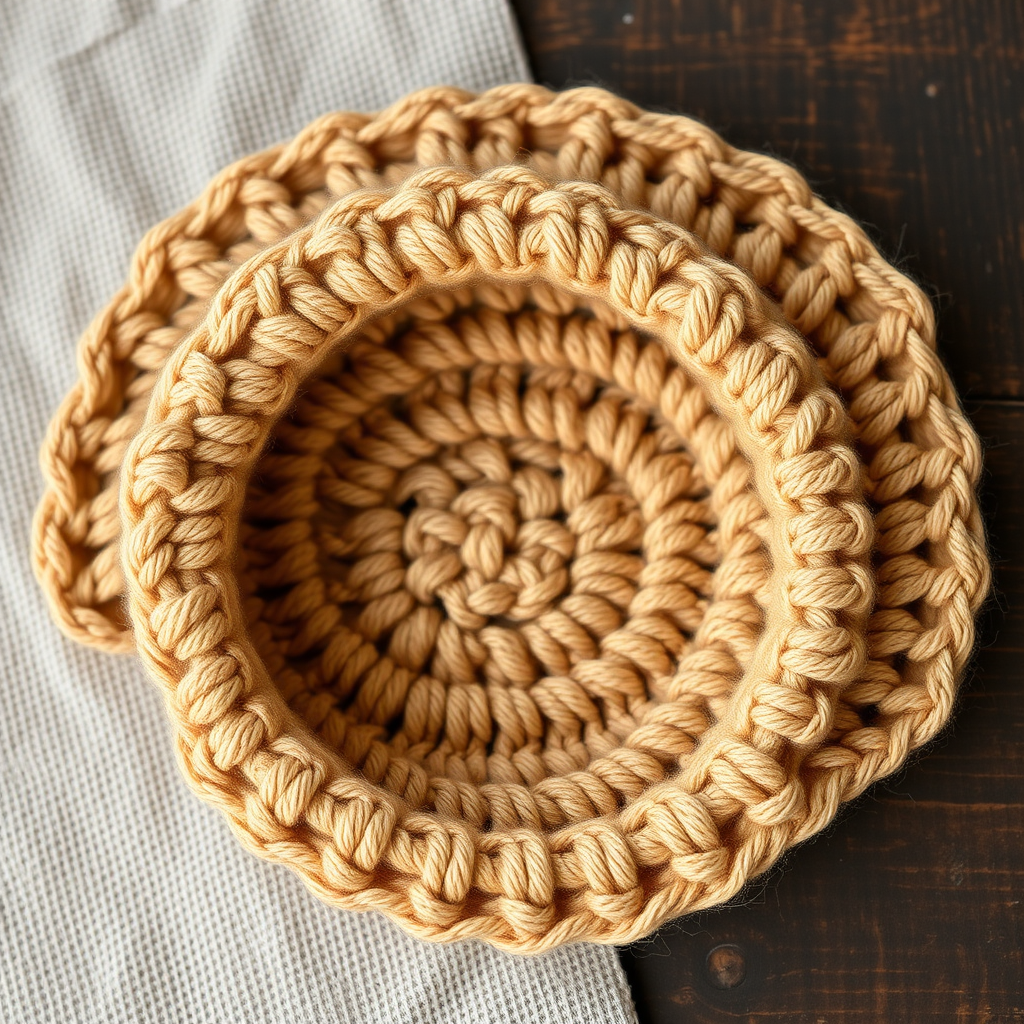
Meadow Mist Spike Stitch Square Free Pattern

Discover the Meadow Mist Spike Stitch Square: A Beginner-Friendly Crochet Adventure
Welcome to a world of soothing stitches and soft pastel hues! If you're looking for a crochet project that feels both meditative and rewarding, the Meadow Mist Spike Stitch Square is your perfect match. This free pattern puts a modern, textured twist on classic crochet, guiding you through the creation of a lush 6-inch square that beautifully showcases the interplay of sage green, cream, and dusty rose yarns. Whether you're dreaming of a cozy blanket, a decorative pillow, or simply want to master a new stitch, this pattern is designed with beginners in mind. The spike half double crochet stitch creates an elongated, textured fabric that resembles a woven meadow of wildflowers—dense, supple, and irresistibly inviting. Let's pick up our hooks and start crafting this plush, cozy masterpiece!
Materials Needed: Your Meadow Mist Toolkit
Before we dive into the stitches, let's gather everything you'll need. This project is wonderfully simple, requiring just a few basic supplies:
- Yarn: Worsted weight yarn in three colors:
- Color A: Soft Sage Green (for foundation, rows 8-9, and final row)
- Color B: Cream (for rows 4-5)
- Color C: Dusty Rose (for rows 6-7)
- Hook: 6 mm (J/10) crochet hook
- Gauge: 14 half double crochet stitches x 10 rows = 4 inches (10 cm) in pattern (don't worry if your gauge is slightly off—this is a practice square!)
- Extras: Yarn needle for weaving in ends, scissors, and a steam iron or spray bottle for blocking.
Step-by-Step Instructions: Crafting Your Meadow Mist Square
This pattern creates a 6x6 inch square using the spike half double crochet (spike hdc) stitch. The magic happens when you insert your hook into a row below the current one, pulling up an elongated loop that adds incredible texture and visual interest. Follow these detailed steps carefully, and you'll have a beautiful square in no time.
Foundation Row: Setting the Stage with Color A
- With Color A (sage green), make a slip knot and chain 22.
- Work 1 half double crochet (hdc) in the 3rd chain from the hook. (The first two chains count as your first hdc.)
- Work 1 hdc in each of the remaining chains across the row. You should have 20 hdc total. Turn your work.
Row 1: Introducing the Spike Stitch
- Chain 2 (this counts as your first hdc). Skip the first stitch (the one directly below the chain).
- Work 1 hdc in each of the next 3 stitches.
- Now for the star of the show—the spike hdc: Yarn over, insert your hook into the corresponding stitch 2 rows below (which is your foundation row), yarn over and pull up a loop (you'll have 3 loops on your hook), yarn over and pull through all 3 loops. You've just made a spike stitch!
- Work 1 hdc in each of the next 4 stitches.
- Repeat the sequence from * to * across the row: *Spike hdc into the stitch 2 rows below, then 1 hdc in the next 4 stitches.*
- End the row by working 1 hdc in the last 3 stitches. Turn.
Row 2: A Calm, Plain Row
- Chain 2 (counts as first hdc). Skip the first stitch.
- Work 1 hdc in each stitch across the row. You'll have 20 hdc total.
- Turn your work.
Row 3: Staggering the Spikes for a Diamond Effect
- Chain 2 (counts as first hdc). Skip the first stitch.
- Work 1 hdc in the next 1 stitch.
- Work a spike hdc into the stitch 2 rows below. Important: This spike should align with the gap between the spikes from Row 1, offset by 2 stitches to create the staggered pattern.
- Work 1 hdc in the next 4 stitches.
- Repeat from * to * across: *Spike hdc, then 1 hdc in the next 4 stitches.*
- End the row by working 1 hdc in the last 2 stitches. Turn. This creates the beautiful, staggered spike pattern.
Rows 4-9: Building the Colorful Bands
Now we'll alternate Rows 2 and 3 while changing colors to create the horizontal bands. Always work a plain hdc row (Row 2) immediately after a color change to keep the fabric neat.
- Rows 4-5: Switch to Color B (cream). Work Row 4 as a plain hdc row (Row 2 pattern). Then work Row 5 as a spike row (Row 3 pattern).
- Rows 6-7: Switch to Color C (dusty rose). Work Row 6 as a plain hdc row. Then work Row 7 as a spike row.
- Rows 8-9: Switch back to Color A (sage green). Work Row 8 as a plain hdc row. Then work Row 9 as a spike row.
Final Row: A Clean Finish
- With Color A still attached, chain 2 (counts as first hdc).
- Work 1 hdc in each stitch across the row. (20 hdc)
- Fasten off, leaving a 6-inch tail. Weave in all loose ends with your yarn needle.
Blocking: The Secret to a Professional Finish
To truly make your Meadow Mist Square shine, gentle blocking is key. This evens out the stitches and enhances the spike texture, giving your square that polished, plush look.
- Pin your square to a blocking mat or towel, gently stretching it to the correct 6x6 inch dimensions.
- Using a steam iron held a few inches above the fabric (do not press directly), steam the square thoroughly.
- Alternatively, lightly mist the square with water and let it air dry completely.
- Once dry, unpin and admire your beautifully textured, meadow-inspired creation!
Congratulations! You've just mastered the Meadow Mist Spike Stitch. This square is perfect for practicing your skills, and you can easily make multiple squares to join into a stunning blanket or cushion cover. The rhythmic repetition of the spike stitch is incredibly calming, making this the ideal project for a cozy evening in. Happy crocheting!