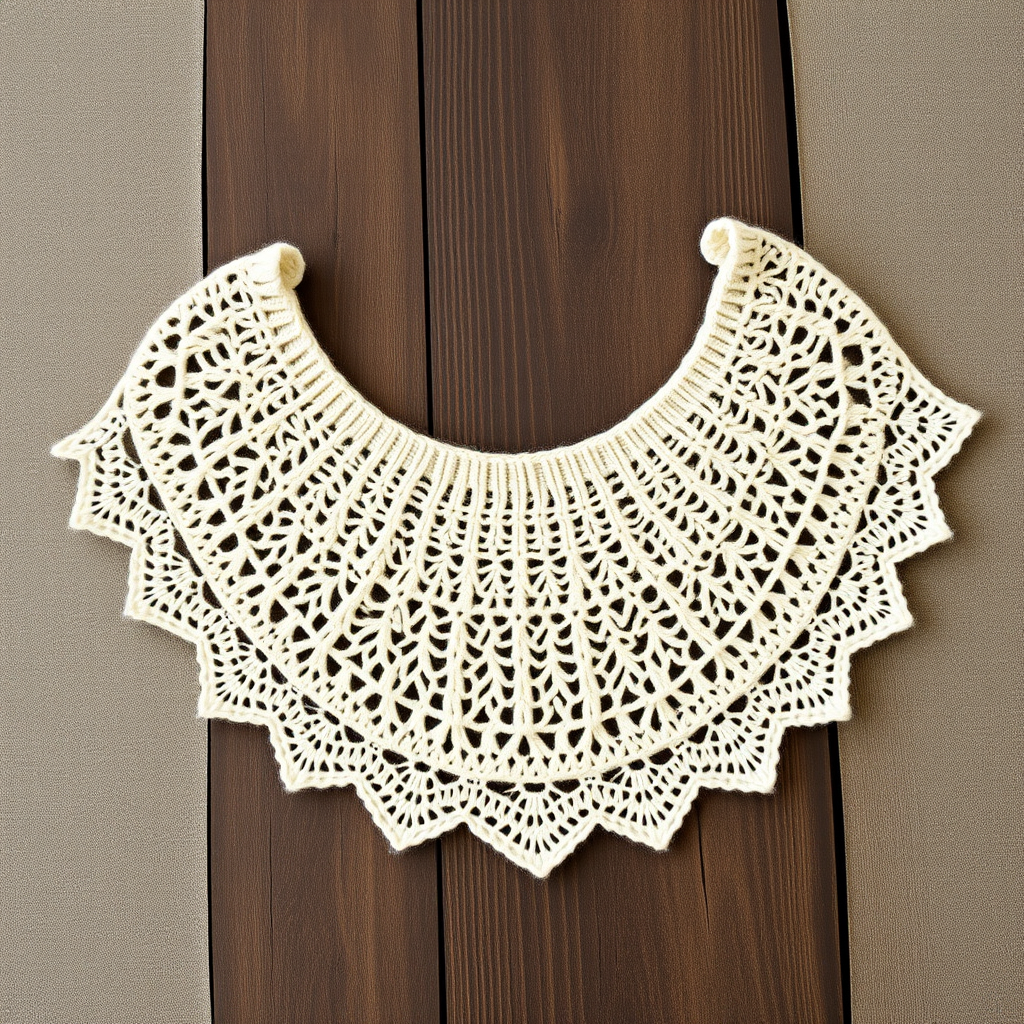
Gloaming Shawl Free Pattern – Knitted Twilight Gradient Wrap

The Gloaming Shawl: A Free Knitted Twilight Gradient Wrap Pattern
There is a special kind of magic that settles over the world during the gloaming—that soft, in-between hour when the deep indigo of night begins to melt into the warm amber of a fading sun. This free knitting pattern captures that exact moment in yarn form. The Gloaming Shawl is a crescent-shaped wrap knit from the top down, featuring a smooth gradient through three complementary colors and a delicate lace mesh that opens up beautifully after blocking.
Whether you're a seasoned knitter looking for a meditative project or a confident beginner ready to tackle lace for the first time, this pattern offers a rewarding experience. The construction is simple—garter stitch edges with strategic increases—while the lace panel adds just enough interest to keep your hands busy and your mind engaged. The result is a drapey, airy shawl that feels like a cozy twilight embrace.
Materials Needed
Before you cast on, gather the following supplies. This pattern calls for fingering weight yarn, which creates a lightweight fabric with excellent drape—perfect for a shawl that transitions seamlessly from cool evenings to crisp mornings.
Yarn
- Fingering weight yarn in 3 colors:
- Color A: Deep indigo (approx. 135g / 540 yards)
- Color B: Dusty purple (approx. 135g / 540 yards)
- Color C: Warm amber (approx. 130g / 520 yards)
- Total: approx. 400g / 1600 yards
- Suggested yarn: Malabrigo Sock (100% superwash merino, 440 yards per 100g skein) or any similar fingering weight yarn with good stitch definition.
Needles & Notions
- US 6 (4.0 mm) circular knitting needle with a 32-inch cable (or longer—you'll need room for up to 200+ stitches)
- Stitch markers (at least 2, plus a few spare)
- Tapestry needle for weaving in ends
- Blocking mats, rust-proof pins, and a spray bottle (for finishing)
Gauge
20 stitches and 28 rows = 4 inches in garter stitch (blocked).
Gauge is important for achieving the correct size and drape, but since this is a shawl, exact gauge is flexible. What matters most is consistency—keep your tension even throughout.
Step-by-Step Instructions
This shawl is knit from the top center down, increasing at the edges and center to form a crescent shape. The pattern is divided into clear sections: setup, increases, lace pattern, color transitions, edging, and finishing. Read through the entire pattern before beginning, and take your time with the lace section—it's easier than it looks!
Abbreviations
- k = knit
- p = purl
- yo = yarn over
- k2tog = knit two together
- sl = slip
- psso = pass slipped stitch over
- pm = place marker
- sm = slip marker
Setup Section
We'll begin with a simple cast-on and a few short rows to establish the foundation of the shawl. This creates the top edge of the crescent.
- Cast on 5 stitches using your preferred method (long-tail cast-on works well).
- Row 1 (RS): k2, yo, k1, yo, k2. (You now have 7 stitches.)
- Row 2 (WS): k2, p to last 2 stitches, k2. (The first and last 2 stitches of every row are knit—these form the garter stitch border.)
- Row 3: k2, yo, k1, yo, k1, yo, k1, yo, k2. (You now have 11 stitches.)
- Row 4: k2, p to last 2 stitches, k2.
Begin Increases
Now we'll establish the increase pattern that shapes the crescent. The center stitch is marked and will remain the focal point of the shawl.
- Row 5 (RS): k2, yo, k to center stitch (place marker on the center stitch), yo, k1 (center), yo, k to last 2 stitches, yo, k2. (4 increases made—one at each edge and one on each side of the center stitch.)
- Row 6 (WS): k2, p to last 2 stitches, k2.
- Repeat rows 5-6 until you have 45 stitches on the needle, ending with a WS row. (You'll work approximately 17 repeats of the increase rows.)
Start Lace Pattern
This is where the shawl really comes alive. The lace pattern is worked over the center section between the edge stitches, creating a delicate diagonal mesh. Don't worry if it looks a bit chaotic at first—blocking will work its magic at the end!
- Row 1 (RS): k2, yo, k to marker, yo, sm, k1, yo, k to last 2 stitches, yo, k2. (4 increases—same as before.)
- Row 2 (WS): k2, p to last 2 stitches, k2.
- Row 3 (RS): k2, yo, *k2tog, yo* repeat from * to * until 2 stitches before marker, k2, yo, sm, k1, yo, k2, *yo, k2tog* repeat from * to * until 3 stitches before end, yo, k2. (4 increases—the k2tog/yo pairs create the lace mesh.)
- Row 4 (WS): k2, p to last 2 stitches, k2.
- Repeat rows 1-4, alternating the lace pattern. On row 3, the k2tog/yo pattern shifts by one stitch each repeat to create a diagonal mesh. (This is the "gloaming" effect—the lace opens up like stars appearing in the twilight sky.)
- Continue until you have 165 stitches on the needle, ending with a WS row. (This will take approximately 30 repeats of the 4-row lace pattern.)
Color Transitions
Now we bring in the gradient. The color changes are worked in blocks of 55 rows each, creating a smooth, gradual transition from deep indigo through dusty purple to warm amber.
- Work in Color A (deep indigo) for the first 55 rows of the lace pattern. (You'll have completed approximately 14 repeats of the 4-row pattern.)
- Switch to Color B (dusty purple) and work 55 rows. (Cut Color A, leaving a 6-inch tail to weave in later.)
- Switch to Color C (warm amber) and work 55 rows, ending with a WS row. (Cut Color B, leaving a 6-inch tail.)
Pro tip: When changing colors, do so at the beginning of a RS row for the cleanest transition. Weave in ends as you go to save time at the finish!
Edging
The edging adds a final flourish of lace and ensures the bottom edge has a beautiful, scalloped drape.
- Row 1 (RS): k2, yo, *k2tog, yo* repeat to last 2 stitches, yo, k2. (4 increases—this row is identical to the lace pattern row 3.)
- Row 2 (WS): k2, p to last 2 stitches, k2.
- Repeat rows 1-2 three more times (8 rows total for the edging).
- Bind off loosely: k2, *sl first stitch back to left needle, k2tog* repeat to end. (This stretchy bind-off ensures the edge doesn't pull or pucker.)
Finishing
The final steps are what transform your knitting from a crumpled mass of yarn into a beautiful, drapey shawl. Don't skip the blocking—it's essential for opening up the lace pattern!
- Weave in all ends using a tapestry needle. Take your time and weave in securely, following the path of the yarn to keep the fabric smooth.
- Block aggressively: Soak the shawl in lukewarm water with a gentle wool wash (like Eucalan or Soak) for 20-30 minutes. Gently squeeze out excess water—never wring or twist.
- Pin to shape: Lay the shawl flat on blocking mats. Pin the top edge straight, then stretch the bottom edge to open up the lace mesh. The crescent shape should be wide and shallow, with the lace pattern clearly visible.
- Allow to dry completely—this can take 24-48 hours depending on humidity. Once dry, unpin and enjoy your Gloaming Shawl!
Final Thoughts
Your Gloaming Shawl is now complete—a wearable piece of twilight sky that you can wrap around your shoulders on cool evenings. The gradient from deep indigo to warm amber is designed to mimic the transition from night to dusk, and the lace pattern catches the light beautifully as you move.
This pattern is perfect for gifting (imagine a handmade shawl in someone's favorite colors!) or for treating yourself to a little luxury. The crescent shape drapes elegantly over the shoulders and can be worn as a wrap, a scarf, or even a decorative throw over a chair.
We'd love to see your finished Gloaming Shawl! Tag us in your photos and share your color combinations—we're always inspired by how different yarn choices transform the pattern. Happy knitting, and may your evenings be filled with cozy twilight magic.