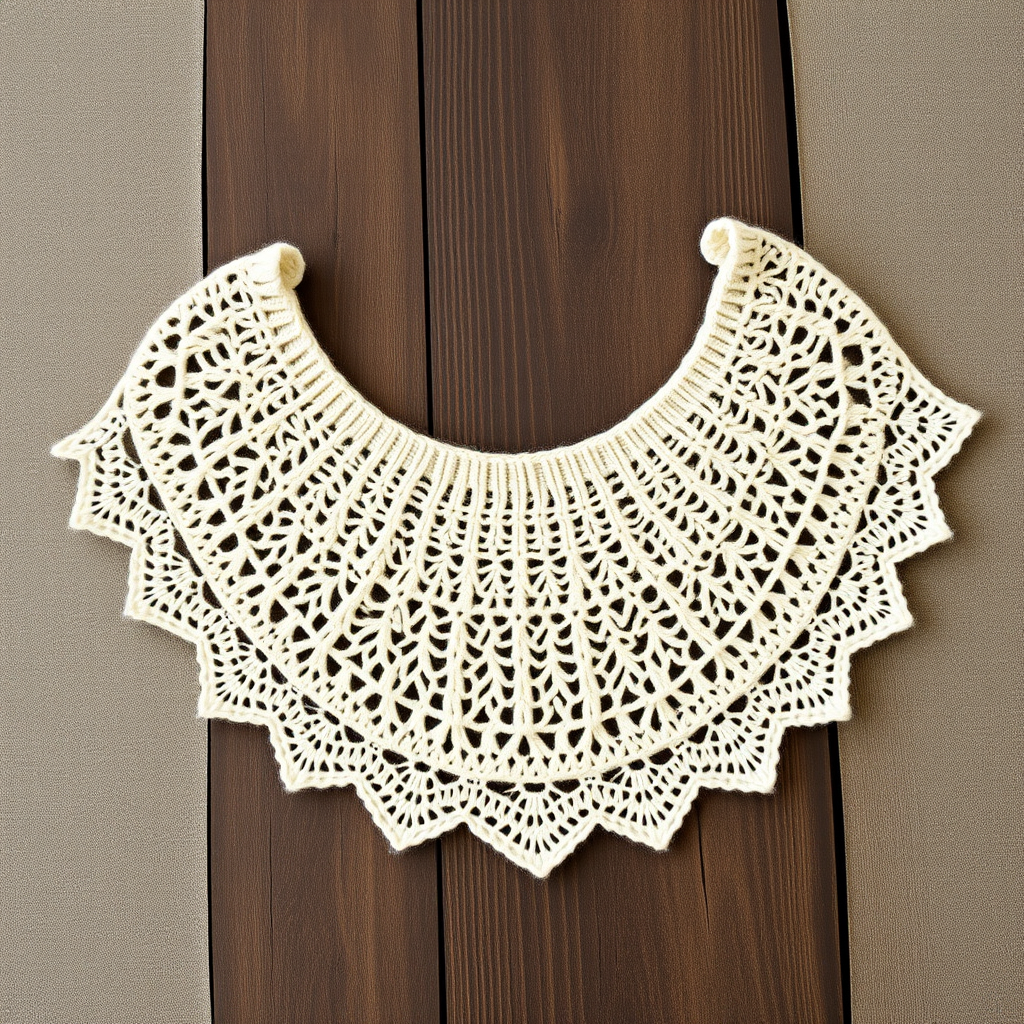
Ember Dune Shawl Free Pattern – Knitted Gradient Desert Wrap

Ember Dune Shawl Free Pattern – Knitted Gradient Desert Wrap
Wrap yourself in the warm hues of a desert sunset with this gradient knitted shawl, featuring a delicate lace edge and cozy garter stitch body. Perfect for cool evenings and adding a touch of artisanal elegance to any outfit. This free pattern is designed with beginners in mind, offering a relaxing, rhythmic knit that builds into a stunning, wearable piece of art. The gradient transition from terracotta to burnt orange to sand mimics the natural beauty of dunes at dusk, making this shawl a true statement piece for your handmade wardrobe.
Materials Needed
Before you begin, gather the following supplies to ensure a smooth knitting experience. All items are readily available at your local yarn shop or online.
- Yarn: Fingering weight yarn in 3 colors: A (terracotta), B (burnt orange), C (sand), approx 400g total. Choose a soft, breathable fiber like merino or a merino blend for the best drape.
- Needles: US 6 (4.0 mm) circular knitting needle, 32-inch or longer. The long cable is essential to accommodate the increasing stitch count as the shawl grows.
- Notions: Stitch markers (at least 2), tapestry needle for weaving in ends, blocking mats and pins for the final shaping.
- Gauge: 20 stitches and 28 rows = 4 inches in garter stitch (blocked). While gauge is important for size, this pattern is forgiving; a slightly different gauge will simply alter the final dimensions.
Step-by-Step Instructions
This shawl is knit from the top center down, increasing on both sides to form a triangular shape. Use a long circular needle to accommodate the increasing stitch count. The pattern is broken into clear sections: Setup, Main Body, Color Transition, Lace Edge, and Bind Off. Follow each step carefully, and you'll have a beautiful shawl in no time.
Abbreviations
- k = knit
- p = purl
- yo = yarn over
- k2tog = knit two together
- ssk = slip slip knit
- pm = place marker
- sm = slip marker
Setup
This initial section creates the top point of your shawl and establishes the increase pattern you'll use throughout.
- Cast on 3 stitches with color A.
- Row 1 (RS): k1, yo, k1, yo, k1 (5 stitches). This row creates the first increases.
- Row 2 (WS): k2, p1, k2. The purl stitch in the center helps define the spine of the shawl.
- Row 3 (RS): k2, yo, k1, yo, k2 (7 stitches). Notice how the increases are placed inside the 2-stitch garter border.
- Row 4 (WS): k2, p3, k2. Continue to purl the center section to maintain the spine.
Main Body
Now you'll work in garter stitch (knit every row) while increasing 4 stitches every right-side row. This creates the triangular shape.
- Row 5 (RS): k2, yo, knit to last 2 stitches, yo, k2 (adds 2 stitches). The yarn overs are placed right after the first 2 stitches and right before the last 2 stitches.
- Row 6 (WS): knit all. This row has no increases.
- Repeat rows 5-6 until you have 61 stitches on the needle, ending with a WS row. Count your stitches after each RS row to ensure you're on track. You should have completed 27 increase rows from the setup.
Color Transition
This is where the magic of the gradient happens. You'll switch colors while continuing the same increase pattern.
- Switch to color B. Cut color A, leaving a 6-inch tail for weaving in later.
- Continue increasing as before (repeat rows 5-6) for 30 more rows. You should now have 121 stitches on the needle, ending with a WS row.
- Switch to color C. Cut color B, leaving a 6-inch tail.
- Continue increasing for another 30 rows. You should now have 181 stitches on the needle, ending with a WS row. The shawl body is complete.
Lace Edge
Now we add the delicate lace border that gives the shawl its artisanal feel. You'll continue the increases on RS rows while working the lace pattern.
- Row 1 (RS): k2, yo, *k2tog, yo* repeat from * to * until last 3 stitches, k1, yo, k2 (adds 2 stitches). The k2tog and yo create the eyelets.
- Row 2 (WS): knit all. No increases on this row.
- Row 3 (RS): k2, yo, *ssk, yo* repeat from * to * until last 3 stitches, k1, yo, k2 (adds 2 stitches). The ssk leans left, balancing the k2tog from Row 1.
- Row 4 (WS): knit all.
- Repeat rows 1-4 until you have 241 stitches on the needle, ending with a WS row. This will take approximately 15 repeats of the 4-row pattern. The lace edge will naturally form subtle points.
Bind Off (Loosely)
A stretchy bind-off is crucial for a shawl edge that drapes beautifully and doesn't pull.
- Bind off knitwise on the RS, using a larger needle (e.g., US 8 or 5.0 mm) or a loose bind-off method like the "knit two together bind off" or "Jeny's Surprisingly Stretchy Bind Off."
- Weave in all ends with a tapestry needle, being careful to secure them on the wrong side of the work.
- Blocking: Soak the shawl in lukewarm water with a gentle wool wash for 20-30 minutes. Gently squeeze out excess water (do not wring). Lay the shawl flat on blocking mats, pinning the top edge straight and gently stretching the lace points at the bottom. Allow to dry completely. Blocking is essential to open up the lace pattern and achieve the final dimensions.
Your Ember Dune Shawl is now complete! The gradient colors and delicate lace edge make it a versatile accessory that pairs beautifully with both casual and dressy outfits. Enjoy the warmth and artistry of your handmade creation, and don't be surprised if you receive compliments every time you wear it. Happy knitting!