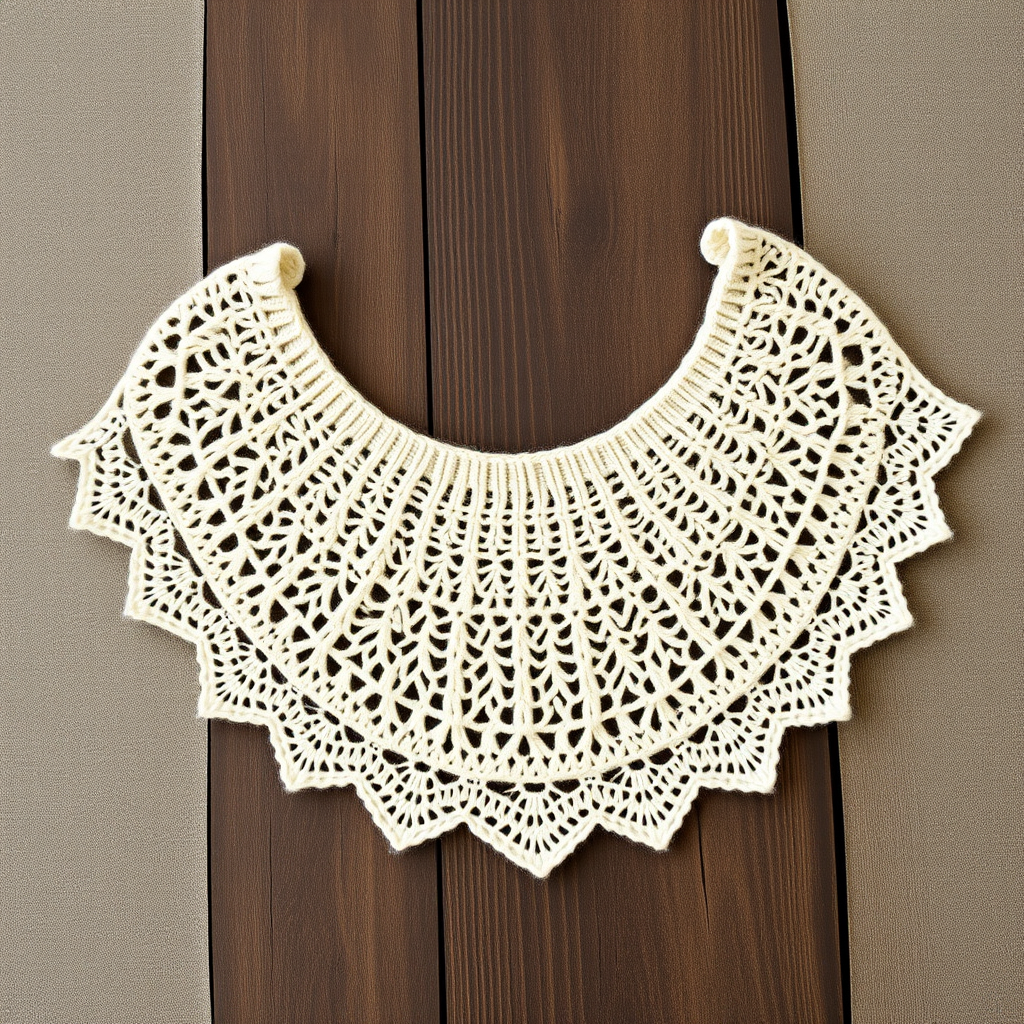
Cloudveil Drift Shawl Free Pattern – Knitted Gradient Mist Wrap
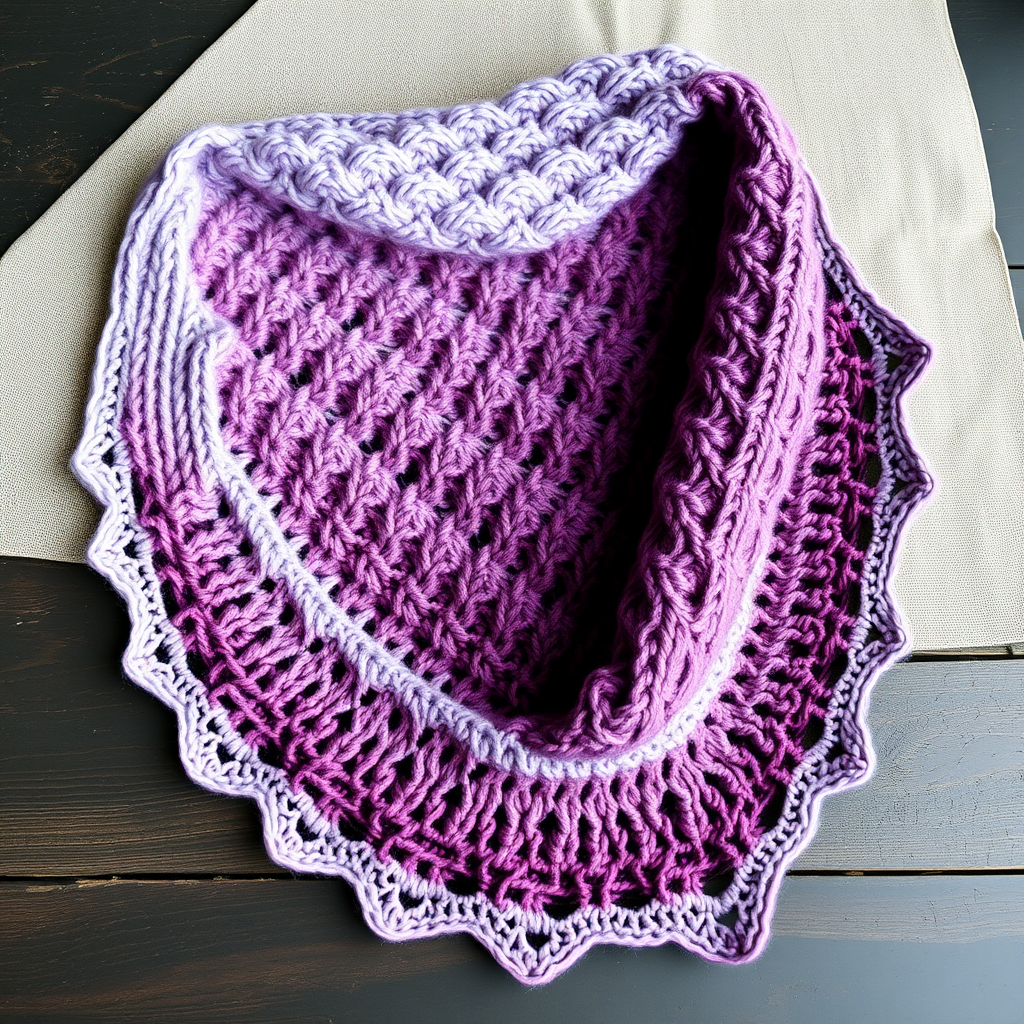
Cloudveil Drift Shawl Free Pattern – Knitted Gradient Mist Wrap
Wrap yourself in the softest embrace of shifting skies with this gradient knitted shawl, where each row mimics the gentle drift of morning fog. The Cloudveil Drift Shawl is a modern heirloom piece, perfect for cozy evenings and thoughtful gifting. This beginner-friendly pattern uses simple garter stitch and strategic color changes to create a stunning ombré effect that transitions from pale mist to deep dusk. Whether you're a seasoned knitter looking for a meditative project or a beginner ready to tackle your first shawl, this pattern offers a rewarding experience with breathtaking results.
Materials Needed
Before you begin, gather the following supplies to ensure a smooth knitting experience:
- Yarn: Worsted weight yarn in 3 shades of the same color family (e.g., light mist, soft heather, deep dusk) – approximately 400g total (150g light, 150g medium, 100g dark)
- Needle: US 9 (5.5 mm) circular knitting needle, 32-inch or longer (the long cord is essential to accommodate the growing number of stitches)
- Notions: Tapestry needle for weaving in ends, stitch markers (optional but helpful), scissors
- Blocking supplies: Lukewarm water, wool wash, towel, blocking mats (or a clean flat surface)
Gauge: 16 stitches and 24 rows = 4 inches in garter stitch (blocked). While gauge is not critical for this shawl, maintaining a consistent tension will ensure your finished piece has the intended drape and dimensions.
Step-by-Step Instructions
This shawl is worked from the top down in a triangular shape, using garter stitch (knitting every row) and simple increases to create a gentle drape. The gradient effect is achieved by changing colors every few rows, creating a seamless transition that mimics the soft shift of morning light.
Abbreviations
- CO: cast on
- K: knit
- K2tog: knit two together (decrease)
- YO: yarn over (increase creating an eyelet)
- RS: right side
- WS: wrong side
Section 1: Cast On & Increase (Color A – Light Mist)
Begin with your lightest shade, Color A. This section establishes the top edge of your shawl and sets up the increase pattern you'll repeat throughout.
- Row 1 (RS): CO 3 stitches using your preferred method (long-tail cast on works beautifully here).
- Row 2 (WS): K all 3 stitches.
- Row 3 (RS): K1, YO, K1, YO, K1 — you now have 5 stitches on the needle.
- Row 4 (WS): K all 5 stitches.
- Row 5 (RS): K1, YO, K to last stitch, YO, K1 — this increases by 2 stitches, bringing you to 7 stitches.
- Row 6 (WS): K all stitches.
- Repeat Rows 5-6 until you have 45 stitches on the needle, ending with a WS row. You will have worked approximately 20 rows of increases. The YO increases will create subtle eyelet lines running diagonally from the center top to the sides — this is intentional and adds to the shawl's ethereal quality.
Pro tip: Place a stitch marker after the first stitch and before the last stitch on RS rows. This helps you quickly identify where to place your YO increases without counting.
Section 2: Gradient Transition (Color B – Soft Heather)
When you reach 45 stitches, it's time to introduce your middle shade. The transition should feel seamless — simply start knitting with Color B on the next RS row.
- Switch to Color B at the beginning of a RS row. Leave a tail of approximately 6 inches to weave in later.
- Continue repeating Rows 5-6 (increase row on RS, plain knit row on WS) until you have 90 stitches on the needle, ending with a WS row.
- As you knit, gently pull the Color A tail to the wrong side and let it hang — you'll weave it in during finishing.
Pro tip: When changing colors, knit the first stitch of the new color loosely to avoid puckering at the transition point. The garter stitch texture will naturally camouflage the color change.
Section 3: Deepening Color (Color C – Deep Dusk)
Now your shawl begins to deepen into its richest shade. This section uses your darkest yarn to create the dramatic bottom point of the triangle.
- Switch to Color C at the beginning of a RS row, again leaving a 6-inch tail.
- Continue repeating Rows 5-6 until you have 135 stitches on the needle, ending with a WS row.
- Keep your tension consistent — the garter stitch should remain dense and even throughout.
Section 4: Final Increase & Edge
This section extends the deep dusk color to create a substantial bottom section, giving the shawl its beautiful, weighty drape.
- Continue with Color C.
- Repeat Rows 5-6 until you have 180 stitches on the needle, ending with a WS row.
- Before binding off, take a moment to admire your work — the gradient should flow smoothly from light mist at the top to deep dusk at the point.
Section 5: Bind Off (with Picot Edge)
The picot bind-off adds a delicate, scalloped edge that perfectly complements the shawl's cloud-like aesthetic. This technique creates small decorative loops along the bottom edge.
- On the RS, begin the bind-off as follows: K2.
- Repeat the following sequence across the row:
- K2tog (decrease one stitch)
- YO (create an eyelet)
- K2tog (decrease another stitch)
- Bind off 3 stitches (one at a time, passing the previous stitch over)
- Continue repeating this sequence until only 2 stitches remain on the needle.
- K2tog to decrease to 1 stitch, then bind off that final stitch.
- Fasten off by cutting the yarn, leaving a 6-inch tail, and pulling it through the last loop.
Understanding the picot edge: The K2tog, YO, K2tog combination creates a small eyelet, and the bind-off of 3 stitches forms the scalloped "picot" bump. This pattern creates a lovely rhythm — you'll quickly get into the flow of the repeat.
Finishing
Your shawl is nearly complete! Proper finishing transforms your knitting from a simple fabric into a polished, professional piece.
Weaving in Ends
- Thread your tapestry needle with one of the yarn tails.
- Weave the tail through the purl bumps on the wrong side of the shawl, following the path of the yarn for approximately 2-3 inches.
- Gently stretch the woven area to ensure the tail is hidden and doesn't pucker.
- Trim the excess yarn close to the fabric.
- Repeat for all remaining tails, including the cast-on tail and the color transition tails.
Blocking
Blocking is essential for this shawl — it opens up the stitches, evens out the tension, and enhances the gradient drape beautifully.
- Fill a clean sink or basin with lukewarm water and add a drop of wool wash (or a gentle shampoo).
- Submerge the shawl gently, pressing it down to ensure it's fully saturated. Do not agitate or wring — this can felt the wool.
- Let it soak for 15-20 minutes.
- Carefully drain the water and gently press the shawl against the sink to remove excess water. Do not twist.
- Roll the shawl in a clean towel and press to absorb additional moisture.
- Lay the shawl flat on blocking mats or a clean, dry towel.
- Gently stretch the shawl to its intended shape — a wide triangle. Smooth out the edges and ensure the picot points are evenly spaced.
- Allow to dry completely, which may take 24-48 hours depending on humidity.
Pro tip: While blocking, you can use rust-proof pins to hold the picot points in place for a perfectly even edge. This extra step ensures a professional finish.
Wearing & Caring for Your Cloudveil Drift Shawl
Once dry, your shawl is ready to wear. Drape it over your shoulders for a cozy evening, or gift it to someone special — the gradient effect makes it a truly memorable present. To care for your shawl, hand wash in cold water with wool wash and lay flat to dry. Store it folded in a drawer or on a hanger with padded shoulders to maintain its shape.
The Cloudveil Drift Shawl is more than just a knitting project — it's a meditation on color and texture, a wearable piece of art that captures the fleeting beauty of a misty morning. As you knit each row, you'll watch the colors shift and blend, creating something uniquely yours. Happy knitting!