Cloud Nine Carryall: A Plush Crochet Bag Free Pattern
Cloud Nine Carryall: A Plush Crochet Bag Free Pattern
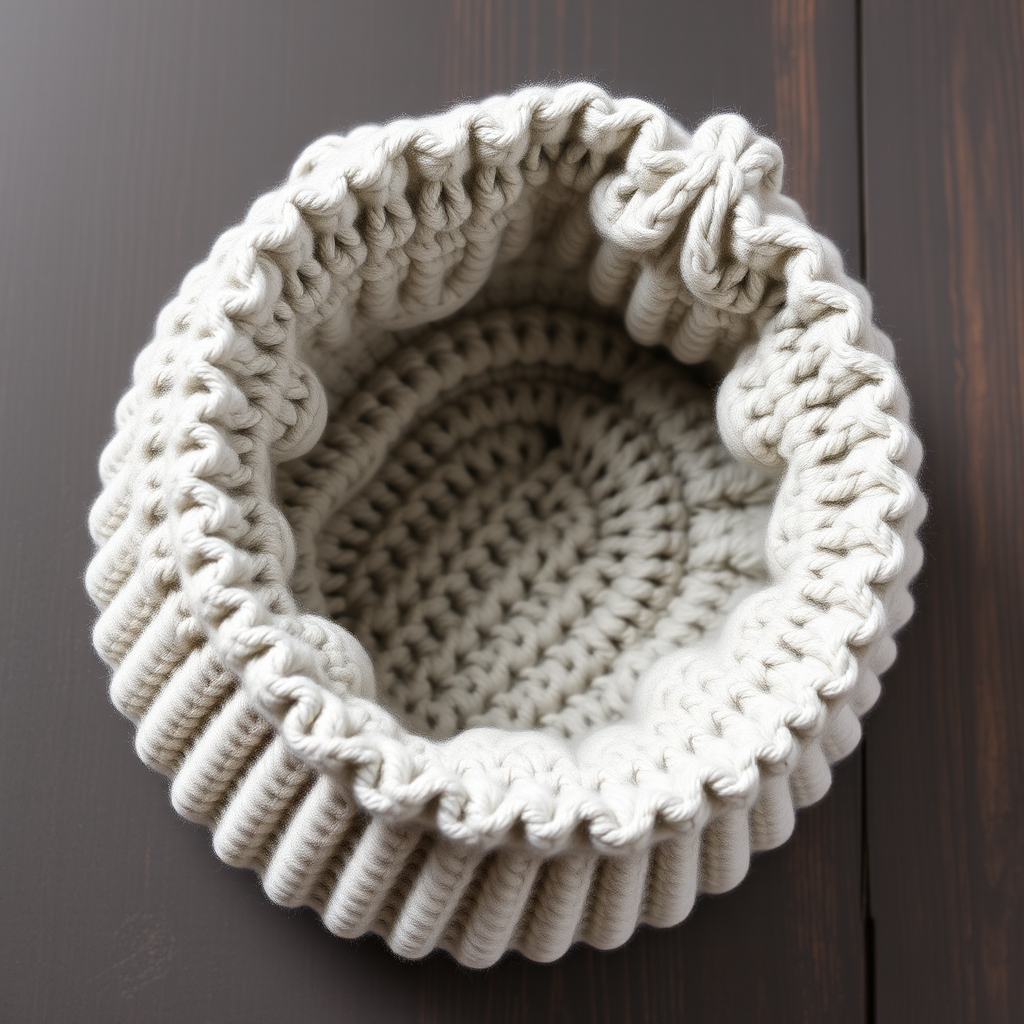
Imagine carrying a piece of a soft, fluffy cloud on your shoulder—that's the magic of the Cloud Nine Carryall. This generously sized, ultra-cozy bag is crafted from super bulky yarn and features a unique, textured stitch pattern that creates a modern, sculptural look. Whether you're heading to the farmer's market, a cozy coffee shop, or simply want to elevate your everyday outfit, this plush carryall is the perfect handmade companion. Its dense, ribbed texture is not only visually striking but also incredibly durable, making it a practical yet fashionable accessory. Best of all, this free crochet pattern is beginner-friendly, working up quickly with chunky yarn and a large hook. Let's dive in and create your own soft, sculptural cloud!
Materials Needed
Before you begin your crochet journey, gather these simple materials. The beauty of this pattern lies in its simplicity—you only need a few items to create a stunning, professional-looking bag.
- Yarn: Super Bulky (Weight 6) yarn in a light heather gray (approx. 400-450 yards). Suggested: Lion Brand Wool-Ease Thick & Quick in 'Grey Heather' for the perfect blend of softness and durability.
- Crochet Hook: Size K/10.5 (6.5 mm) crochet hook. A larger hook is essential for achieving the correct gauge and maintaining the bag's plush drape.
- Other Tools: A tapestry needle for weaving in ends and seaming, and a pair of scissors.
Gauge: 10 stitches and 8 rows = 4 inches in pattern stitch (V-st, skip next st). Always check your gauge to ensure your bag turns out the correct size.
Step-by-Step Instructions
This bag is cleverly worked in one piece from the bottom up, then seamed at the sides. The base is worked in continuous rounds, and the body is worked in joined rounds. Follow these detailed instructions carefully, and you'll have your Cloud Nine Carryall finished in no time.
Special Stitches
- V-Stitch (V-st): (sc, dc) in same stitch. This creates the beautiful, textured 'V' pattern.
- Skip (sk): Skip the next stitch without working into it.
Pattern Stitch (multiple of 2)
Round 1: *V-st in next st, sk next st; repeat from * around.
Creating the Base
The base is a flat circle that forms the bottom of your bag. Work these rounds continuously without joining, using a stitch marker to keep track of your rounds.
- Round 1: Make a magic ring. Work 8 sc in ring. (8 sts)
- Round 2: 2 sc in each st around. (16 sts)
- Round 3: *2 sc in next st, sc in next st; repeat from * around. (24 sts)
- Round 4: *2 sc in next st, sc in next 2 sts; repeat from * around. (32 sts)
- Round 5: *2 sc in next st, sc in next 3 sts; repeat from * around. (40 sts)
- Round 6: *2 sc in next st, sc in next 4 sts; repeat from * around. (48 sts)
- Round 7: *2 sc in next st, sc in next 5 sts; repeat from * around. (56 sts)
- Round 8: *2 sc in next st, sc in next 6 sts; repeat from * around. (64 sts)
- Round 9: *2 sc in next st, sc in next 7 sts; repeat from * around. (72 sts)
- Round 10: *2 sc in next st, sc in next 8 sts; repeat from * around. (80 sts)
- Round 11: *2 sc in next st, sc in next 9 sts; repeat from * around. (88 sts)
- Round 12: *2 sc in next st, sc in next 10 sts; repeat from * around. (96 sts)
- Round 13: *2 sc in next st, sc in next 11 sts; repeat from * around. (104 sts)
- Round 14: *2 sc in next st, sc in next 12 sts; repeat from * around. (112 sts)
Fasten off and weave in the end. Your base should measure approximately 10 inches in diameter. This creates a sturdy, flat foundation for your bag.
Working the Body
Now we'll build the walls of your bag using the beautiful V-stitch pattern. This section is worked in joined rounds, meaning you'll slip stitch to the first stitch at the end of each round.
- Attach Yarn: Attach your yarn to any stitch on the last round of the base with a slip stitch.
- Round 1: Ch 1, sc in same st as join, dc in next st, *sk next st, V-st in next st; repeat from * around, ending with sk last st, join with sl st to first sc. (56 V-sts)
- Rounds 2-20: Repeat Round 1. Do not turn your work. The bag will grow upward naturally. Continue repeating this round until the body measures approximately 10 inches from the base. The repetitive V-stitch creates a dense, textured fabric that is both sturdy and visually appealing.
Adding the Integrated Handles
These handles are crocheted directly into the top edge, creating comfortable, sturdy loops that are seamlessly integrated into the bag's design.
- Round 21: Ch 1, sc in same st as join, sc in next st, *ch 25, sk next 25 sts, sc in next 2 sts; repeat from * once more, join with sl st to first sc. (This creates two handle openings.)
- Round 22: Ch 1, sc in same st as join, sc in next st, *work 30 sc evenly around the ch-25 space, sc in next 2 sts; repeat from * once more, join with sl st to first sc. (This reinforces the handles, making them thicker and more comfortable to carry.)
- Round 23: Ch 1, sc in each st around, join with sl st to first sc. This final round neatens the top edge. Fasten off and weave in all ends securely.
Finishing Touches
To give your bag a polished, professional look, follow these simple finishing steps.
- Shape the Base: Fold the bag flat so the handles are centered on the sides. Using a tapestry needle and a length of yarn, whipstitch the bottom corners closed to create a flat base shape. This step is optional but recommended for a more structured, bucket-like look.
- Weave in Ends: Carefully weave in all remaining ends using your tapestry needle. Ensure all tails are securely hidden within the stitches to prevent unraveling.
Congratulations! You've just completed your very own Cloud Nine Carryall. This plush, modern bag is perfect for everyday use and makes a wonderful, heartfelt gift. The soft, heather gray yarn and sculptural texture will surely turn heads wherever you go. Enjoy your new favorite accessory—a true labor of love made by your own hands!


