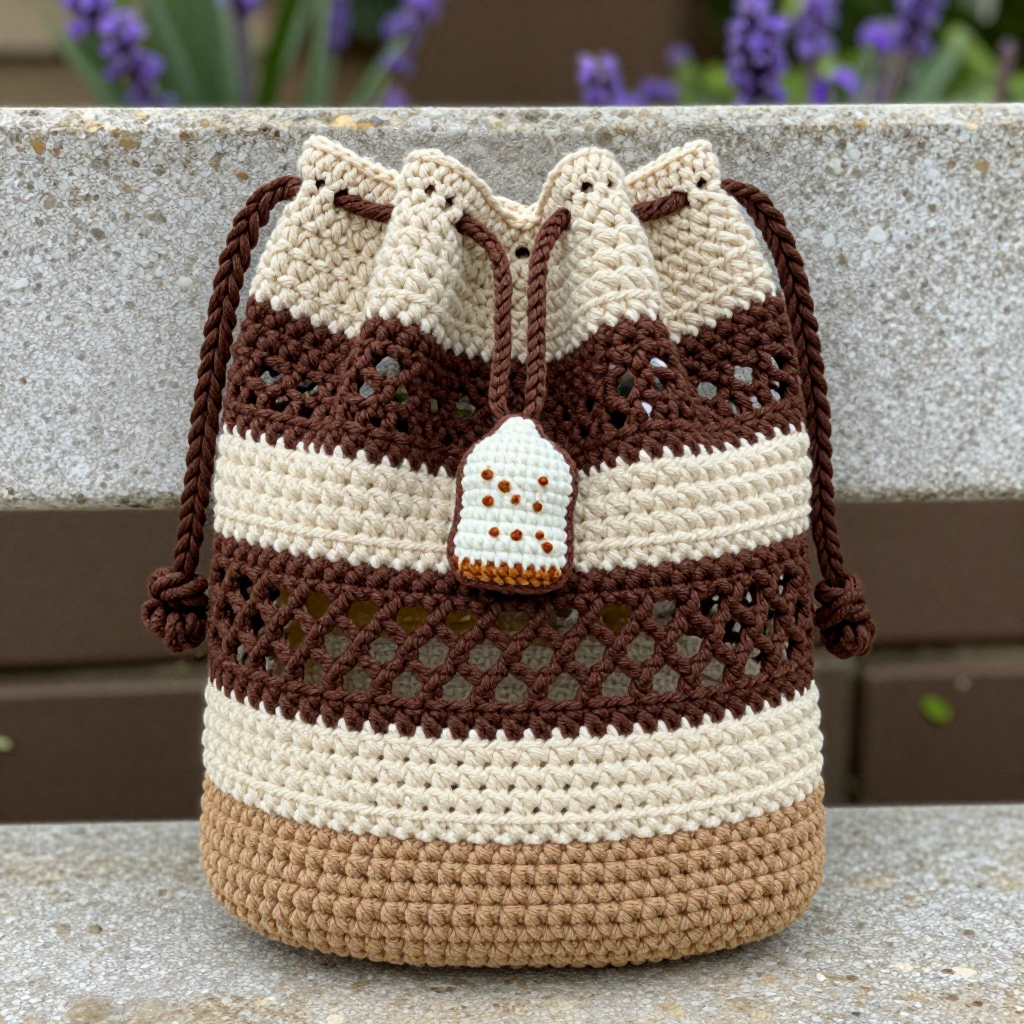
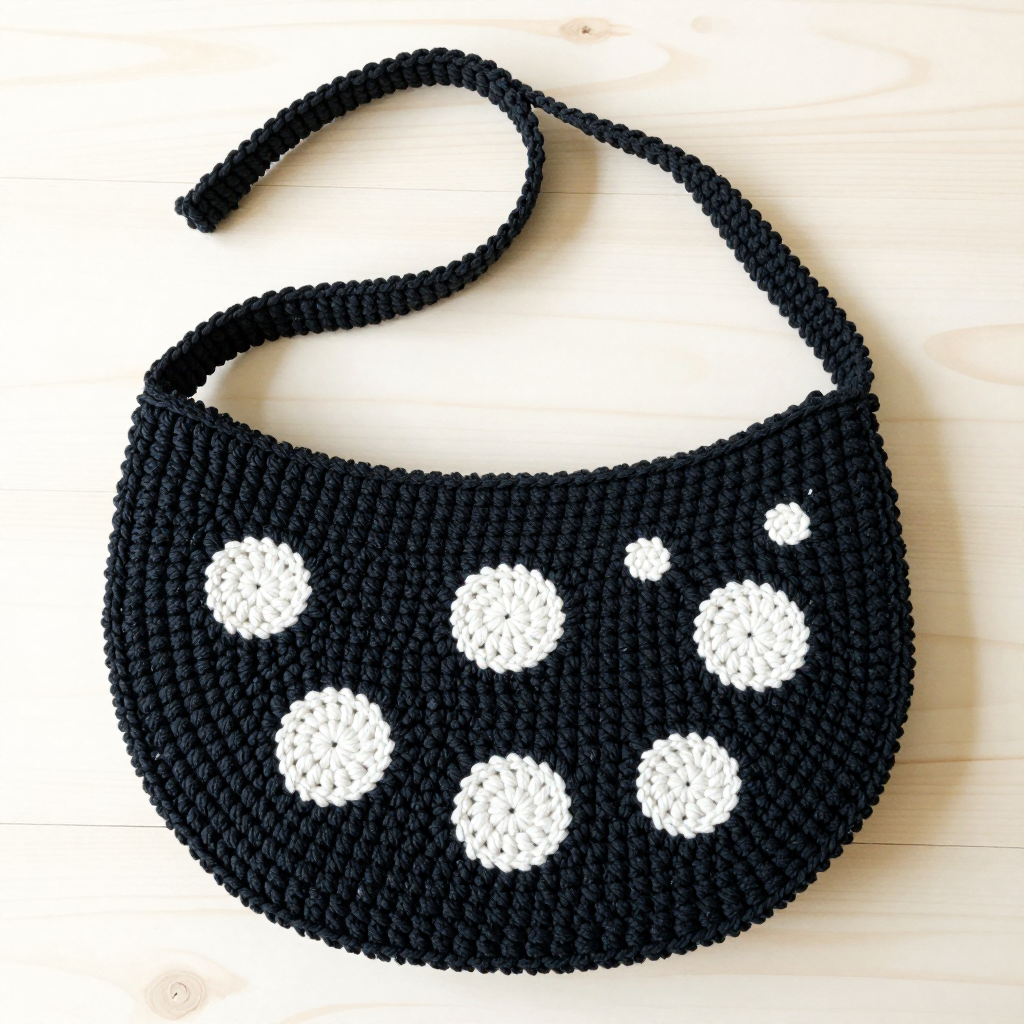
Sage Bear-Ear Envelope Crossbody Bag Free Crochet Pattern

Sage Bear-Ear Envelope Crossbody Bag — Free Beginner Crochet Pattern
Introduction
This little sage green envelope bag is the perfect first project for anyone who has just picked up a crochet hook — it uses only the simplest stitches, yet the finished result looks like something you bought in a boutique. It is made from soft DK cotton in a calm sage green with a rounded cream flap, topped with two floppy bear ears and a tiny stitched muzzle that give it a sweet, kawaii personality. The finished bag is about 21 cm wide and 14 cm tall, with a long crossbody strap so you can carry your phone, keys and lip balm hands-free. The fabric comes out dense and slightly structured, with a soft matte finish and beautiful stitch definition, and it feels lovely and light against your body. If you can make a single crochet stitch, you can make this bag — and you will be so proud to wear it.
Materials Needed
- Yarn: DK weight (weight 3 / light worsted) cotton yarn, approx. 125 m per 50 g. You need 1 ball sage green (Colour A, approx. 45 g) and 1 ball cream (Colour B, approx. 25 g).
- Hook: 3.25 mm (US size D/3) crochet hook.
- Stitch marker (one is enough — a safety pin or scrap of contrasting yarn works too).
- Tapestry needle (a big blunt needle with a large eye for sewing yarn ends and seams).
- Scissors.
- Optional: one 1.5 cm magnetic snap or sew-on snap for a closure.
- Finished size: body approx. 21 cm wide x 14 cm tall; flap approx. 9 cm deep at the centre; strap approx. 110 cm long and 2.5 cm wide; ears approx. 4 cm across; muzzle approx. 4.5 cm wide x 3.5 cm tall.
Abbreviations and Beginner Glossary
- ch — chain. Make a loop of yarn on your hook, wrap yarn over the hook and pull it through the loop. That is one chain. A row of chains is your starting foundation.
- sc — single crochet. Insert your hook into the stitch, wrap yarn over the hook and pull up a loop (2 loops on hook), wrap yarn over again and pull through both loops. One loop remains. That is one single crochet.
- sl st — slip stitch. Insert hook into the stitch, wrap yarn over and pull it straight through both the stitch and the loop on your hook in one motion. It makes a flat, nearly invisible joining stitch.
- sc2tog — single crochet 2 together (a decrease). Insert hook into the first stitch, pull up a loop; insert hook into the next stitch, pull up a loop (3 loops on hook); wrap yarn over and pull through all 3 loops. Two stitches become one.
- st / sts — stitch / stitches.
- BLO — back loop only (not used in this pattern, but you may see it in other patterns; it means working into just the rear loop of each stitch).
- ch-1 sp — chain-1 space (the small gap made by a chain; not used here but listed for reference).
- Magic ring — an adjustable loop of yarn you crochet into, then pull tight so no hole remains in the centre. If you prefer, chain 2 and work your first round into the first chain instead.
- Join with sl st — finish a round by making a slip stitch into the first stitch of that round so the circle closes.
- Turn — flip your work over so you can work back along the row you just made.
- Right side — the smooth, public face of the fabric that will show on the outside of the bag.
- Fasten off — cut the yarn leaving a tail, pull the tail all the way through the last loop and tug gently to secure.
All instructions use US crochet terms.
Gauge
Gauge: 18.5 single crochet stitches x 23 rows = 10 cm x 10 cm.
Gauge means how many stitches and rows fit into a square of fabric. It matters because it decides the final size of your bag: if your stitches are bigger than the pattern's, the bag will come out larger and floppier; if smaller, it will be tight and stiff. To check, crochet a small square about 12 cm x 12 cm in single crochet with your 3.25 mm hook, then lay a ruler across the middle and count how many stitches fit in 10 cm and how many rows fit in 10 cm. If you have more stitches than 18.5, go up one hook size; if fewer, go down one hook size. Crochet your swatch, measure, and only then begin the bag.
Beginner Tips Before You Start
- Count every row. Single crochet rows all look alike — place your stitch marker in the first stitch of each row so you always know where the row begins and ends.
- Do not pull the yarn too tight. Keep an even, relaxed tension. Tight stitches make the bag stiff and make it hard to insert your hook.
- Always work the first stitch of a row. After the turning chain, the very first stitch is easy to miss, and skipping it makes your bag narrower row by row.
- Keep your turning chain short. For single crochet, chain 1 and turn — do not count that chain as a stitch.
- Try the bag on as you go. Once the strap is about 100 cm, hold it against your body to check the length before you sew it on.
- Weave in ends as you finish each piece so you are not left with a pile of tails at the end.
Step-by-Step Instructions
Note: The bag body is worked flat in rows, then joined at the sides. The flap is worked directly onto the top back edge. Ears and muzzle are made separately and sewn on.
Bag Body (sage green, Colour A)
Row 1: Ch 40. Sc in the 2nd ch from hook and in each ch across. (39 sc)
Row 2: Ch 1, turn. Sc in each st across. (39 sc)
Rows 3–32: Repeat Row 2. (39 sc per row; piece measures approx. 21 cm wide x 14 cm tall)
Do not fasten off yet.
Side Seams
Fold the body in half with right sides together, matching Row 1 to Row 32. Working through both layers along each side edge, sl st evenly from bottom corner to top corner — approx. 32 sl sts per side. Fasten off and weave in ends. Turn the bag right side out.
Flap (cream, Colour B)
With the right side facing you and the bag opening toward you, join B at the top right corner of the back panel.
Row 1: Ch 1, work 39 sc evenly across the top back edge. (39 sc)
Row 2: Ch 1, turn. Sc in each st across. (39 sc)
Row 3: Ch 1, turn. Sc in first 2 sts, sc2tog, sc in each st to last 4 sts, sc2tog, sc in last 2 sts. (37 sc)
Rows 4–9: Repeat Row 3, decreasing 2 sts every row. (25 sc after Row 9)
Row 10: Ch 1, turn. Sc2tog, sc in each st to last 2 sts, sc2tog. (23 sc)
Row 11: Ch 1, turn. Sc2tog, sc in each st to last 2 sts, sc2tog. (21 sc)
Row 12: Ch 1, turn. Sc in each st across. (21 sc)
Row 13: Ch 1, turn. Sc2tog, sc in each st to last 2 sts, sc2tog. (19 sc)
Row 14: Ch 1, turn. Sc2tog, sc in each st to last 2 sts, sc2tog. (17 sc)
Row 15: Ch 1, turn. Sc in each st across. (17 sc)
Row 16: Ch 1, turn. Sc2tog, sc in each st to last 2 sts, sc2tog. (15 sc)
Row 17: Ch 1, turn. Sc2tog, sc in each st to last 2 sts, sc2tog. (13 sc)
Row 18: Ch 1, turn. Sc2tog, sc in each st to last 2 sts, sc2tog. (11 sc)
Row 19: Ch 1, turn. Sc2tog, sc in each st to last 2 sts, sc2tog. (9 sc)
Row 20: Ch 1, turn. Sc2tog, sc in each st to last 2 sts, sc2tog. (7 sc)
Row 21: Ch 1, turn. Sc2tog, sc in each st to last 2 sts, sc2tog. (5 sc)
Row 22: Ch 1, turn. Sc2tog, sc in next st, sc2tog. (3 sc)
Row 23: Ch 1, turn. Sc2tog, sc in last st. (2 sc)
Row 24: Ch 1, turn. Sc2tog. (1 sc) Fasten off.
The flap measures approx. 9 cm deep at the centre.
Flap Edging (cream, Colour B)
Join B at the bottom right corner of the flap. Ch 1, work sc evenly up the right side, across the top point, and down the left side, then sl st into the base. Fasten off and weave in.
Bear Ears (make 2, cream, Colour B)
Round 1: Magic ring, 6 sc into ring. Join with sl st. (6 sc)
Round 2: Ch 1, 2 sc in each st around. Join. (12 sc)
Round 3: Ch 1, [sc in next st, 2 sc in next st] around. Join. (18 sc)
Round 4: Ch 1, sc in each st around. Join. (18 sc)
Round 5: Ch 1, [sc2tog, sc in next st] around. Join. (12 sc)
Round 6: Ch 1, sc2tog around. Join. (6 sc)
Fasten off leaving a 20 cm tail. Flatten each ear into a semicircle. Sew one ear to each top corner of the flap with the flat edge along the flap top, approx. 4 cm apart.
Muzzle Patch (cream, Colour B)
Row 1: Ch 9. Sc in 2nd ch from hook and each ch across. (8 sc)
Row 2: Ch 1, turn. Sc in each st across. (8 sc)
Row 3: Ch 1, turn. Sc2tog, sc in next 4 sts, sc2tog. (6 sc)
Row 4: Ch 1, turn. Sc in each st across. (6 sc)
Row 5: Ch 1, turn. Sc2tog, sc in next 2 sts, sc2tog. (4 sc)
Row 6: Ch 1, turn. Sc in each st across. (4 sc)
Row 7: Ch 1, turn. Sc2tog twice. (2 sc)
Row 8: Ch 1, turn. Sc2tog. (1 sc) Fasten off.
Muzzle measures approx. 4.5 cm wide x 3.5 cm tall.
Muzzle Detail (sage green, Colour A)
Using A and a tapestry needle, embroider a small vertical stitched line down the centre of the muzzle and a tiny horizontal stitch at the top to suggest a nose. Sew the muzzle to the centre front of the flap, approx. 2 cm below the top edge, using a small running stitch around the edge in B.
Strap (sage green, Colour A)
Row 1: Ch 6. Sc in 2nd ch from hook and each ch across. (5 sc)
Row 2: Ch 1, turn. Sc in each st across. (5 sc)
Repeat Row 2 until the strap measures approx. 110 cm. Fasten off.
Sew one end of the strap to the top left side seam and the other end to the top right side seam, approx. 2 cm below the flap base, using a tapestry needle and matching yarn.
Closure (optional)
Sew one half of a 1.5 cm magnetic snap to the underside of the flap point and the other half to the centre front of the bag body.
Assembly and Finishing
Seaming: The side seams are already joined with slip stitch. For the ears, thread the 20 cm tail onto your tapestry needle, hold the flat edge of the ear against the flap top corner and stitch back and forth through both layers, catching only the surface of the flap so the stitches stay hidden. Repeat for the second ear. For the muzzle, use a small running stitch (a simple in-and-out stitch) all around its edge in cream. For the strap, sew each end firmly with a few passes of yarn through the strap and the side seam, then knot on the inside.
Weaving in ends: Thread each tail onto the tapestry needle and weave it in and out through the back of several stitches in one direction, then back the other way, so it cannot work loose. Trim close to the fabric.
Blocking: Lightly steam-block the bag and flap to shape — hold a steam iron a few centimetres above the fabric (never press it down on the stitches) and gently pat the bag into a neat rectangle. Let it dry completely. Check that the ears and muzzle are securely attached before you wear the bag.
Pro Tips and Variations
- Change the colours: Try a blush pink body with a cream flap, or a mustard body with a cream flap — the bear face works in any colour combination.
- Adjust the size: For a bigger bag, start with more chains (add 6 chains for roughly 3 cm more width) and add rows to the body; for a smaller bag, remove chains and rows. Keep the flap decreases the same, as they shape the point.
- Substitute the yarn: Any DK cotton works; avoid fluffy or slippery yarns for your first bag, as they make counting stitches harder. If you use a thicker yarn, go up a hook size and check your gauge again.
- Add a lining: Cut a rectangle of cotton fabric slightly smaller than the bag, sew it inside by hand along the top edge, and your bag will hold its shape beautifully.