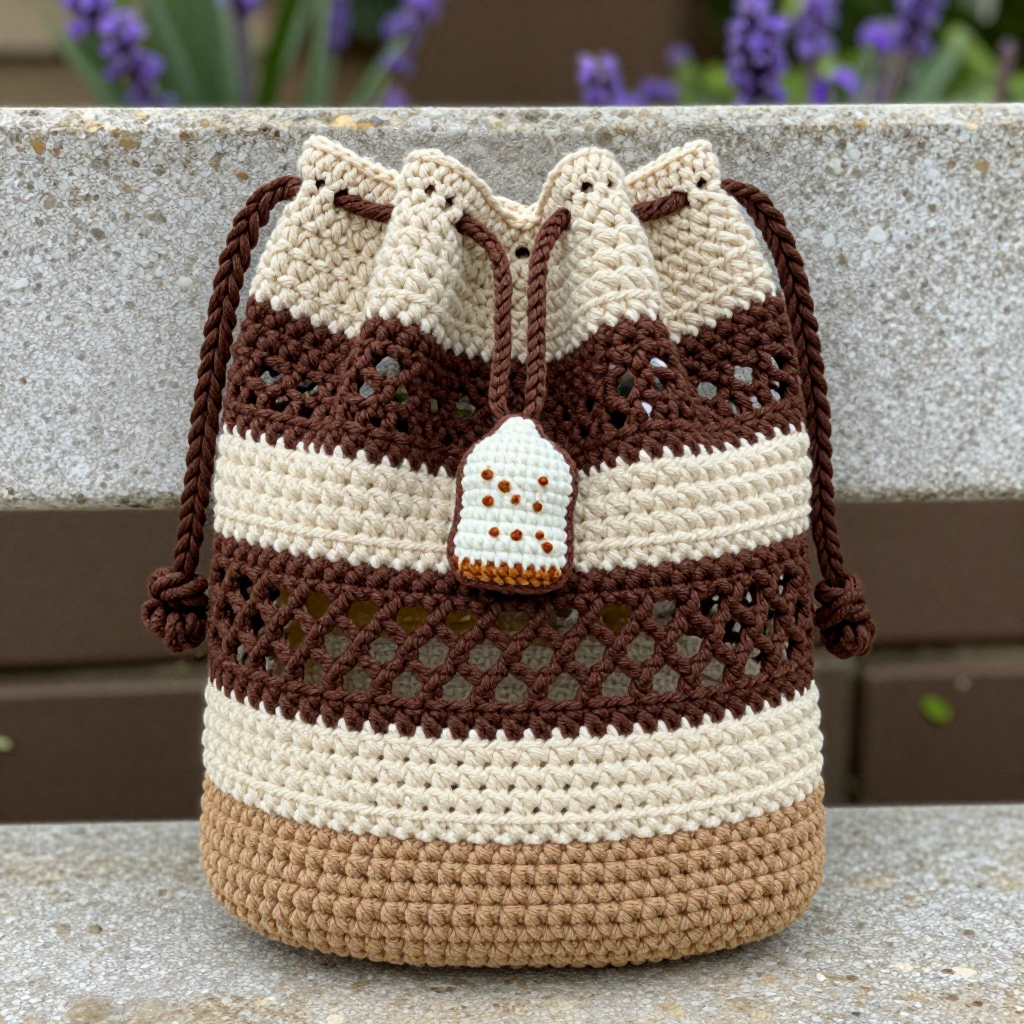
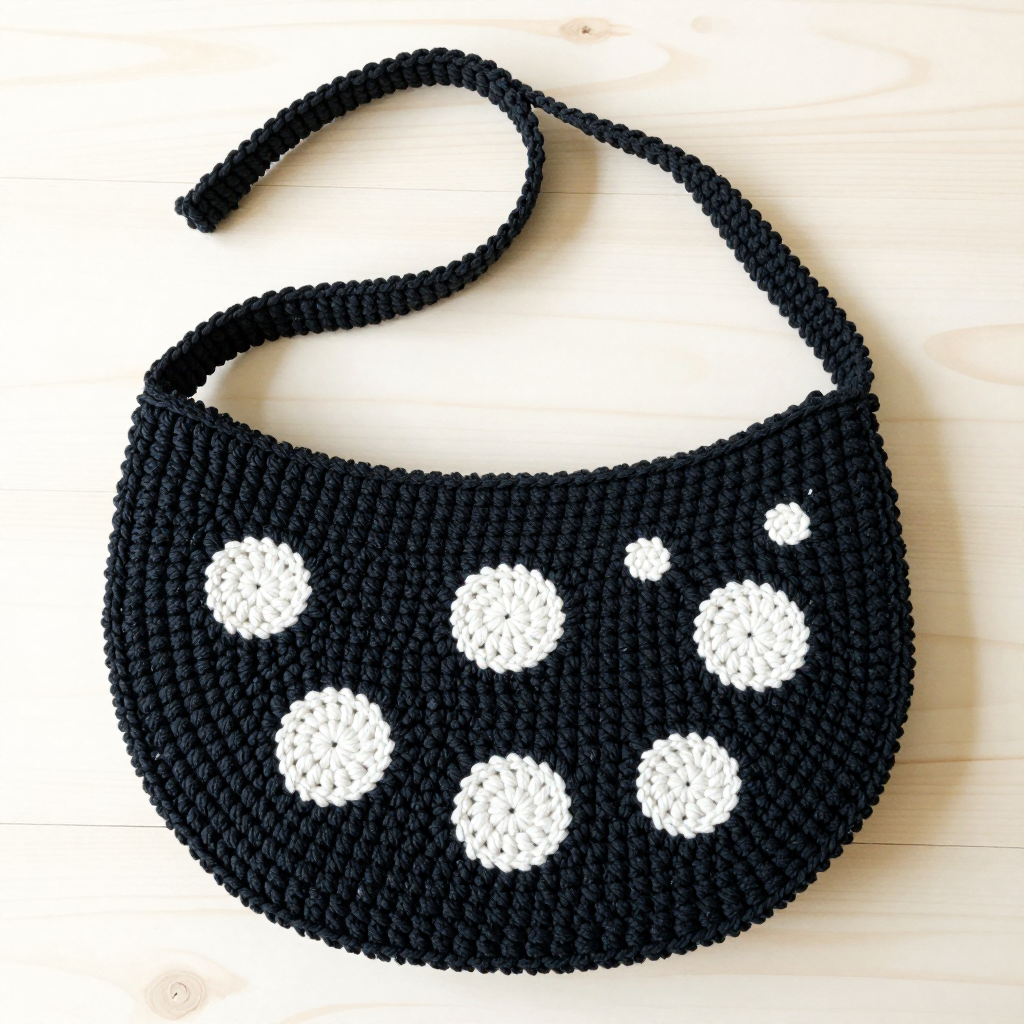
Houndstooth Street Mini Backpack Crochet Free Pattern

Houndstooth Street Mini Backpack Crochet Free Pattern
Introduction
If you have ever admired a bold houndstooth bag in a shop window and thought, "I could never make that," this pattern is for you. The Houndstooth Street Mini Backpack is built from two simple flat rectangles, so you never have to shape a curve or turn a heel. It is perfect for a confident beginner who has mastered the single crochet stitch and is ready to try two-color tapestry crochet for the first time. The finished bag is compact and structured: about 8 inches wide and 9 inches tall, with a dense, graphic black-and-white pattern that looks far more complicated than it actually is. It feels sturdy and satisfying in your hands, with a top flap, a white drawstring, and two crocheted straps that make it a real, wearable little backpack.
Materials Needed
- Yarn: Worsted weight (Category 4) acrylic or cotton blend. Approximately 220 yards black and 180 yards white.
- Main hook: US H/8 (5.0 mm) crochet hook for the panels, gussets, and flap.
- Smaller hook: US G/6 (4.0 mm) crochet hook for the straps and drawstring.
- Stitch markers (at least 4) to mark corners and row ends.
- Tapestry needle (blunt-tipped, large eye) for seaming and weaving in ends.
- Scissors for cutting yarn.
- One 0.75-inch button for the flap closure.
- Optional: a small piece of fabric for a lining, and a steamer or iron for blocking.
- Finished size: Width 8 inches (20 cm) across the front panel; Height 9 inches (23 cm) from base to top edge; Depth approx. 2.5 inches (6 cm) when filled; Straps 24 inches (61 cm) each.
Abbreviations and Beginner Glossary
- ch – chain. Make a loop of yarn on your hook, then pull the working yarn through that loop. Each loop you pull through is one chain.
- sc – single crochet. Insert your hook into the stitch, yarn over (wrap yarn around hook), pull up a loop (you now have 2 loops on the hook), yarn over again, and pull through both loops. One single crochet made.
- sl st – slip stitch. Insert hook into the stitch, yarn over, and pull that loop straight through the loop on your hook. It creates a flat, tight join with no height.
- st(s) – stitch or stitches. One completed unit of crochet.
- BLO – back loop only. Every stitch has two top loops (a front loop and a back loop). Working in the back loop only means you insert your hook under just the loop farthest from you.
- RS – right side. The front, public-facing side of your work.
- Turn – flip your work over so you can crochet back across the row you just finished.
- Fasten off – cut the yarn a few inches from your work, pull the tail all the way through the last loop, and tug gently to lock it.
- Tapestry crochet – a two-color technique where you carry the unused color along behind your work and crochet over it, so no strands show on the front.
- Whipstitch – a simple seaming stitch: pass the needle through both layers, over the edge, and back through, repeating in a spiral.
Gauge
14 single crochet x 16 rows = 4 inches (10 cm) in the houndstooth pattern using the 5.0 mm hook.
Gauge matters because it controls the finished size. If your stitches are looser than this, your backpack will come out bigger and floppy; if tighter, it will be smaller and stiff. To check, crochet a swatch about 5 inches square in the houndstooth pattern, then lay it flat and measure 4 inches across the middle. Count how many stitches fit in those 4 inches and how many rows fit in 4 inches vertically. If you have more stitches than 14, switch to a larger hook; if fewer, switch to a smaller hook. Always make the swatch — it takes 15 minutes and saves hours of rework.
Beginner Tips Before You Start
- Keep carried strands relaxed. The unused color runs along the back of your work. If you pull it tight, the panel will pucker and shrink. Let it lie loosely.
- Change color on the last yarn-over. To switch from black to white, begin the stitch in black, but complete the final yarn-over with white. This keeps the color edge crisp.
- Use stitch markers at every corner and at the start of each row. They stop you from losing your place in the 8-row repeat.
- Count your stitches at the end of every row. Each panel row must have exactly 28 single crochet. One missed stitch throws off the whole chart.
- Do not pull your yarn too tight. Tension should be firm but comfortable. Dense is good for a bag, but strangled stitches are hard to work into.
- Work the chart from the correct direction. Read right-side rows right to left and wrong-side rows left to right, so the pattern stays aligned.
Step-by-Step Instructions
Houndstooth Chart (16-stitch repeat, 8-row repeat)
Each square equals 1 sc. The numbers below are stitch colors in order across the row. Repeat the 16-stitch sequence as needed to fill your row width.
- Row 1 (RS): 2 black, 2 white, 2 black, 2 white, 2 black, 2 white, 2 black, 2 white.
- Row 2: 1 white, 2 black, 2 white, 2 black, 2 white, 2 black, 2 white, 2 black, 1 white.
- Row 3: 2 white, 2 black, 2 white, 2 black, 2 white, 2 black, 2 white, 2 black.
- Row 4: 1 black, 2 white, 2 black, 2 white, 2 black, 2 white, 2 black, 2 white, 1 black.
- Rows 5–8: Repeat Rows 1–4.
Repeat Rows 1–8 for the pattern.
Front and Back Panels (Make 2)
With the 5.0 mm hook and black yarn, ch 29.
- Row 1 (RS): Sc in the 2nd ch from hook and in each ch across, following the chart for color placement. (28 sc)
- Rows 2–36: Work in the houndstooth pattern following the 8-row chart repeat. Each row has 28 sc. End after Row 36 with black. (28 sc per row)
Fasten off, leaving a 20-inch tail for seaming. Each panel measures approximately 8 inches wide x 9 inches tall.
Base Gusset
With the 5.0 mm hook and black yarn, ch 9.
- Row 1: Sc in the 2nd ch from hook and in each ch across. (8 sc)
- Rows 2–28: Ch 1, turn, sc in each st across. (8 sc)
Fasten off, leaving a long tail. The gusset measures approximately 2 inches wide x 8 inches long.
Side Gussets (Make 2)
With the 5.0 mm hook and black yarn, ch 9.
- Row 1: Sc in the 2nd ch from hook and in each ch across. (8 sc)
- Rows 2–36: Ch 1, turn, sc in each st across. (8 sc)
Fasten off, leaving a long tail. Each side gusset measures approximately 2 inches wide x 9 inches tall.
Top Flap
With the 5.0 mm hook and black yarn, ch 29.
- Row 1 (RS): Sc in the 2nd ch from hook and in each ch across. (28 sc)
- Rows 2–12: Work in the houndstooth pattern following the chart, beginning again with Row 1 of the repeat. (28 sc per row)
- Row 13: Ch 1, turn, sc in each st across. (28 sc)
Fasten off, leaving a long tail. The flap measures approximately 8 inches wide x 3.5 inches tall.
Drawstring
With the 4.0 mm hook and white yarn, ch 60.
- Row 1: Sl st in the 2nd ch from hook and in each ch across. (59 sl sts)
Fasten off. Thread the drawstring through the top edge of the bag body, skipping every other stitch, and tie at the front.
Shoulder Straps (Make 2)
With the 4.0 mm hook and black yarn, ch 5.
- Row 1: Sc in the 2nd ch from hook and in each ch across. (4 sc)
- Rows 2–96: Ch 1, turn, sc in each st across. (4 sc)
Fasten off, leaving a long tail. Each strap measures approximately 1 inch wide x 24 inches long.
Assembly and Finishing
- Join the panels: Place the two panels right sides together. Using black yarn and your tapestry needle, whipstitch the side edges together through both layers. Work from the bottom corner to the top corner on each side.
- Attach the base gusset: Pin the base gusset between the bottom edges of the joined panels, matching corners. Sew in place with black yarn using a whipstitch, working all the way around the base.
- Attach the side gussets: Sew one side gusset to each open side edge of the bag body, aligning the top of the gusset with the top of the panel. This gives the bag its depth.
- Add the flap: Sew the top flap to the back top edge of the bag with black yarn, right side facing out, so it folds over the front.
- Add the button and loop: Attach the 0.75-inch button at the center front of the bag body, 1 inch below the top edge. Work a ch-8 loop at the center of the flap edge and sew it down to close over the button.
- Attach the straps: Sew one end of each strap to the top back corners of the bag, 1.5 inches in from each side edge. Sew the other ends to the bottom corners of the bag body, reinforcing with a second pass of yarn.
- Weave in ends: Thread each tail onto the tapestry needle and run it back and forth through the wrong side of the fabric for about 1 inch, then trim close.
- Block: Lightly steam-block the bag to settle the houndstooth pattern. Hold a steamer or iron a few inches above the surface — never press directly onto acrylic, which can melt. Let it dry completely. Add a small fabric lining if desired.
Pro Tips and Variations
- Change the colors: Swap black and white for navy and cream, or rust and mustard, for a completely different streetwear look. Keep one color dark and one light so the houndstooth stays readable.
- Adjust the size: To make a larger backpack, add stitches in multiples of 16 to the starting chain and add rows in multiples of 8. To make it smaller, remove the same multiples. Always re-check your gauge first.
- Substitute yarn: Cotton blend gives a crisper, more structured bag; acrylic is softer and lighter. If you change yarn weight, change your hook size to match the gauge.
- Add a lining: Cut a fabric rectangle slightly smaller than the bag body, sew it into a pouch shape, and hand-stitch it inside the top edge for a professional finish and extra strength.