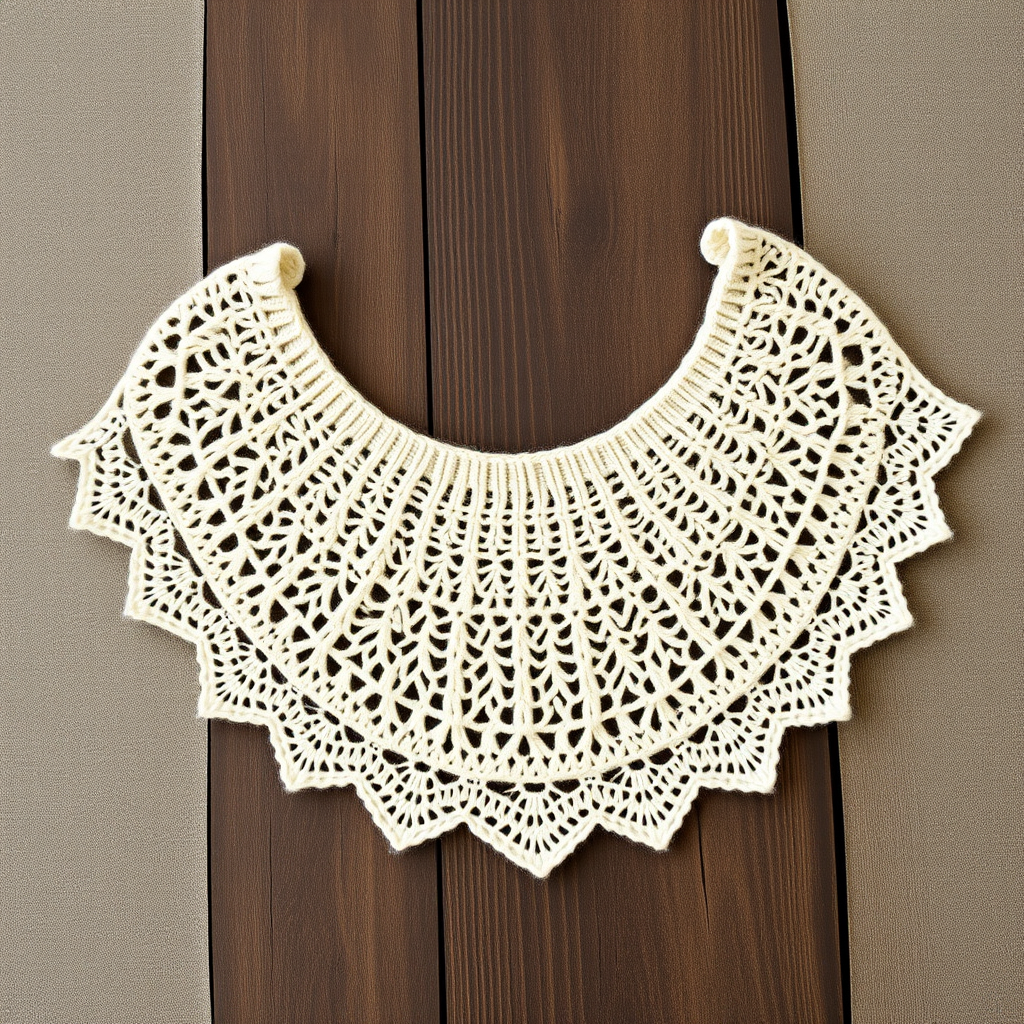
Citrus Sunset Wrap Scarf Free Pattern – Knitted Gradient Citrus Shawl

Citrus Sunset Wrap Scarf: A Free Knitted Gradient Shawl Pattern
Imagine wrapping yourself in the warm, juicy glow of a creamsicle on a cool evening. That’s exactly the feeling you’ll get with this Citrus Sunset Wrap Scarf—a lusciously textured, triangular knitted shawl that flows through a stunning gradient of cream, peach, and tangerine. This pattern is designed with beginners in mind, using simple knit and purl stitches, a few yarn overs, and a straightforward top-down construction. The result is a cozy, premium-feeling accessory that looks far more complex than it is. Whether you’re new to knitting or looking for a relaxing, rewarding project, this free pattern will guide you every step of the way to create a wearable sunset.
Materials Needed
Before you cast on, gather these simple supplies. The beauty of this project is its minimalism—just three skeins of worsted weight yarn and a pair of needles.
- Yarn: Worsted weight yarn in 3 colors (approx. 100g each / 300g total):
- Color A: Cream
- Color B: Peach
- Color C: Tangerine
- Needles: US 9 (5.5mm) knitting needles
- Gauge: 18 stitches and 24 rows = 4 inches in stockinette stitch (after blocking). Gauge is important for size, but this wrap is forgiving—just keep a consistent tension.
- Extras: Yarn needle for weaving in ends, scissors, blocking mats (optional but recommended).
Step-by-Step Instructions
This wrap is worked in one piece from the top down. You’ll start with a simple garter tab, then increase stitches on every right-side row to create the triangular shape. The color changes are worked in 4-inch sections to achieve the beautiful gradient. Follow along carefully, and you’ll have a stunning shawl in no time.
Abbreviations
- CO: Cast on
- K: Knit
- P: Purl
- K2tog: Knit two stitches together (decrease)
- YO: Yarn over (increase)
- St(s): Stitch(es)
- RS: Right side
- WS: Wrong side
Setup: Creating the Garter Tab
We’ll begin by casting on just 3 stitches and building a small foundation. This creates a neat, pointed top for your shawl.
- CO 3 stitches with Color A (Cream).
- Row 1 (RS): K3.
- Row 2 (WS): K3.
- Row 3: K1, YO, K1, YO, K1. (You now have 5 sts).
- Row 4: K2, P1, K2. (The YO from the previous row is purled; the K2 edges are your garter border).
- Row 5: K2, YO, K1, YO, K2. (7 sts).
- Row 6: K2, P3, K2.
- Row 7: K2, YO, K3, YO, K2. (9 sts).
- Row 8: K2, P5, K2.
You’ve now established the pattern: the first and last 2 stitches are always knit (garter edge), and the center stitches are worked in stockinette (knit on RS, purl on WS).
Body of the Shawl: Increasing and Shaping
Now we’ll continue in this established pattern to grow the triangle. The key is to increase by 2 stitches on every right-side row.
- RS rows: K2, YO, knit all stitches until the last 2 sts, YO, K2. (This adds one stitch at each edge, inside the garter border).
- WS rows: K2, purl all stitches until the last 2 sts, K2. (The YOs from the previous row are purled as normal stitches).
Repeat these two rows (RS increase row, WS plain purl row) until the shawl measures approximately 12 inches from the cast-on edge. Don’t worry about counting rows—just measure from the top point down the center. The fabric will grow quickly with the increases.
Color Changes: Creating the Gradient
To achieve the creamsicle effect, we’ll change colors in 4-inch sections. When you’re ready to switch, simply drop the old yarn and start knitting with the new color, leaving a tail to weave in later.
- First 4 inches: Work in Color A (Cream).
- Next 4 inches: Switch to Color B (Peach) and continue the established pattern.
- Final 4 inches: Switch to Color C (Tangerine) and work until the shawl measures 12 inches total.
Tip: When changing colors, do it at the beginning of a RS row for a clean, crisp line.
Edging: Adding a Delicate Lace Border
Once the body reaches 12 inches, we’ll add a simple, lacy edging that gives the shawl a polished, finished look. This edging is worked over 2 rows and repeated for 2 inches.
- Row 1 (RS): K2, *K2tog, YO*; repeat from * to * until the last 2 sts, K2. (This creates a series of eyelets along the edge).
- Row 2 (WS): K2, purl all stitches until the last 2 sts, K2.
Repeat these 2 rows until the edging measures 2 inches, ending with a WS row. The K2tog and YO pattern will naturally keep the edge from flaring too much while adding a lovely, airy texture.
Bind Off: A Stretchy Finish
A stretchy bind-off is essential here to ensure the edge remains flexible and doesn’t pucker. Use the knit bind-off method:
- Knit the first stitch.
- Knit the next stitch.
- Pass the first stitch over the second stitch and off the needle.
- Continue knitting one stitch and passing the previous stitch over until one stitch remains.
- Cut the yarn, leaving a 6-inch tail, and pull it through the last loop to secure.
Finishing: Weave and Block
Your shawl is almost complete! Follow these final steps for a professional finish.
- Weave in all ends using a yarn needle. Be sure to weave them in securely along the edges or in the color-matched sections to keep them hidden.
- Block the shawl gently. Soak it in lukewarm water with a mild wool wash for 15-20 minutes. Gently squeeze out excess water (do not wring).
- Lay flat to dry on a blocking mat or towel. Gently stretch the shawl to its intended shape, opening up the lace edging and smoothing the stockinette. Pin the edges if needed to hold the shape.
- Allow it to dry completely before wearing.
And there you have it—a stunning, handcrafted Citrus Sunset Wrap Scarf that’s as warm as it is beautiful. The gradient of cream, peach, and tangerine will brighten any outfit, and the soft, textured fabric feels luxurious against your skin. This pattern is perfect for gifting or treating yourself. Happy knitting!