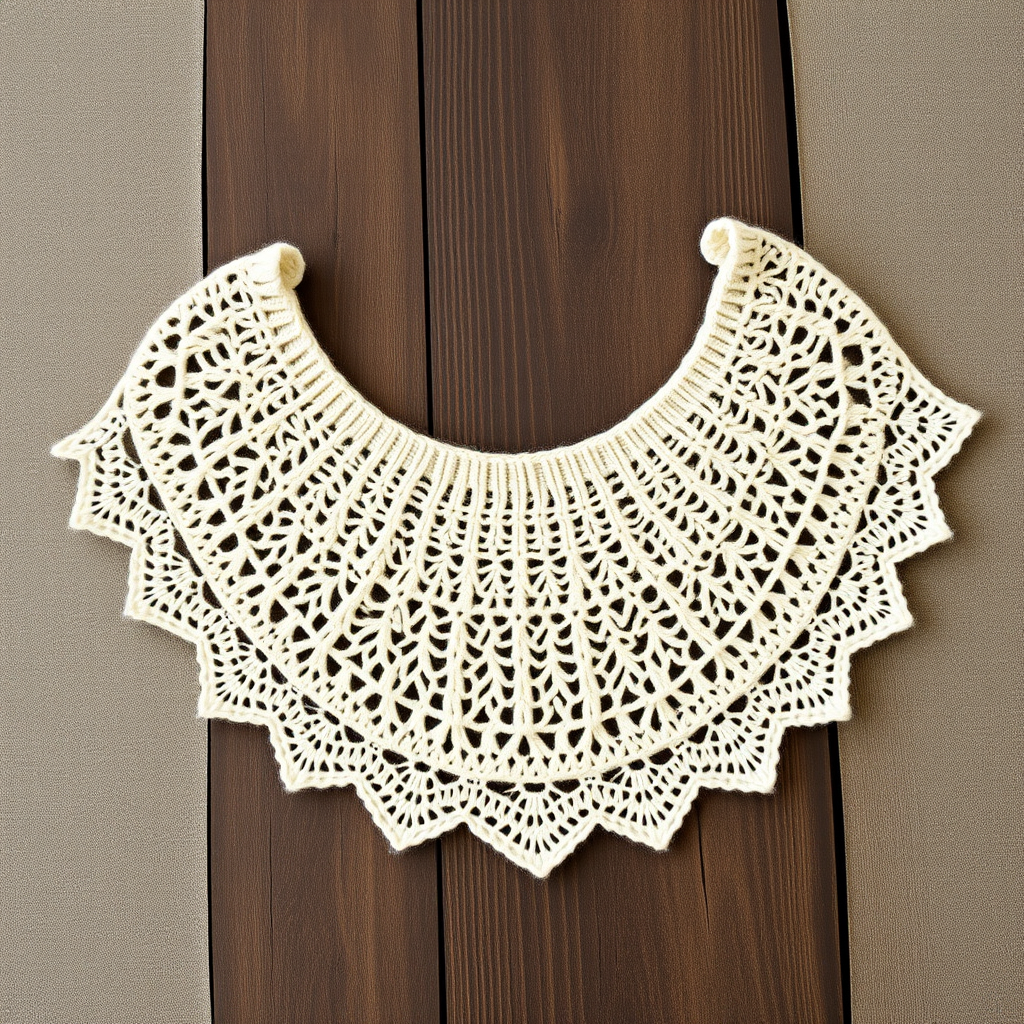
Celestial Drift Hooded Pocket Shawl Free Pattern – Textured Knitted Wrap

Celestial Drift Hooded Pocket Shawl: A Cozy Knitting Adventure
Wrap yourself in the soft embrace of the Celestial Drift Hooded Pocket Shawl, a knitted masterpiece that combines cozy hooded comfort with practical pockets. This textured wrap features a unique driftwood stitch pattern and a gentle gradient of twilight hues, perfect for chilly evenings. Whether you're curling up with a book or stepping out for a crisp autumn walk, this shawl is your perfect companion. The combination of a snug hood, handy pockets, and a flowing, textured body makes it a truly versatile and rewarding project for knitters ready to expand their skills.
This pattern is designed to be accessible for confident beginners. You'll practice essential techniques like ribbing, yarn overs, decreases, and picking up stitches, all while creating a stunning, wearable piece. The step-by-step instructions below are detailed and comprehensive, ensuring you can recreate this beautiful shawl at home with ease and confidence.
Materials Needed
Before you begin your knitting journey, gather these materials to ensure a smooth and enjoyable crafting experience.
- Yarn: Worsted weight yarn in 3 colors. You will need approximately 1200g total.
- Color A (Deep Indigo): For the base and border.
- Color B (Misty Lavender): For the gradient and pockets.
- Color C (Silver Moon): For the gradient.
- Needles: US 9 (5.5mm) circular knitting needles with a 32-inch cable. The long cable is essential for holding the large number of stitches.
- Notions: Stitch markers (optional but helpful), a tapestry needle for weaving in ends and seaming, and scissors.
- Gauge: 18 stitches and 24 rows = 4 inches in stockinette stitch. Always knit a gauge swatch to ensure your finished shawl matches the intended size.
Step-by-Step Instructions
Follow these detailed instructions to create your own Celestial Drift Shawl. The pattern is worked in one piece from the bottom up, making it a seamless and enjoyable project.
Getting Started: The Main Shawl Body
We'll begin by casting on and creating a sturdy, ribbed border that will form the bottom edge of the shawl.
Row 1 (Right Side): With Color A (Deep Indigo), cast on 120 stitches using your preferred long-tail cast-on method.
Row 2 (Wrong Side): Knit all stitches. This row creates a neat base for the ribbing.
Row 3: *K2, P2*; repeat from * to end of row.
Row 4: *P2, K2*; repeat from * to end of row.
Repeat Rows 3 and 4 for a total of 10 rows to create a 2x2 ribbed border. This will give the shawl a polished, non-curling edge.
Beginning the Driftwood Stitch Pattern
Now we'll introduce the beautiful, textured driftwood stitch. This pattern is simple to memorize and creates a gorgeous, wavy fabric.
Row 5 (Right Side): Switch to Color B (Misty Lavender). K1, *yo, k2tog, k1*; repeat from * to last stitch, k1.
Explanation: This row creates the first set of eyelets. A yarn over (yo) is an increase that creates a hole, and a knit two together (k2tog) is a decrease. Together, they keep the stitch count the same while creating a decorative pattern.
Row 6 (Wrong Side): Purl all stitches.
Row 7: K1, *k1, yo, k2tog*; repeat from * to last stitch, k1.
Explanation: This row staggers the eyelets, creating the "drift" effect. Notice the pattern is offset from the previous row.
Row 8: Purl all stitches.
Repeat Rows 5-8 to continue the pattern. You will work this pattern for 20 inches, creating the main body of the shawl.
Creating the Gradient Effect
To achieve the beautiful twilight gradient, you will alternate your yarn colors every 4 rows. This means you'll work one full repeat of the 4-row pattern in one color, then switch to the next.
- Work Rows 5-8 with Color B (Misty Lavender).
- Work the next 4 rows (Rows 5-8) with Color C (Silver Moon).
- Work the next 4 rows with Color A (Deep Indigo).
- Continue this rotation (B, C, A, B, C, A...) until you have worked the pattern for 20 inches total. Pro-Tip: When changing colors, do so at the beginning of a right-side row for the cleanest transition.
Shaping the Shawl
After 20 inches, we will begin to shape the shawl by decreasing stitches. This will create the tapered, triangular wrap shape.
Row 9 (Right Side): K1, k2tog, knit to last 3 stitches, k2tog, k1. (This decreases 2 stitches).
Row 10: Purl all stitches.
Repeat Rows 9 and 10 until you have 60 stitches remaining on your needle. This will take several repeats. As you decrease, the shawl will naturally begin to angle inward.
Knitting the Hood
With 60 stitches remaining, you will now knit the hood. This is a simple, rectangular piece that will be sewn to the neck edge.
Row 11 (Right Side): Knit all stitches.
Row 12: Purl all stitches.
Repeat Rows 11 and 12 for 12 inches. This will create a long stockinette rectangle. Once you have reached 12 inches, bind off all stitches loosely. Tip: A loose bind-off is crucial for the hood to drape nicely.
Knitting the Pockets (Make 2)
These practical and stylish pockets are knitted flat and sewn on at the end.
With Color B (Misty Lavender), cast on 30 stitches.
Work in stockinette stitch (knit on the right side, purl on the wrong side) for 6 inches.
Bind off all stitches. Repeat to create a second pocket.
Finishing and Assembly
This final stage brings all the pieces together to create your finished shawl.
Step 1: Attach the Hood. Fold the main shawl body in half to find the center back of the neck edge. Now, take the bound-off edge of the hood and pin it to the neck edge of the shawl, matching the center of the hood to the center of the shawl. Sew the hood to the shawl using a mattress stitch or whip stitch, leaving the front edges of the hood open to drape around your face.
Step 2: Attach the Pockets. Fold each pocket in half to form a square. This will give you a neat, finished top edge. Pin each pocket to the front sides of the shawl, positioning them where your hands naturally fall. Sew the bottom and side edges of each pocket securely to the shawl, leaving the top edge open.
Step 3: Weave in Ends. Using your tapestry needle, carefully weave in all loose yarn ends on the wrong side of the shawl. This is an important step for a professional finish.
Step 4: Block to Shape. Finally, block your shawl to even out the stitches and enhance the drape. Soak the shawl in lukewarm water with a gentle wool wash, then gently squeeze out excess water (do not wring). Lay it flat on a towel, shape it to the desired dimensions, and allow it to dry completely. This will transform your knitting into a polished, luxurious garment.
Congratulations! You have completed your Celestial Drift Hooded Pocket Shawl. This cozy, textured wrap is a testament to your knitting skill and will be a cherished piece for years to come. Enjoy the warmth and comfort of your handmade creation!