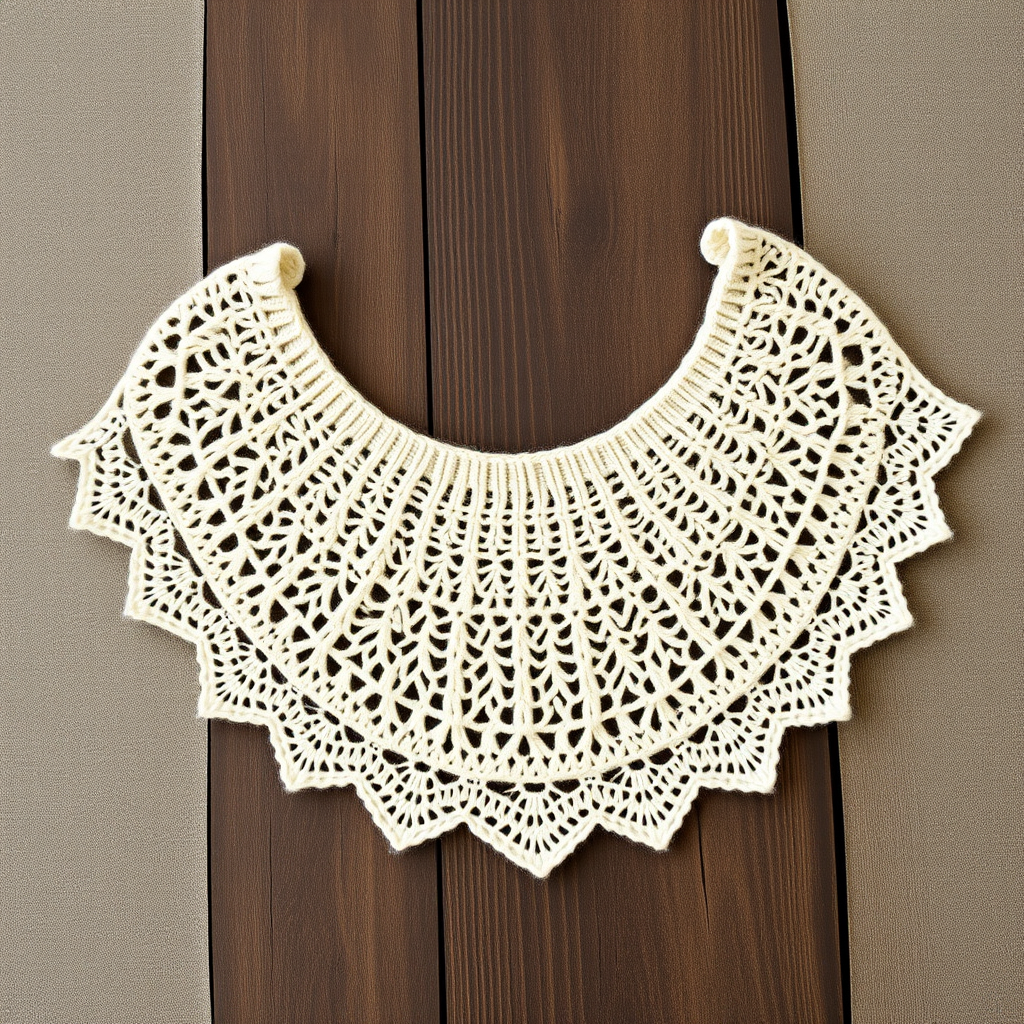
Aurora Borealis Mosaic Shawl Free Pattern – Knitted Gradient Wrap

Introducing the Aurora Borealis Mosaic Shawl
Imagine wrapping yourself in the ethereal, dancing colors of the northern lights. That's the magic of the Aurora Borealis Mosaic Shawl—a stunning, textured knit that combines a mesmerizing slipped-stitch mosaic pattern with a breathtaking gradient of deep teal, midnight blue, and soft lavender. This free knitting pattern is designed to be both a visual masterpiece and a deeply satisfying project for knitters ready to explore colorwork without the complexity of stranding. The result is a cozy, handcrafted wrap that drapes elegantly and feels as magical as it looks.
This pattern is perfect for intermediate knitters who want to try mosaic knitting—a technique that uses slipped stitches and contrasting colors to create intricate geometric waves and diamond shapes. The gradient effect is achieved by alternating colors every two rows, blending seamlessly from one hue to the next. Whether you're crafting for yourself or searching for a heartfelt handmade gift, this shawl is a true showstopper.
Materials Needed
Before you begin, gather the following supplies to ensure a smooth and enjoyable knitting experience:
- Yarn: Fingering weight yarn in 3 colors:
- Color A: Deep teal
- Color B: Midnight blue
- Color C: Soft lavender
- Needles: US 6 (4.0mm) circular knitting needle, 32-inch or longer (to accommodate the growing number of stitches).
- Gauge: 22 stitches and 32 rows = 4 inches in stockinette stitch (blocked). Gauge is important for achieving the correct size and drape, so take a moment to swatch.
- Other: Tapestry needle for weaving in ends, stitch markers (optional but helpful), and blocking pins/mats for finishing.
Step-by-Step Instructions
This shawl is worked from the top center down, increasing at the edges and center to form a triangular shape. The mosaic pattern uses slipped stitches with a contrasting color, creating geometric waves. Follow these detailed instructions carefully, and you'll be amazed at the beautiful fabric you create.
Abbreviations
- k = knit
- p = purl
- sl = slip stitch purlwise with yarn in back (unless noted)
- yo = yarn over
- k2tog = knit two together
- skpo = slip, knit, pass slipped stitch over
- RS = right side
- WS = wrong side
Setup
Cast on 5 stitches with Color A.
- Row 1 (RS): k2, yo, k1, yo, k2 (7 sts)
- Row 2 (WS): k2, p3, k2
- Row 3 (RS): k2, yo, k1, yo, k1, yo, k1, yo, k2 (11 sts)
- Row 4 (WS): k2, p7, k2
Increase Section (worked in Color A)
This section builds the foundation of your shawl, creating the initial triangular shape.
- Row 5 (RS): k2, yo, knit to last 2 sts, yo, k2 (2 sts increased)
- Row 6 (WS): k2, purl to last 2 sts, k2
Repeat Rows 5-6 until you have 51 stitches on the needle, ending with a WS row. This creates a neat, garter-stitch edge on both sides and a clean increase line.
Mosaic Pattern Section
Now you will work the mosaic pattern in two-row stripes, alternating colors. The pattern is a multiple of 6 + 3, plus edge stitches. The slipped stitches create the geometric design, and the color changes every two rows produce the gradient effect.
Row 1 (RS, Color B): k2, *sl 1 wyib, k5; repeat from * to last 3 sts, sl 1 wyib, k2
Row 2 (WS, Color B): k2, *sl 1 wyif, p5; repeat from * to last 3 sts, sl 1 wyif, k2
Row 3 (RS, Color A): k2, *k1, sl 1 wyib, k3, sl 1 wyib; repeat from * to last 3 sts, k1, sl 1 wyib, k2
Row 4 (WS, Color A): k2, *p1, sl 1 wyif, p3, sl 1 wyif; repeat from * to last 3 sts, p1, sl 1 wyif, k2
Row 5 (RS, Color B): k2, *k3, sl 1 wyib, k1, sl 1 wyib; repeat from * to last 3 sts, k3, k2
Row 6 (WS, Color B): k2, *p3, sl 1 wyif, p1, sl 1 wyif; repeat from * to last 3 sts, p3, k2
Important: Repeat Rows 1-6 for the mosaic pattern, but on every RS row, work the increases at the beginning and end: k2, yo, work pattern to last 2 sts, yo, k2. On WS rows, work the pattern as written, purling the yo's through the back loop to avoid holes. This maintains the shawl's shape while incorporating the mosaic design.
Continue in this manner, alternating colors every 2 rows (Color B, Color A, Color B, Color C, Color B, Color A, etc.) to create a beautiful gradient effect. Work until the shawl measures approximately 24 inches from the cast-on edge, or until you have used most of your yarn, ending with a WS row. The color sequence is flexible—feel free to customize it to your liking!
Edging
Switch to Color C and work 6 rows of garter stitch (knit every row), continuing the increases on RS rows. This creates a soft, slightly ruffled border that beautifully frames the mosaic pattern.
Then bind off loosely on the next RS row. A loose bind-off is crucial to ensure the edge remains stretchy and doesn't pull the shawl out of shape.
Finishing
Weave in all ends carefully with a tapestry needle, making sure to secure them well so they don't show on the right side. Block the shawl gently to open up the lace and mosaic patterns—this step is essential for showcasing the intricate stitch work and achieving the perfect drape. Pin it out to shape and let it dry completely.
Once dry, your Aurora Borealis Mosaic Shawl is ready to wear. Enjoy your unique, gradient masterpiece that captures the magic of the northern lights!