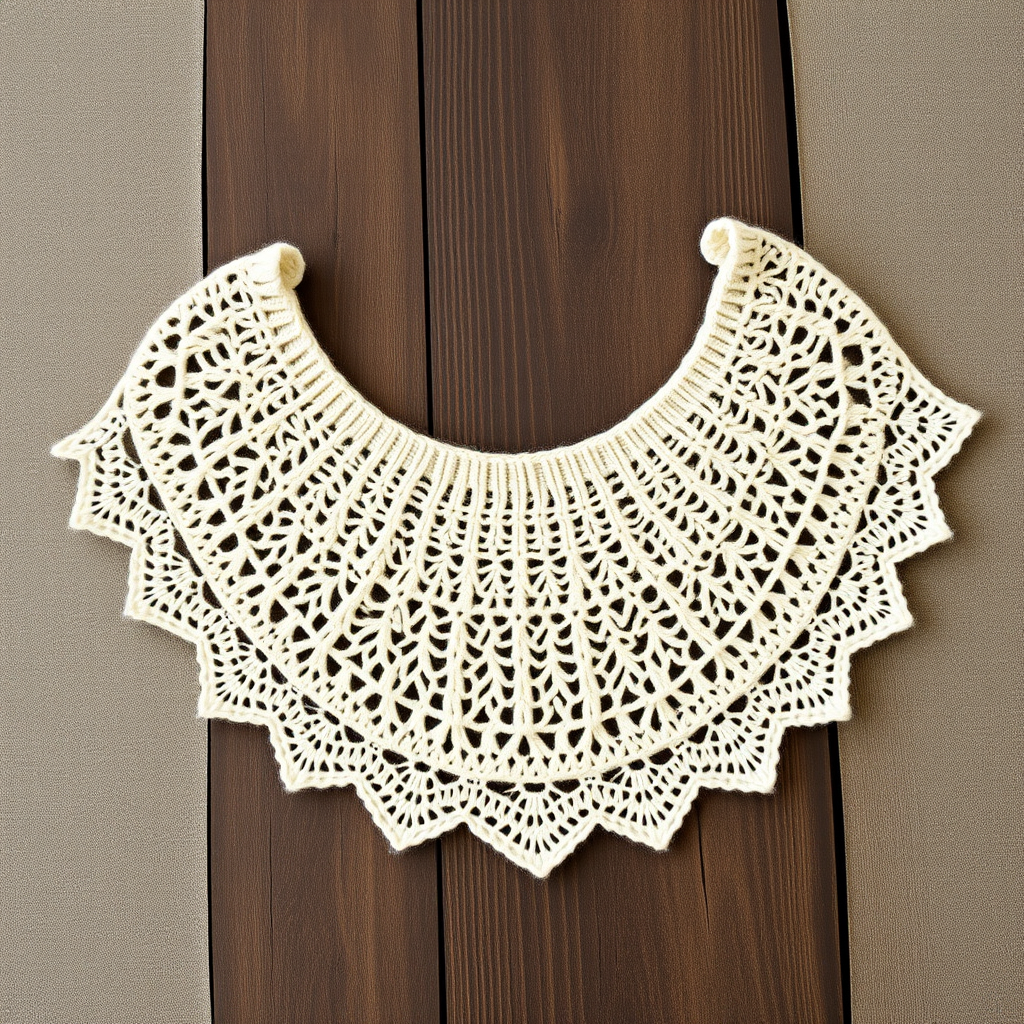
Aurora Borealis Driftwood Wrap Free Knitting Pattern – Celestial Gradient Shawl

Aurora Borealis Driftwood Wrap: A Free Knitting Pattern for a Celestial Gradient Shawl
Imagine wrapping yourself in the ethereal dance of the northern lights. The Aurora Borealis Driftwood Wrap is a stunning gradient knit shawl that captures the shifting hues of teal, violet, and rose, mimicking the night sky in a feather-light yet cozy fabric. This crescent-shaped wrap is a versatile layering piece for cool evenings, and despite its intricate appearance, it's surprisingly achievable for knitters ready to expand their skills. With a combination of garter stitch, delicate lace eyelets, and a textured ridge motif, this pattern offers a rewarding and meditative knitting experience. Let's dive into creating this celestial masterpiece.
Materials Needed
Before you begin your knitting journey, gather the following materials. Using high-quality yarn will enhance the drape and color transitions of your finished wrap.
- Yarn: Fingering weight yarn in a gradient colorway (e.g., Malabrigo Sock in 'Arco Iris' or similar) – 800 yards (732 m). The gradient is key to achieving the celestial look.
- Needle: US 6 (4.0 mm) circular knitting needle, 32-inch (80 cm) or longer. The long cord is essential for holding the many stitches as the shawl grows.
- Notions: Stitch markers (at least 2), tapestry needle for weaving in ends, blocking mats and pins.
- Gauge: 20 stitches and 28 rows = 4 inches (10 cm) in stockinette stitch, after blocking. Gauge is crucial for achieving the correct size and drape, so take a moment to swatch.
Step-by-Step Instructions
This shawl is worked from the top center down, increasing on both sides to create a dramatic crescent shape. The pattern combines garter stitch, lace eyelets, and a textured ridge motif for visual interest. Follow along carefully, and you'll be amazed at the beautiful fabric you create.
Abbreviations
- k = knit
- p = purl
- yo = yarn over
- k2tog = knit two together (right-leaning decrease)
- ssk = slip, slip, knit (left-leaning decrease)
- pm = place marker
- sm = slip marker
- RS = right side
- WS = wrong side
Setup
This clever cast-on creates a seamless, rounded top edge for your shawl.
- Cast on 3 stitches.
- Knit 6 rows (garter stitch). This creates a small square.
- Turn work 90 degrees and pick up 3 stitches along the side edge.
- Turn again and pick up 3 stitches from the cast-on edge. You now have 9 stitches on the needle.
- Place markers after the 3rd and 6th stitches to divide into three sections: left edge, center, right edge. Your stitch count is now: 3 stitches, marker, 3 stitches, marker, 3 stitches.
Increase Section (Rows 1-40)
This section establishes the crescent shape by increasing two stitches on every right-side row, one at each edge.
- Row 1 (RS): k3, yo, sm, k to marker, sm, yo, k3 (increase 2 stitches). You will have 11 stitches.
- Row 2 (WS): k3, p to last 3 stitches, k3. This creates a garter stitch border on both edges.
- Repeat these two rows until you have 89 stitches total (after completing Row 40). Remember to slip the markers on every row as you come to them.
Lace and Ridge Pattern (Rows 41-80)
Now we introduce the beautiful lace and ridge motifs. This 8-row repeat creates a stunning textured pattern. Pay close attention to the placement of the yarn overs and decreases.
- Row 41 (RS): k3, yo, *k2tog, yo* repeat from * to * until 3 stitches before marker, k3, sm, k to marker, sm, k3, yo, *k2tog, yo* repeat until 3 stitches before end, k3.
- Row 42 (WS): k3, p to last 3 stitches, k3.
- Row 43 (RS): k3, yo, k to marker, sm, k to marker, sm, k to last 3 stitches, yo, k3.
- Row 44 (WS): k3, p to last 3 stitches, k3.
- Row 45 (RS): k3, yo, *ssk, yo* repeat until 3 stitches before marker, k3, sm, k to marker, sm, k3, yo, *ssk, yo* repeat until 3 stitches before end, k3.
- Row 46 (WS): k3, p to last 3 stitches, k3.
- Row 47 (RS): k3, yo, k to marker, sm, k to marker, sm, k to last 3 stitches, yo, k3.
- Row 48 (WS): k3, p to last 3 stitches, k3.
- Repeat Rows 41-48 four more times (total 40 rows). You will have 129 stitches after completing Row 80.
Final Increase Section (Rows 81-120)
We return to the simple increase pattern to add more width and length to the shawl.
- Repeat the Increase Section pattern (Rows 1-2) until you have 169 stitches total (after completing Row 120).
Edging
This final lace border adds a delicate, scalloped finish to the wrap.
- Row 121 (RS): k3, yo, *k2tog, yo* repeat until 3 stitches before marker, k3, sm, k to marker, sm, k3, yo, *k2tog, yo* repeat until 3 stitches before end, k3.
- Row 122 (WS): k3, p to last 3 stitches, k3.
- Row 123 (RS): k3, yo, k to marker, sm, k to marker, sm, k to last 3 stitches, yo, k3.
- Row 124 (WS): k3, p to last 3 stitches, k3.
- Repeat Rows 121-124 twice more. You will have 181 stitches.
Bind Off (loosely)
A stretchy bind-off is essential to ensure the edge of your shawl drapes beautifully and doesn't pull.
- Bind off all stitches knitwise, using a larger needle (US 8) to ensure a stretchy edge.
- Weave in all ends carefully with a tapestry needle.
Blocking
Blocking is the magical final step that transforms your knitting into a professional-looking shawl. It opens up the lace and shapes the crescent.
- Soak the shawl in lukewarm water with a gentle wool wash for 20 minutes.
- Gently squeeze out excess water (do not wring).
- Lay flat on a blocking mat, pinning the edges to create a crescent shape. Stretch it gently to open up the lace pattern.
- Allow to dry completely before unpinning.
Your Aurora Borealis Driftwood Wrap is now complete! The gradient colors and intricate textures will make this a cherished piece in your wardrobe. Enjoy the compliments and the cozy warmth it provides.