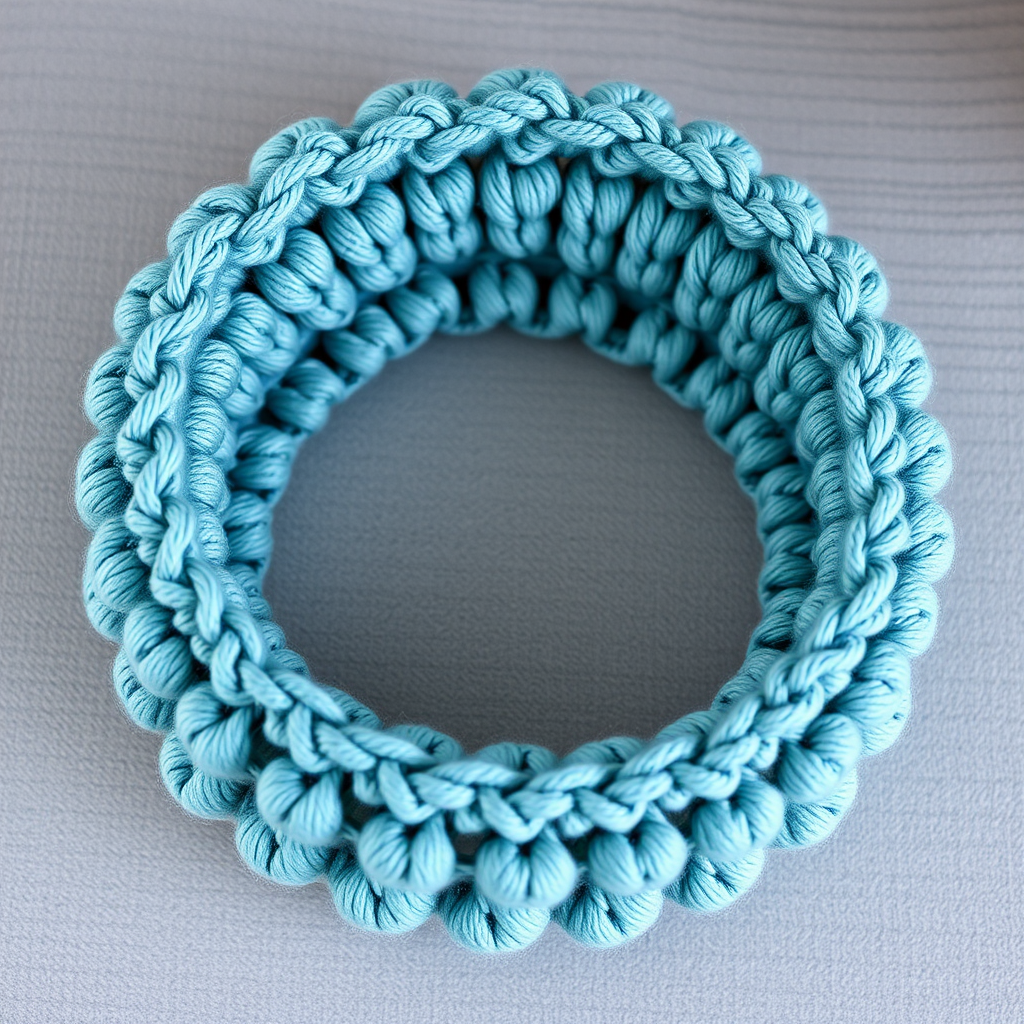
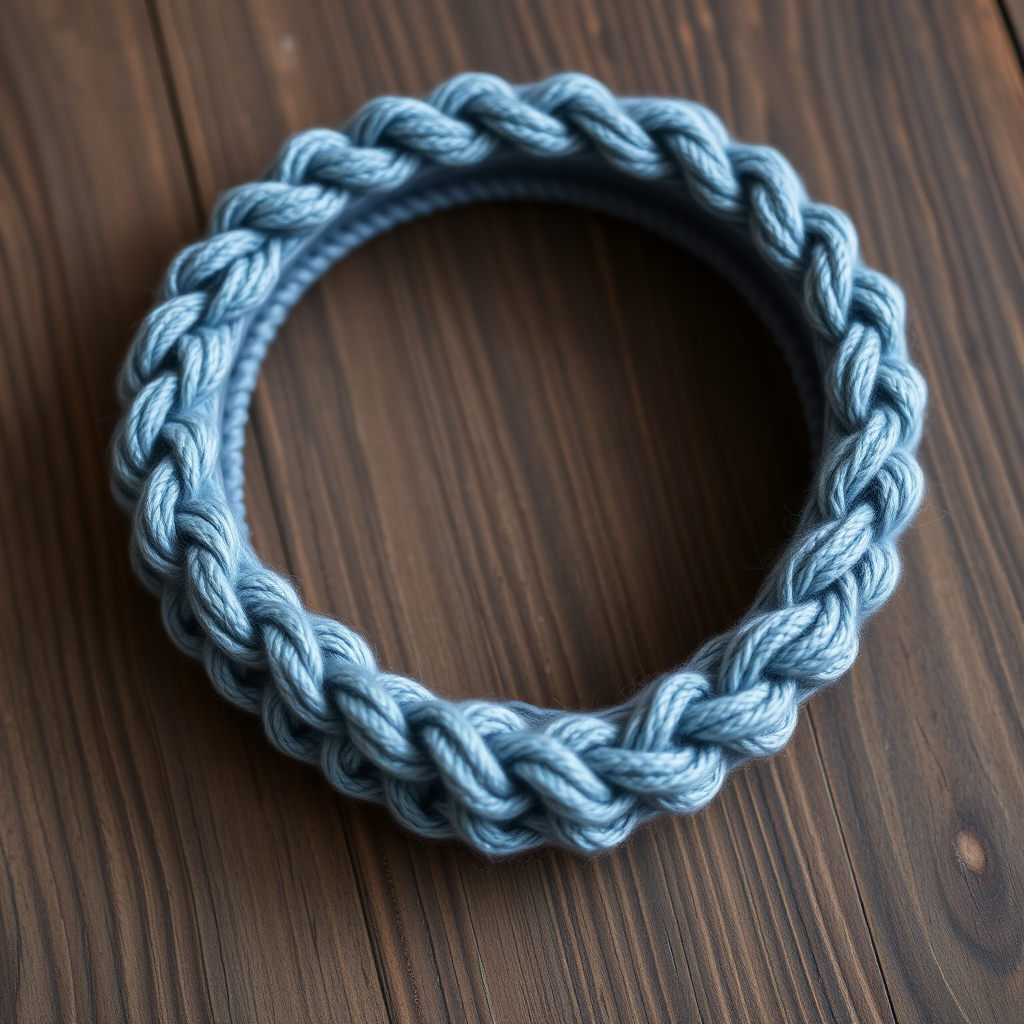
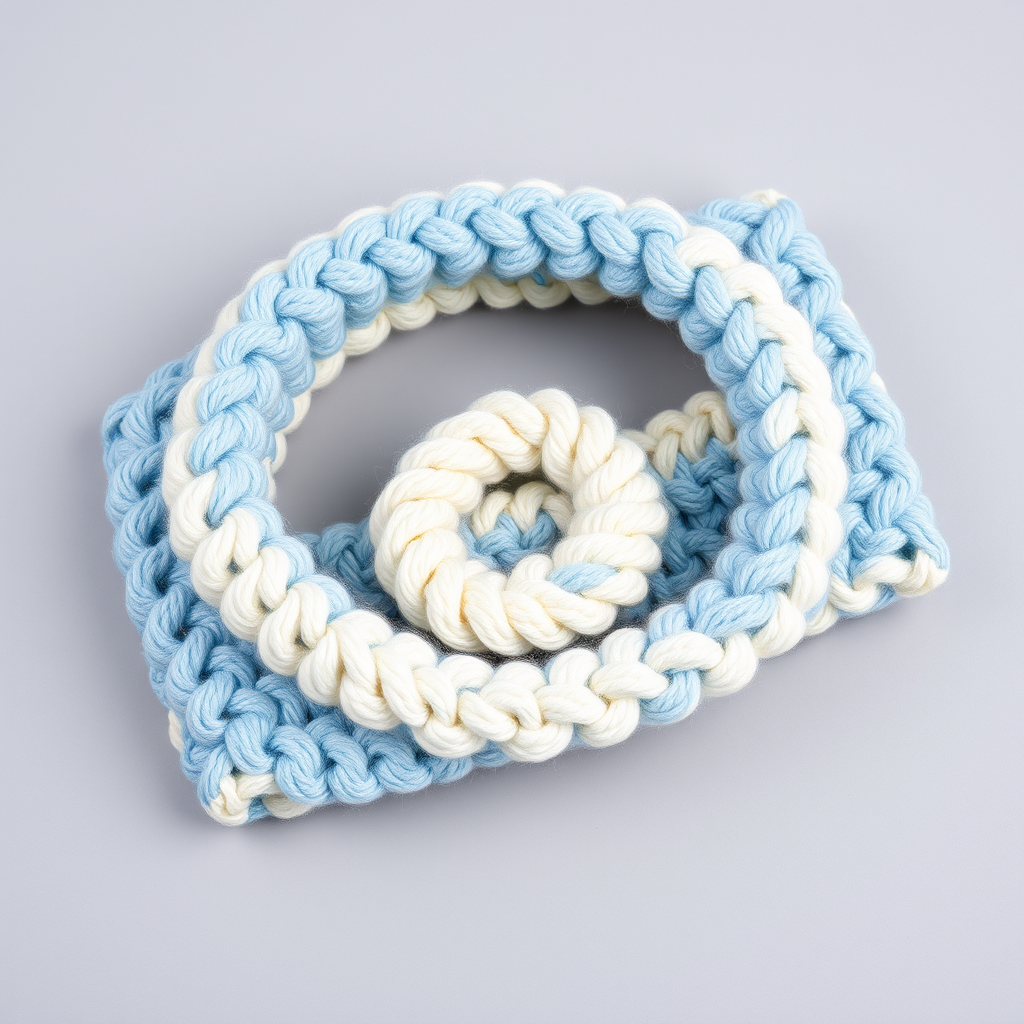
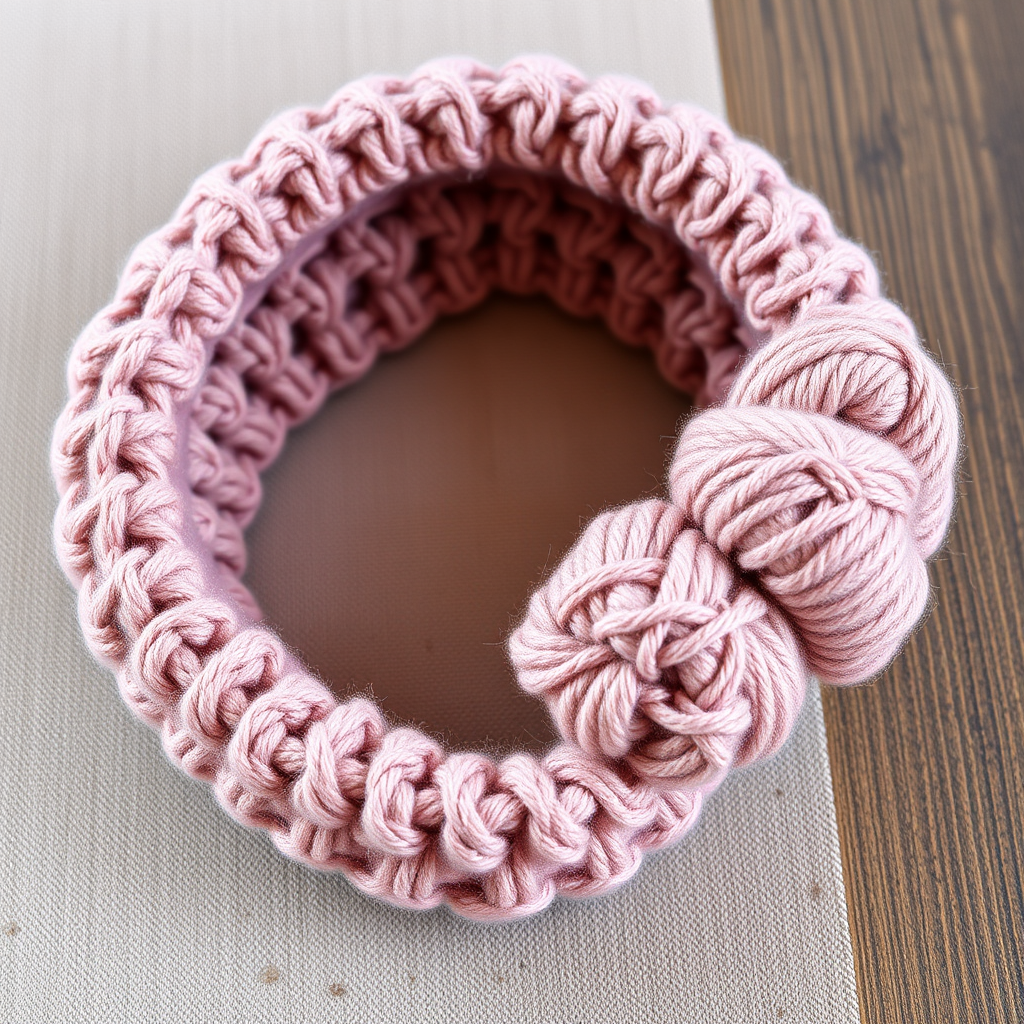
Willow Wisp Twisted Headband Free Pattern

Introducing the Willow Wisp Twisted Headband
There are some crochet projects that are so clever, they feel like magic. The Willow Wisp Twisted Headband is exactly that—a piece that looks intricate and complex, yet is built on a foundation so simple that even a beginner can master it in a single afternoon. This cozy accessory adds a touch of boho elegance to any outfit, featuring a beautiful braided texture that is surprisingly simple to create. Whether you are layering up for a winter walk or just want to add a stylish touch to your everyday look, this headband is the perfect project. It is designed to keep your ears warm while looking effortlessly chic, and the two-tone color scheme gives it a unique, handcrafted feel that store-bought accessories just can't match.
In this pattern, we will walk you through every step, from the basic half-double crochet rectangles to the satisfying twist and braided center finish. By the end, you will have a beautiful, functional piece of wearable art. Let's get started!
Materials Needed
Before you begin, gather your supplies. This project is wonderfully portable and requires very little material, making it a great stash-buster or a quick gift idea.
- Yarn: Worsted weight (4) yarn in two complementary colors. The pattern uses a soft cream and a dusty rose, but feel free to choose any two colors that speak to your style. You will need approximately 60-80 yards of each color.
- Crochet Hook: Size H/8 (5 mm) crochet hook. This size creates a dense, warm fabric that is perfect for an ear warmer.
- Yarn Needle: A blunt-tip yarn needle for sewing pieces together and weaving in ends.
- Scissors: For cutting yarn.
Gauge: 14 hdc x 11 rows = 4 inches (10 cm) in half double crochet. While gauge is important for fitted garments, for this headband, the length is adjustable. The most critical measurement is the length of your strips, which should be based on your head circumference.
Step-by-Step Instructions
This headband is worked in two separate twisted pieces that are then joined and finished with a braided center. We will break this down into manageable sections. The entire project uses only one stitch: the half double crochet (hdc). If you need a refresher, a hdc is worked by yarning over, inserting your hook into the stitch, yarning over and pulling up a loop (3 loops on hook), then yarning over and pulling through all three loops.
Piece A (Make 1 - Color 1: Soft Cream)
- Foundation Chain: Chain 8.
- Row 1: Work 1 hdc into the 3rd chain from your hook (the two skipped chains count as your first hdc). Work 1 hdc into each of the remaining chains across. You should have a total of 6 hdc stitches.
- Row 2: Chain 2 (this counts as your first hdc of the new row), turn your work. Work 1 hdc into each stitch across. (6 hdc)
- Repeat Row 2: Continue repeating Row 2 until your piece measures 18 inches (46 cm) from the beginning. This is the magic number for an average adult head. If you have a larger or smaller head, hold the strip around your head where you want the headband to sit. It should wrap around comfortably with a little bit of stretch, but not be too tight. Adjust the length accordingly.
- Finish: Once you reach your desired length, fasten off, leaving a long tail (at least 10-12 inches) for sewing later. Set this piece aside.
Piece B (Make 1 - Color 2: Dusty Rose)
- Repeat: Work exactly as you did for Piece A, but using your second color (dusty rose).
- Finish: Fasten off, leaving a long tail for sewing. You should now have two identical strips of fabric in different colors.
Joining the Pieces
- Position: Lay the two pieces side by side, with the short ends together. Make sure they are not twisted.
- Whip Stitch: Thread your yarn needle with the long tail from one of the pieces. Use a whip stitch to sew the two pieces together along the short ends. Insert the needle through the loops on the edge of both pieces, creating a sturdy seam. This will form one long loop.
- Secure: Once you have sewn across the entire short end, tie a secure knot and weave in the ends with your needle. Do the same for the tail from the other piece if it wasn't used in the seam.
Creating the Twist
- Fold: Fold the long loop in half so that the seam you just created is at one end. You now have a doubled-over loop.
- Twist: Hold the folded end in one hand and the open ends in the other. Twist the loop twice to create a figure-eight shape. You are essentially creating a twist in the middle of the fabric.
- Align: Bring the two open ends together and align the seams. You should now have a twisted loop with a center opening where the twist occurred. This is where the braided center will go.
Adding the Braided Center
- Cut Strands: Cut 3 strands of yarn from each color (for a total of 6 strands), each about 12 inches (30 cm) long. You can make them longer if you prefer a larger tassel.
- Insert: Hold all 6 strands together as one bundle. Fold the bundle in half to find the center. Insert your crochet hook through the center opening of the twisted headband and pull the folded loop of the yarn bundle through the opening.
- Secure: Pull the loose ends of the yarn bundle through the folded loop and pull tight. This creates a secure knot that anchors the strands to the headband. The strands should now be centered in the twist.
- Braid: Divide the 6 strands into three groups of 2 strands each (one from each color in each group, if you like, or mix them up). Braid the strands together tightly, just like you would braid hair.
- Finish: Once you have braided to the end, tie a tight knot at the bottom of the braid. Trim the ends to create a neat, small tassel.
Finishing Touches
- Try It On: Place the headband on your head. The braided center can sit at the front or to the side, depending on your preference.
- Adjust: Adjust the twist so it sits comfortably and looks even. The fabric should hug your head snugly but not feel restrictive.
- Weave In Ends: Check the entire headband for any remaining loose yarn tails. Use your yarn needle to weave them into the fabric to hide them. Trim any excess yarn.
And there you have it—your very own Willow Wisp Twisted Headband! This project is a fantastic way to practice your half-double crochet and learn a simple joining technique that creates a stunning visual effect. The dense, ribbed texture of the hdc stitches makes it warm and cozy, while the twisted design and braided tassel give it that perfect boho-chic aesthetic. Wear it with pride, or gift it to a friend who appreciates handmade warmth. Happy crocheting!