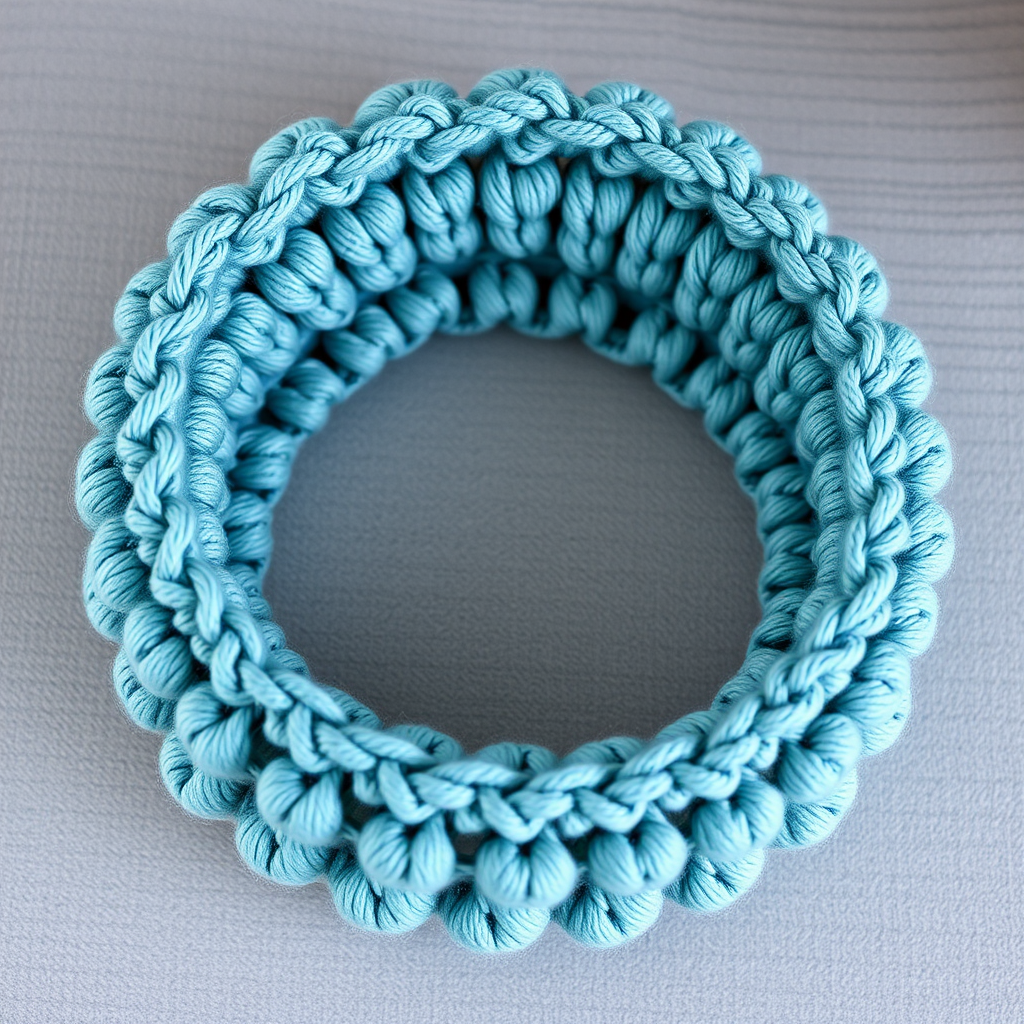
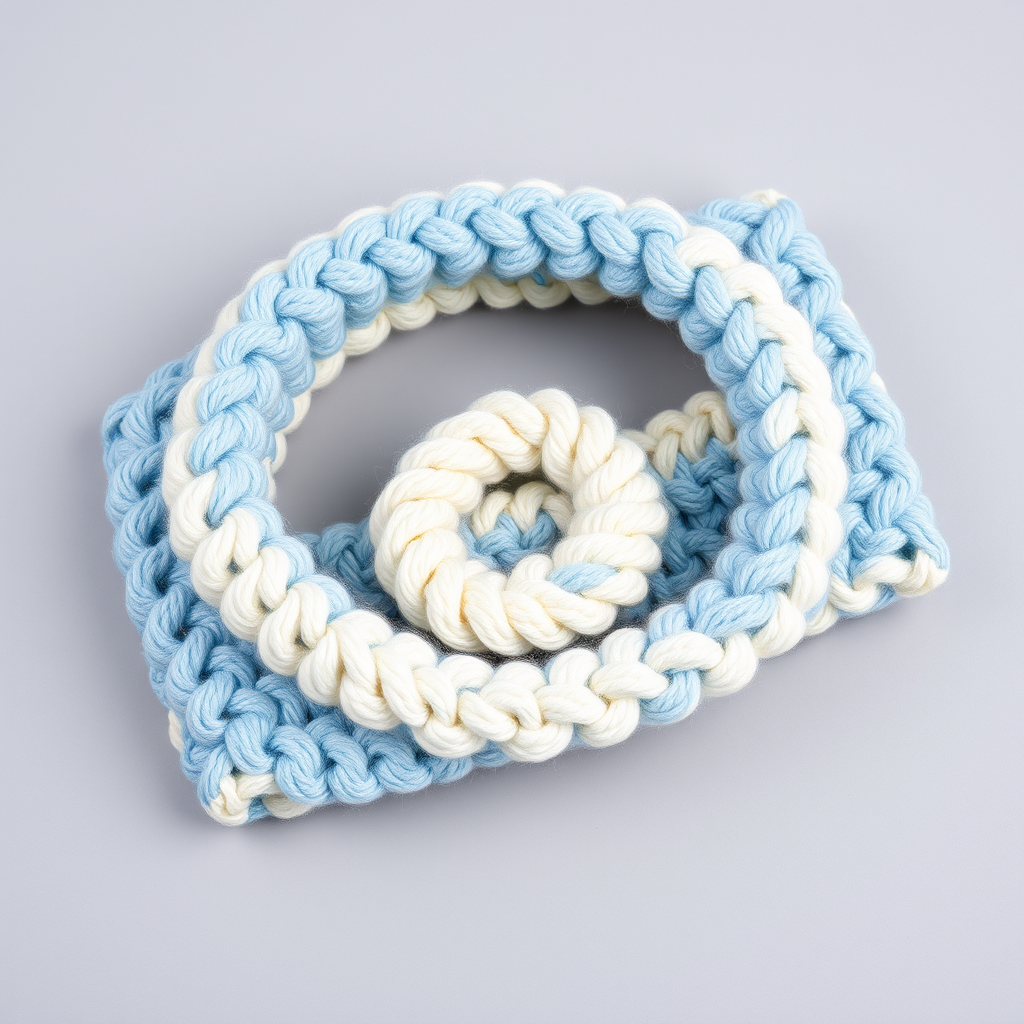
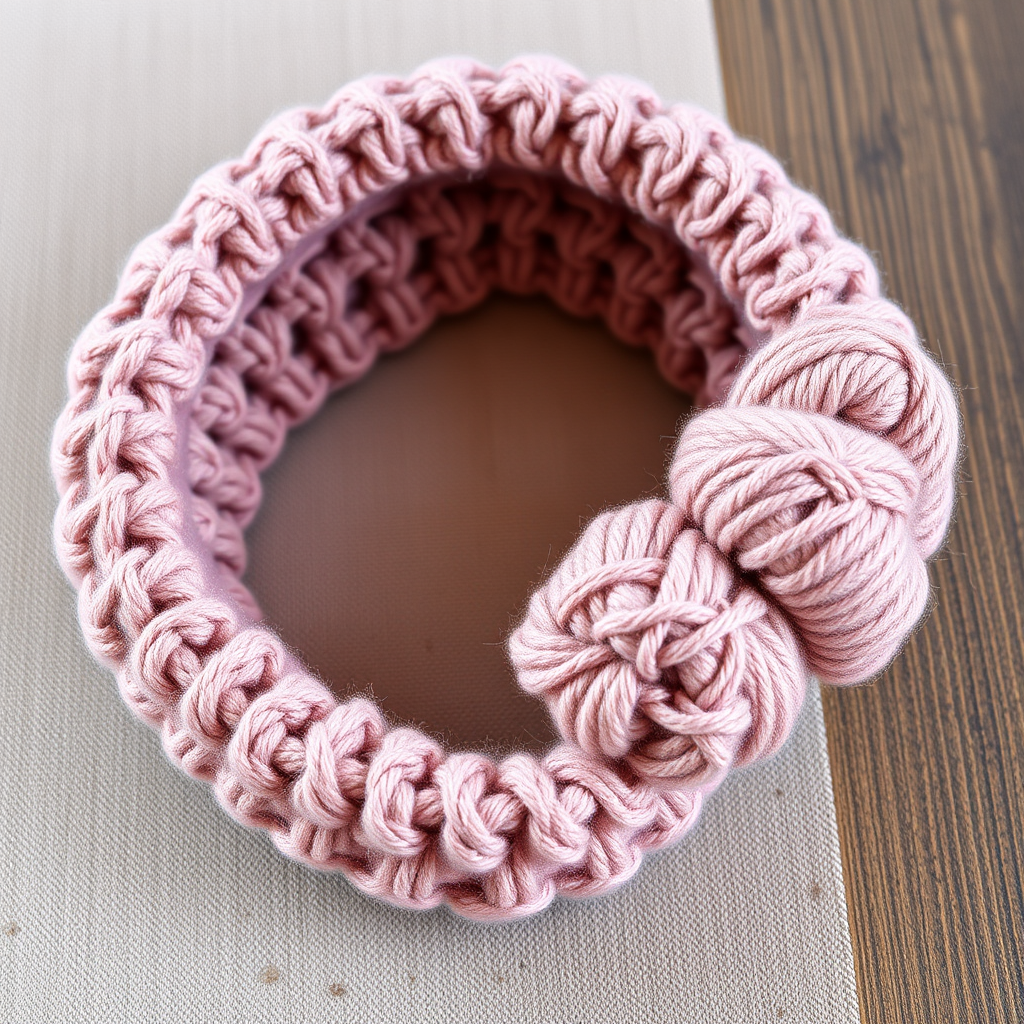
Whispering Pines Twisted Knit Headband Free Pattern
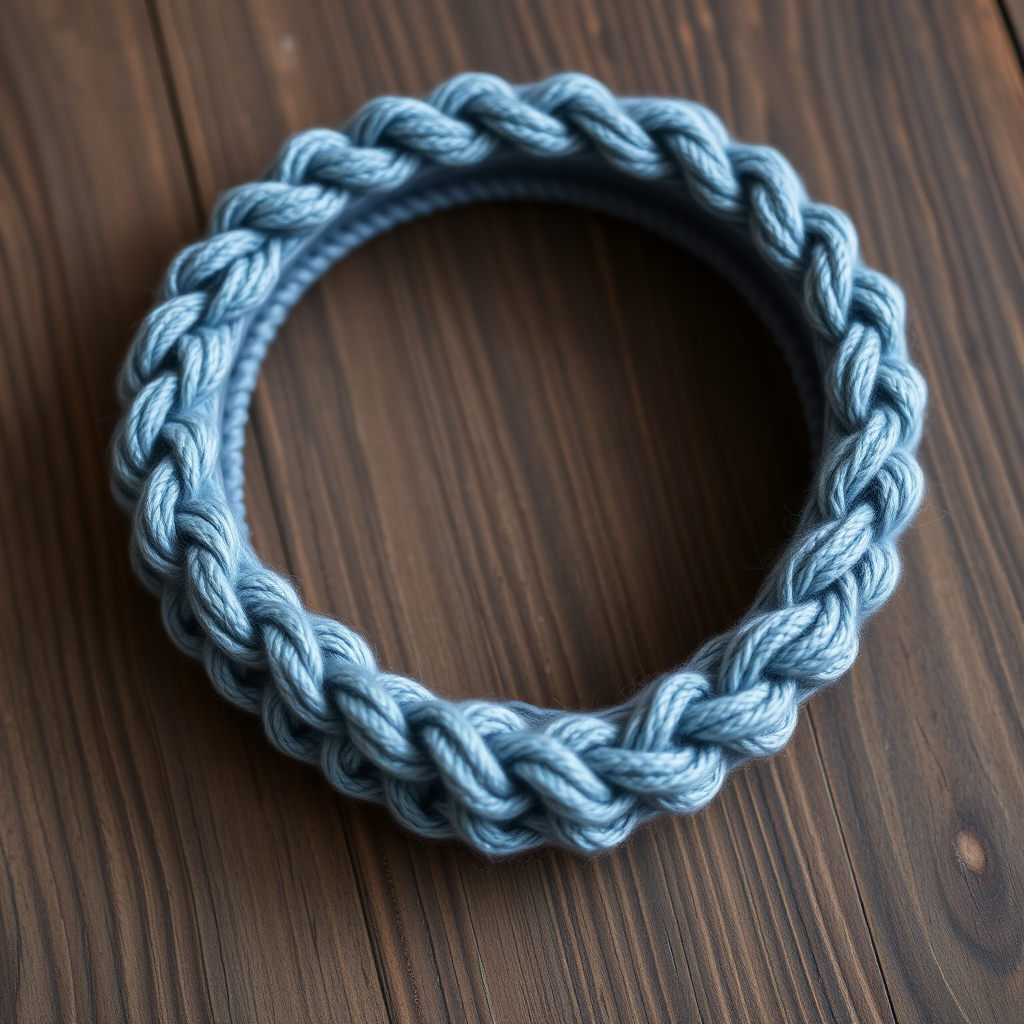
Whispering Pines Twisted Knit Headband: A Free Crochet Pattern for Cozy Winter Style
Wrap yourself in the cozy elegance of a faux-cable knit headband that adds a touch of woodland charm to any winter outfit. This quick project uses bulky yarn and a simple twisted stitch to create a luxurious, textured accessory. Whether you're a seasoned crocheter or a beginner looking for a satisfying weekend project, this headband is the perfect way to keep your ears warm while looking effortlessly chic. Best of all, it works up in just an hour or two, making it an ideal last-minute gift for friends and family.
In this comprehensive guide, I'll walk you through every step—from gathering your materials to seaming that perfect twist. By the end, you'll have a beautiful, handcrafted headband that looks like it came straight from a high-end boutique. Let's dive in!
Why You'll Love This Pattern
This isn't your average crochet headband. The clever use of front post and back post double crochet stitches creates a raised, braided texture that mimics the look of a knitted cable—without the complexity of actual cabling. The single twist in the center adds a stylish figure-eight silhouette that stays put on your head, making it both functional and fashionable.
Because it's worked flat in rows, this pattern is incredibly beginner-friendly. You'll only need to know basic stitches (chain, single crochet, double crochet) plus the simple post stitch technique, which I'll explain in detail. Plus, with bulky yarn, the project moves fast—perfect for instant gratification!
Materials Needed
Before you begin, gather the following supplies. All items are readily available at your local craft store or online.
Yarn
- Bulky weight yarn (Category 5), approximately 60-80 yards. The sample uses Lion Brand Wool-Ease Thick & Quick in the color "Harbor" (a soft blue-grey reminiscent of misty pine forests). However, any bulky yarn will work beautifully. For a more rustic look, try a tweed or heathered yarn; for a pop of color, choose a vibrant winter berry or evergreen tone.
Hook & Notions
- K/10.5 (6.5 mm) crochet hook—or whatever size is needed to achieve gauge.
- Yarn needle for weaving in ends and seaming.
- Scissors.
- Stitch markers (optional, but helpful for counting rows).
- Decorative button or small crocheted flower (optional, for embellishment).
Gauge & Size
- Gauge: 9 single crochet stitches x 10 rows = 4 inches (10 cm) in standard single crochet. Gauge is not critical for this project, but aim for a snug fit. If your headband feels too loose, try a smaller hook; if too tight, go up a hook size.
- Finished Size: Approximately 4 inches (10 cm) wide and 20 inches (51 cm) in circumference (unstretched). This fits most adult heads comfortably. To adjust the size, add or subtract stitches in multiples of 2 from the foundation chain. For a child's size, chain 8-10; for a larger adult, chain 14.
Stitches & Abbreviations (US Terms)
If you're new to crochet, don't worry—I'll explain each stitch as we go. Here's a quick reference:
- ch = chain
- sc = single crochet
- dc = double crochet
- fpdc = front post double crochet (worked around the post of the stitch from front to back)
- bpdc = back post double crochet (worked around the post of the stitch from back to front)
- sl st = slip stitch
How to Work Post Stitches (fpdc & bpdc)
Post stitches are the secret to that beautiful cable texture. Instead of working into the top loops of a stitch, you'll insert your hook around the vertical "post" of the stitch from the row below.
- Front Post Double Crochet (fpdc): Yarn over, insert your hook from front to back around the post of the indicated stitch (the stitch will be to the right of your hook), yarn over and pull up a loop (3 loops on hook), yarn over and pull through 2 loops (2 loops on hook), yarn over and pull through remaining 2 loops. Done!
- Back Post Double Crochet (bpdc): Yarn over, insert your hook from back to front around the post of the indicated stitch (the stitch will be to the left of your hook), yarn over and pull up a loop (3 loops on hook), yarn over and pull through 2 loops (2 loops on hook), yarn over and pull through remaining 2 loops. Done!
Practice a few on a scrap swatch if you're new to this—it's easier than it sounds and makes a world of difference in your finished piece.
Step-by-Step Instructions
This headband is worked flat in rows, then twisted and seamed to create the faux-cable effect. Follow along carefully, and you'll have a stunning accessory in no time.
Row 1: Foundation Row
Chain 12. Then, single crochet (sc) in the 2nd chain from your hook and in each chain across. You should have 11 single crochet stitches total. Turn your work.
Pro tip: Count your stitches at the end of each row to ensure accuracy. You should always have 11 stitches.
Row 2: Setting Up the Pattern
Chain 1 (this does not count as a stitch). Single crochet in the first stitch. Now, *double crochet (dc) in the next stitch, single crochet in the next stitch.* Repeat from * to * across the row. You'll end with 11 stitches total: 6 single crochet and 5 double crochet. Turn your work.
Note: The single crochet stitches act as "spacers" between the post stitches, creating the braided channels.
Row 3: First Front Post Row
Chain 1. Single crochet in the first stitch. Now, *front post double crochet (fpdc) around the post of the next double crochet from the row below (this is the dc you just made in Row 2), then single crochet in the next stitch.* Repeat from * to * across the row. You'll have 11 stitches. Turn your work.
Important: When working the fpdc, make sure you're going around the post of the double crochet, not the single crochet. The dc posts are taller and easier to identify.
Row 4: First Back Post Row
Chain 1. Single crochet in the first stitch. Now, *back post double crochet (bpdc) around the post of the next fpdc (the post you worked in the previous row), then single crochet in the next stitch.* Repeat from * to * across the row. You'll have 11 stitches. Turn your work.
This row creates the "dip" between the cable twists, giving the fabric its dimensional, woven look.
Rows 5-40: Repeating the Pattern
Now you'll alternate Rows 3 and 4 until the piece measures approximately 20 inches (51 cm) from the beginning. Here's how to keep track:
- Odd rows (5, 7, 9, etc.): Repeat Row 3 (fpdc around the dc post from two rows below).
- Even rows (6, 8, 10, etc.): Repeat Row 4 (bpdc around the fpdc post from the previous row).
Continue this rhythm, working in the post stitches around the corresponding posts from two rows below. The pattern will naturally alternate, creating a beautiful, continuous cable. End with a Row 4 repeat (a bpdc row) so that your work is symmetrical. Do not fasten off—you'll use your working yarn to seam the headband.
Counting tip: Place a stitch marker every 10 rows to help you keep track. The piece should measure about 20 inches (51 cm) when gently stretched. If it's a bit longer or shorter, that's okay—just aim for a length that fits comfortably around your head with a little overlap for the seam.
Finishing: The Twist and Seam
This is where the magic happens! Follow these steps carefully to achieve that iconic twisted look.
- Fold in half: With the right side facing you, fold the piece in half lengthwise so the two short ends meet. The wrong sides should be together inside.
- Create the twist: Now, take the folded piece and twist it once in the middle—like you're wringing out a towel—to create a figure-eight shape. Make sure the twist is centered. This is what gives the headband its stylish, twisted silhouette.
- Seam the edges: Holding the two short ends together (they should be aligned), insert your hook through both layers at the edge. Slip stitch (sl st) through both layers across the entire edge to seam them together. This creates a neat, invisible join.
- Fasten off: Once you've seamed across, cut your yarn, leaving a 6-inch tail. Pull the tail through the last loop and weave in all ends using your yarn needle. Weave them in securely on the wrong side of the seam.
Optional Embellishments
To add a touch of personality, you can sew a decorative button or a small crocheted flower at the seam. This not only adds flair but also cleverly hides the seam. A wooden button in a natural tone complements the woodland aesthetic perfectly.
Tips for Perfect Results
- Keep your tension consistent: Post stitches can easily be worked too tightly or too loosely. Try to match the tension of your regular double crochet stitches for a uniform look.
- Blocking (optional): If your edges are curling, you can gently block the headband before seaming. Wet it lightly, pin it flat to the desired dimensions, and let it air dry. This will relax the yarn and create a smoother finish.
- Customizing width: If you prefer a narrower or wider headband, adjust your starting chain. For a narrower band (about 3 inches), chain 8. For a wider band (about 5 inches), chain 14. Just remember to keep an even number of stitches for the pattern to work out.
Wear It Your Way
This Whispering Pines headband is incredibly versatile. Wear it with the twist at the front for a bold statement, or position the twist to the side for a more subtle look. It pairs beautifully with winter coats, chunky sweaters, and even casual flannel shirts. Because it's made with bulky yarn, it's warm enough for the coldest days but breathable enough for indoor wear.
I hope you enjoy making this pattern as much as I enjoyed designing it. There's something deeply satisfying about watching those post stitches build into a cable-like fabric, and the final twist is always a delightful reveal. Happy crocheting, and stay cozy!
If you make this headband, I'd love to see it! Share your photos on social media with the hashtag #WhisperingPinesHeadband. Your handmade creation deserves to be celebrated.