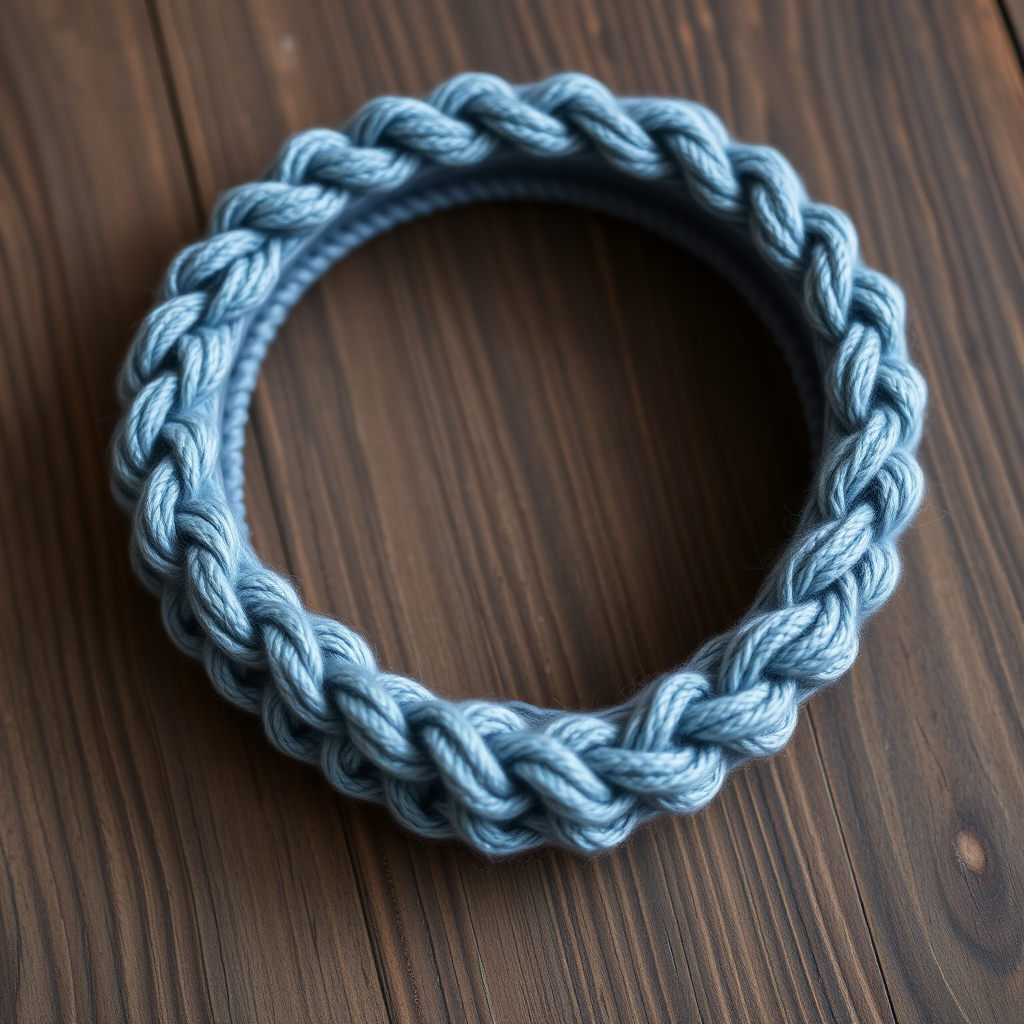
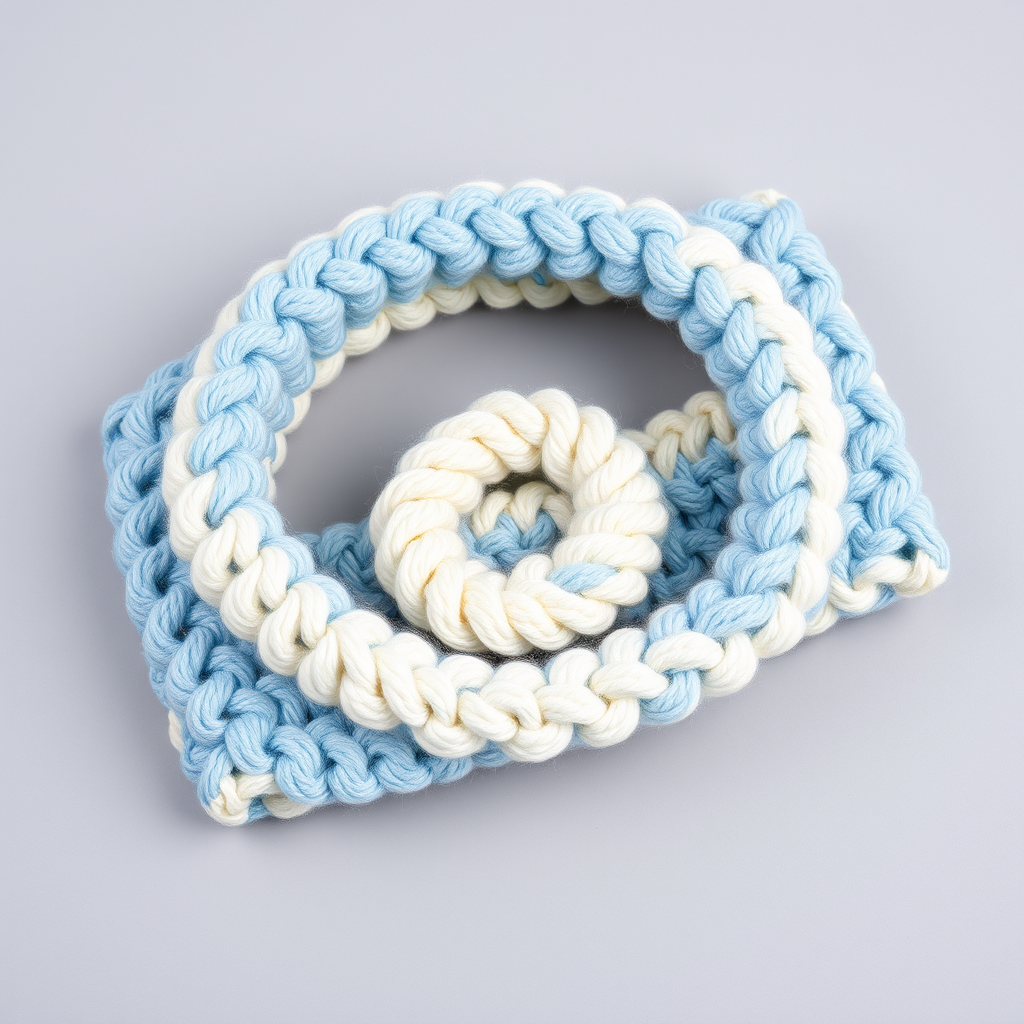
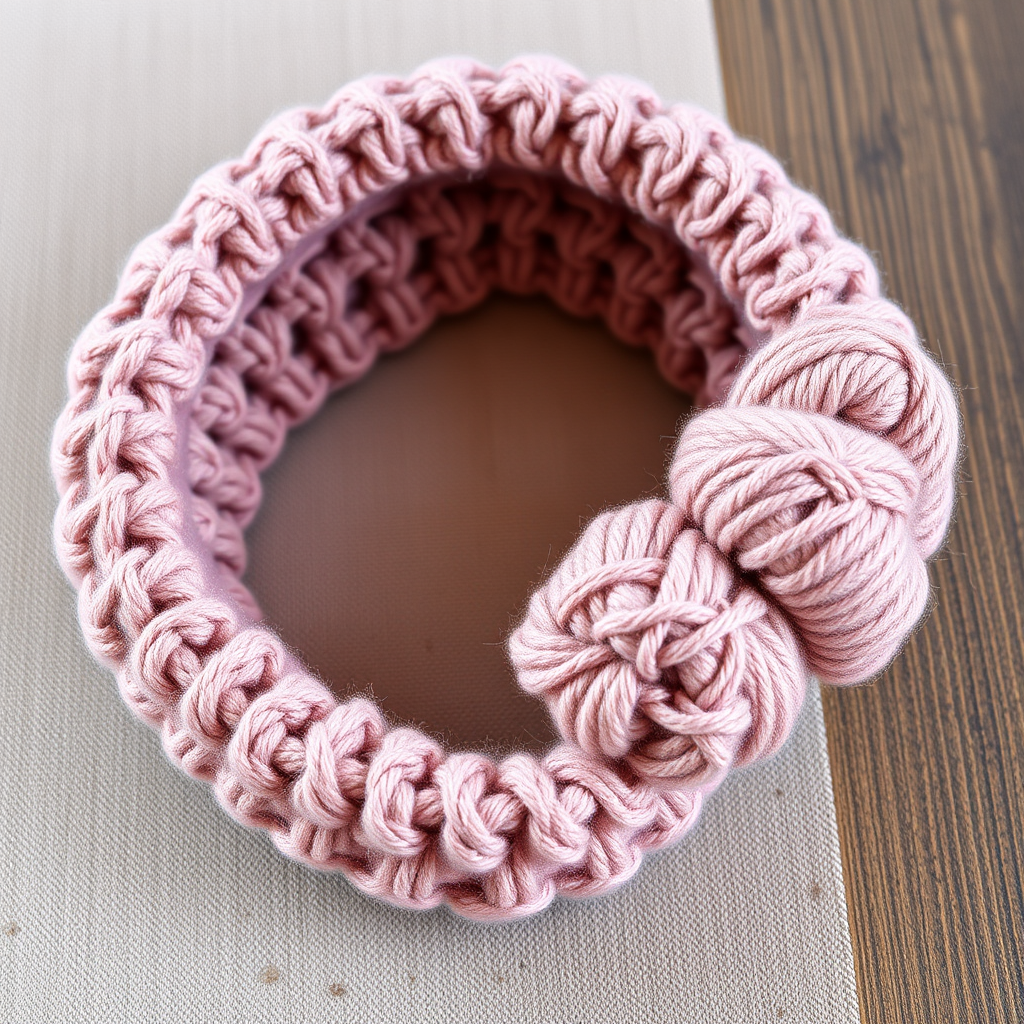
Willow Wisp Puff Stitch Headband Free Pattern
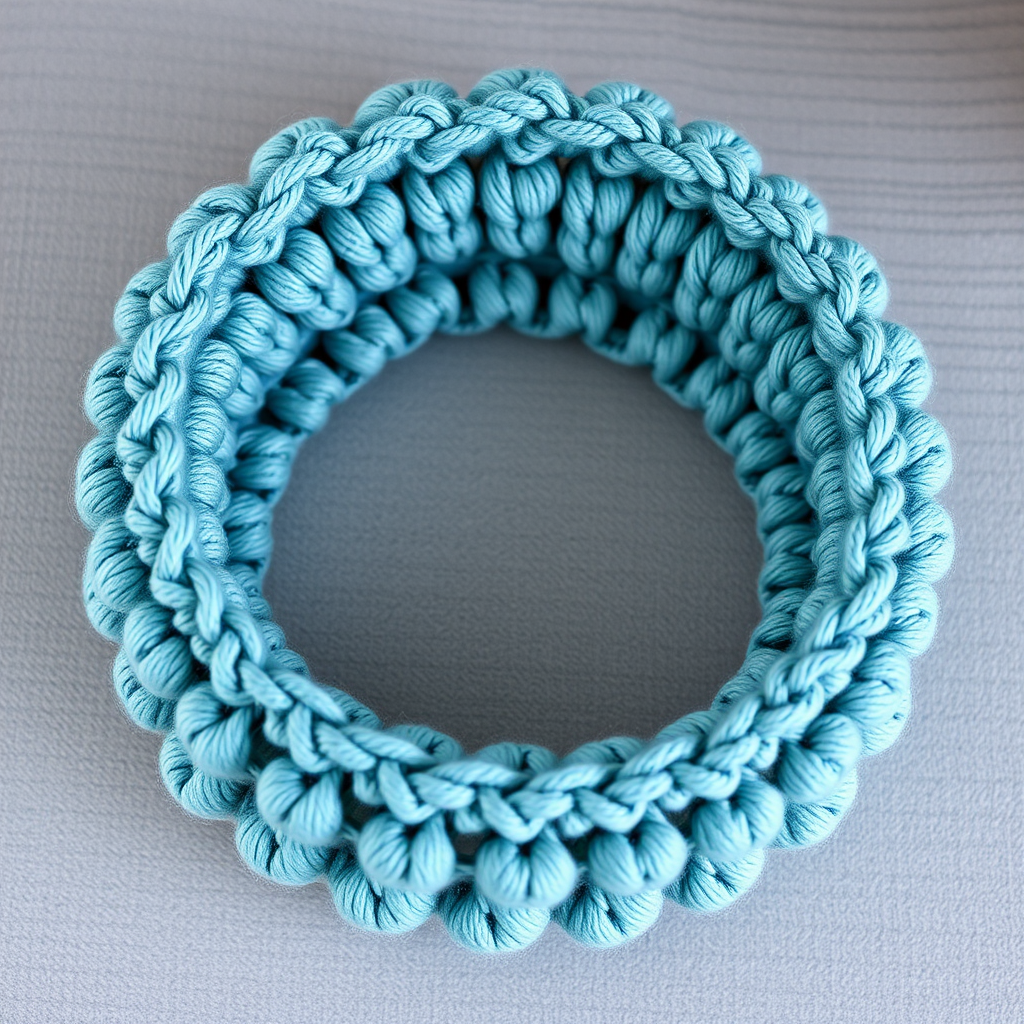
Wrap Up in the Willow Wisp: A Beginner-Friendly Puff Stitch Headband
Wrap yourself in the cozy embrace of the Willow Wisp, a plush crochet headband that adds a touch of handcrafted charm to any winter outfit. Its cloud-like puff stitches and soft, chunky yarn make it a quick and satisfying project for crafters of all levels. Whether you are a complete beginner looking for your first wearable project or a seasoned maker seeking a fast, giftable pattern, this ear warmer is the perfect choice. In this guide, we will walk through every loop and yarn-over to create a dense, textured, and beautifully handcrafted accessory that you will be proud to wear or gift.
Materials Needed
Before you begin, gather the following supplies. This project is wonderfully portable and requires minimal materials, making it ideal for travel or a cozy night in.
- Yarn: Bulky weight yarn (Category 5), approximately 80–100 yards. Suggested: Lion Brand Wool-Ease Thick & Quick in 'Harbor' (soft teal) or 'Charcoal'. The soft, matte finish of a wool-blend works beautifully to show off the puff stitches.
- Crochet Hook: US Size K/10.5 (6.5 mm) crochet hook. Ensure your hook is comfortable in your hand, as the puff stitches require a bit of repetitive motion.
- Other Tools: A yarn needle for weaving in ends and seaming, and a pair of scissors.
- Gauge: 5 puff stitches and 8 rows = 4 inches in pattern stitch (puff stitch, ch 1). Gauge is not critical for this project, but it will affect the final fit. If you are between sizes, adjust your hook size to achieve a fabric that is dense but not stiff.
Step-by-Step Instructions
This pattern is worked flat in rows and then seamed together at the end. The construction is simple, but the puff stitch creates a wonderfully plush texture. Let's break it down into manageable steps.
Understanding Your Stitches & Abbreviations
- ch = chain
- sc = single crochet
- puff st = puff stitch (see special stitch below)
- sl st = slip stitch
Special Stitch – Puff Stitch (puff st)
This is the star of the show. The puff stitch creates the cloud-like bumps that give the Willow Wisp its name. It is easier than it looks—just a series of yarn overs and loops pulled through the same stitch.
- Yarn over, insert hook into the indicated stitch.
- Yarn over and pull up a loop (you will have 3 loops on your hook).
- Yarn over, insert hook into the same stitch.
- Yarn over and pull up a loop (you will have 5 loops on your hook).
- Yarn over, insert hook into the same stitch one final time.
- Yarn over and pull up a loop (you will have 7 loops on your hook).
- Yarn over and draw through all 7 loops on the hook.
- Ch 1 to close and secure the puff stitch. This ch-1 space is crucial for the next row.
Getting Started: The Foundation
Finished Size: Adult (approx. 20 inches circumference, 4 inches wide). You can easily adjust the chain length for a custom fit—just keep it an even number.
Foundation Row: Ch 12 (or any even number to achieve your desired width, approximately 4 inches).
Row-by-Row Pattern
Follow these rows carefully. The pattern alternates between a "puff row" and a "base row" to create the staggered, brick-like effect.
Row 1 (Base Row): Sc in the 2nd ch from the hook and in each ch across. Turn. (You will have 11 sc stitches.)
Row 2 (Puff Row): Ch 1 (this does not count as a stitch). Sc in the first st. *Skip the next st, puff st in the next st. Skip the next st, sc in the next st.* Repeat from * to * across. Turn. (You will have 5 puff stitches and 6 sc, including the first and last sc.)
Row 3 (Base Row): Ch 1. Sc in the first st. *Ch 1, sc in the ch-1 space of the next puff st (the space created when you chained 1 to close the puff).* Repeat from * to * across, ending with sc in the last st. Turn. (This row creates a flat base for the next row of puffs.)
Row 4 (Puff Row): Ch 1. Sc in the first st. *Skip the next ch-1 space, puff st in the next sc (the sc from Row 3 that is between the ch-1 spaces). Skip the next ch-1 space, sc in the next st.* Repeat from * to * across, ending with sc in the last st. Turn. (Notice that the puffs are now offset from the previous row, creating the beautiful staggered pattern.)
Row 5: Repeat Row 3.
Row 6: Repeat Row 4.
Continue alternating Rows 3 and 4 until the headband measures approximately 20 inches (or your desired head circumference minus 1 inch for stretch) from the foundation row. It is important to end with a Row 3 repeat (a plain base row) to ensure a clean edge for seaming.
Finishing and Seaming
Once you have reached your desired length, it is time to bring the ends together.
- Fasten off, leaving a long tail (at least 12 inches) for seaming.
- Fold the headband in half with the right sides together (the puff stitch side facing in).
- Using the yarn needle and the long tail, whip stitch the short ends together. Work through both layers of the foundation row and the last row you completed. Be sure to match stitch for stitch to create a seamless join.
- Weave in all ends securely using the yarn needle.
- Turn the headband right side out. The seam will be cleverly hidden inside the puff stitches, giving your headband a polished, professional look.
Optional Twist
For a trendy, twisted look, give the headband a half-twist before seaming the ends together. This creates a stylish Mobius-style loop that sits beautifully on the head.
And there you have it—your very own Willow Wisp headband! This project works up quickly, making it an ideal last-minute gift or a rewarding personal treat. The plush puff stitches not only look luxurious but also provide excellent warmth and comfort. Enjoy your new handmade accessory, and don't be surprised if you find yourself making one in every color!