Aurora Alpine Twist Headband Free Pattern
The Aurora Alpine Twist Headband: A Cozy Crochet Pattern for Beginners
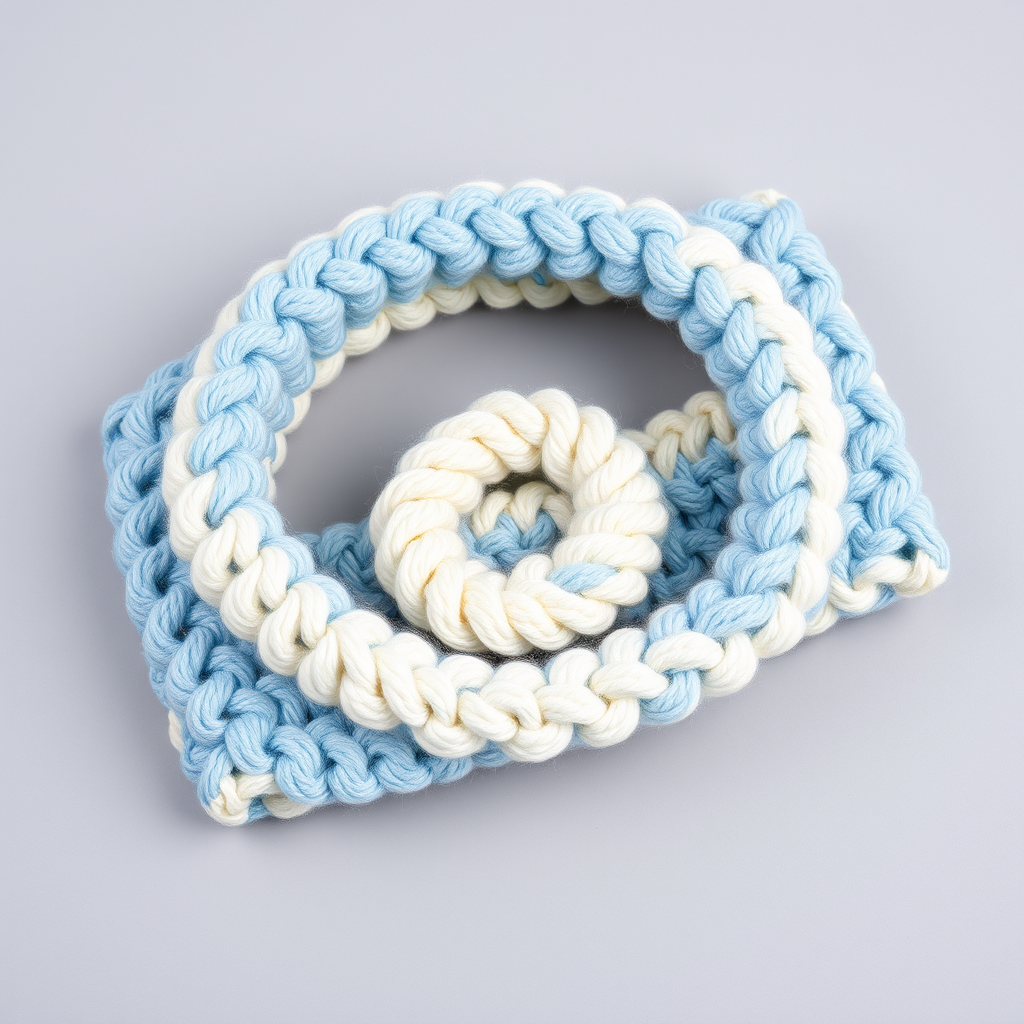
Wrap yourself in the cozy elegance of the Aurora Alpine Twist Headband, a modern take on the classic twisted headband with a stunning textured stitch. This quick crochet project is perfect for adding a handmade touch to any winter outfit. Whether you're a seasoned maker or picking up a hook for the first time, this pattern is designed to be your new favorite go-to gift or personal accessory. With its beautiful two-tone spiral effect and dense, warm fabric, you'll love how this stylish band keeps your ears toasty while elevating your cold-weather wardrobe.
This free crochet pattern is not only beginner-friendly but also works up in a single evening. The clever construction involves crocheting two flat rectangles, twisting them together, and seaming them for a dimensional, boutique-quality look. Let's dive into creating this stunning, alpine-inspired accessory!
Materials Needed
Before you begin, gather your supplies. This project requires minimal materials, making it an excellent stash-buster or a perfect excuse to visit your local yarn shop.
- Yarn: Worsted weight (4) yarn in two complementary colors (e.g., 1 skein each of 'Frosty Blue' and 'Cream' or 'Forest Green' and 'Ivory'). You will need approximately 60-70 yards of each color.
- Crochet Hook: 5.5 mm (I-9) crochet hook.
- Yarn Needle: For weaving in ends and seaming the pieces together.
- Scissors: For cutting yarn.
- Measuring Tape: To check your gauge and headband length.
Gauge: 14 hdc x 11 rows = 4 inches (10 cm) in half double crochet. Getting the right gauge ensures your headband fits snugly and comfortably. If your headband is too loose, try a smaller hook. If it's too tight, go up a hook size.
Step-by-Step Instructions
This headband is worked flat in two separate pieces and then twisted and seamed together for a beautiful, dimensional look. Follow these detailed instructions carefully, and you'll have a gorgeous headband in no time.
Special Stitches
Before you start, familiarize yourself with these two essential stitches. They are the building blocks of this pattern.
- HDC (Half Double Crochet): Yarn over, insert hook into stitch, yarn over, pull through (3 loops on hook), yarn over, pull through all 3 loops.
- HDC2TOG (Half Double Crochet Decrease): Yarn over, insert hook into next stitch, yarn over, pull through (3 loops on hook), yarn over, insert hook into next stitch, yarn over, pull through (5 loops on hook), yarn over, pull through all 5 loops. (Note: This stitch is not used in the main body but is a great skill to have for future projects.)
Piece 1 (Color A)
We'll start with the first half of your headband using your first color. This piece forms one side of the twist.
- Row 1: Chain 10. HDC in the 3rd chain from the hook and in each chain across. (8 HDC) Tip: The first two chains count as your turning chain and your first stitch, so you'll have 8 total stitches.
- Row 2: Chain 2 (counts as first HDC), turn. HDC in each stitch across. (8 HDC) Always work into the top two loops of the stitch from the previous row for a clean, uniform fabric.
- Rows 3-30: Repeat Row 2 until the piece measures approximately 18 inches (46 cm) long, or desired length to wrap around your head comfortably. To check the length, wrap the piece around your head. It should feel snug but not tight, as the twist will use up some of the length. For most adults, 18-20 inches is perfect.
- Fasten off: Cut your yarn leaving a 6-inch tail, and pull it through the loop on your hook to secure. Weave in the ends with your yarn needle to hide them.
Piece 2 (Color B)
Now, repeat the exact same process with your second color. This piece will be identical in size and stitch count.
- Row 1: Chain 10. HDC in the 3rd chain from the hook and in each chain across. (8 HDC)
- Row 2: Chain 2 (counts as first HDC), turn. HDC in each stitch across. (8 HDC)
- Rows 3-30: Repeat Row 2 until the piece measures approximately 18 inches (46 cm) long, matching Piece 1. It's crucial that both pieces are the same length for the twist to sit evenly.
- Fasten off: Cut your yarn leaving a 6-inch tail, and pull it through the loop on your hook to secure. Weave in the ends.
Assembly: Creating the Twist
This is where the magic happens! Follow these steps carefully to transform your two flat rectangles into a stunning twisted headband.
- Stack the Pieces: Lay both pieces flat, one on top of the other, with right sides facing up. Make sure they are perfectly aligned with the edges matching.
- Fold into a Loop: Fold the entire stack in half so the short ends meet, creating a loop. You will now have two layers of fabric (one in Color A, one in Color B).
- The Key Twist: Take the two short ends (where your fold is) and twist them together once, creating a figure-eight shape. This is the crucial step that gives the headband its unique, dimensional look. Don't be afraid to manipulate the fabric—it should naturally form an "X" or infinity shape.
- Seaming: With the twisted ends together, use a yarn needle and a length of Color A yarn (about 12 inches) to sew the two short ends together securely. Stitch through all four layers (two ends of each piece) using a whip stitch or mattress stitch. Go back and forth a few times to ensure a strong, secure seam.
- Weave in Ends: Weave in all remaining loose ends with your yarn needle, hiding them within the seam or the fabric.
- Adjust the Twist: Turn the headband right side out (if needed) and adjust the twist so it sits prominently in the center front. The two colors should spiral around each other beautifully.
Finishing Touches
Your headband is almost complete! Here are a few final tips to make it perfect.
- Optional Embellishment: Add a small decorative button or a crocheted flower at the seam for extra flair. This is a great way to personalize your headband or hide the seam if you prefer.
- Blocking (Optional): If your edges look uneven, you can lightly steam block the headband. Lay it flat and gently mist with water or use a steam iron on low heat (without touching the yarn directly) to relax the fibers.
- Wear and Enjoy: Your Aurora Alpine Twist Headband is complete! Slip it over your head, position the twist at the front, and enjoy the cozy, stylish warmth.
This pattern is wonderfully versatile—experiment with different color combinations to match your coat, or use a chunky yarn for an even cozier version. The Aurora Alpine Twist Headband makes a thoughtful, handmade gift for friends and family, and it's so quick to make that you'll want to create one in every color. Happy crocheting!