Willow Wisp Twist Headband Free Pattern

The Willow Wisp Twist Headband: A Cozy Crochet Project for Beginners and Beyond
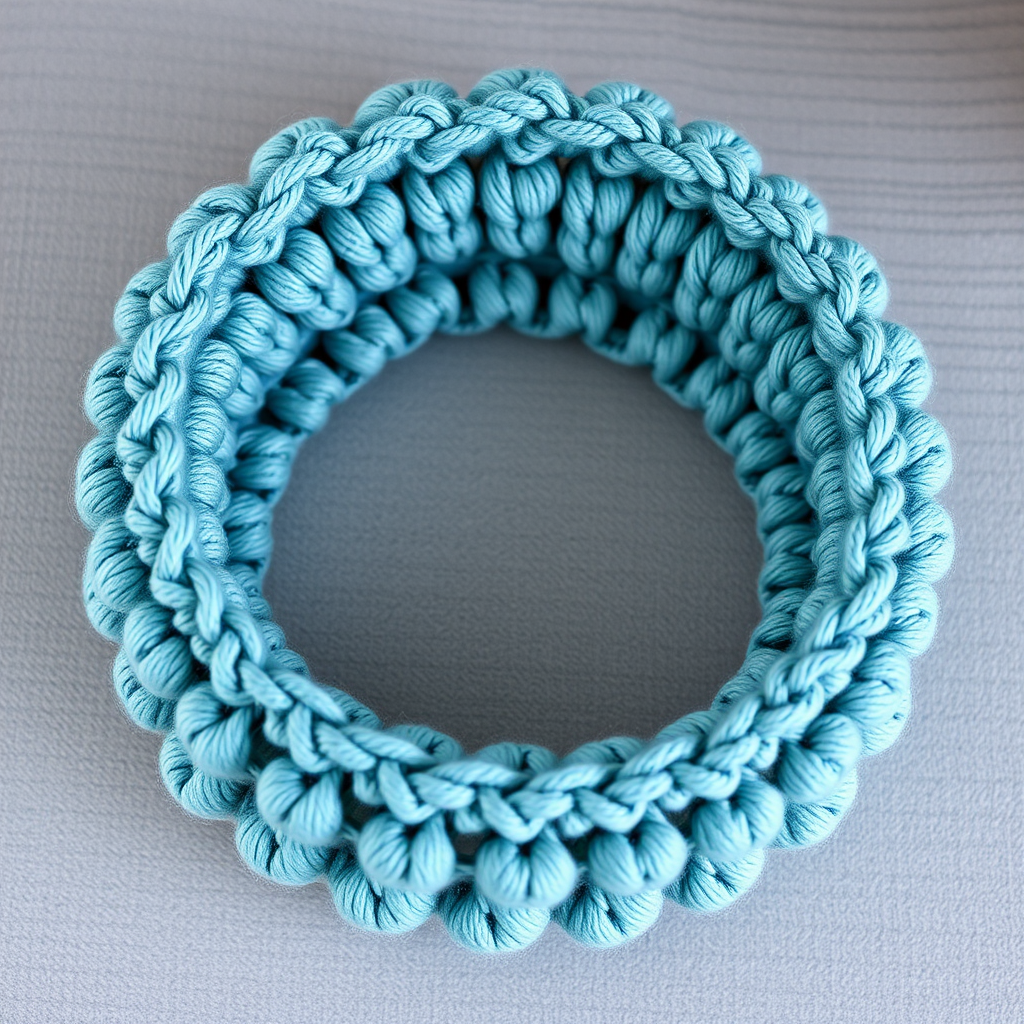
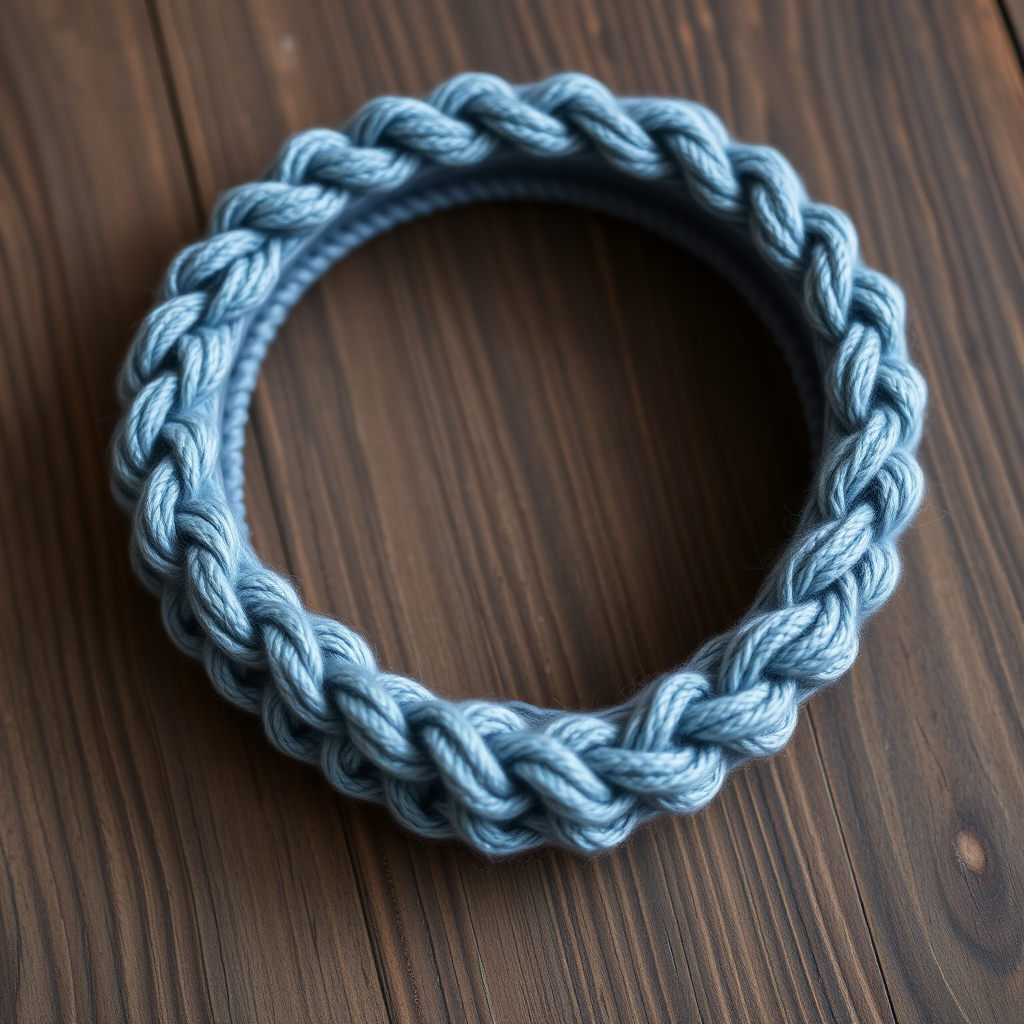
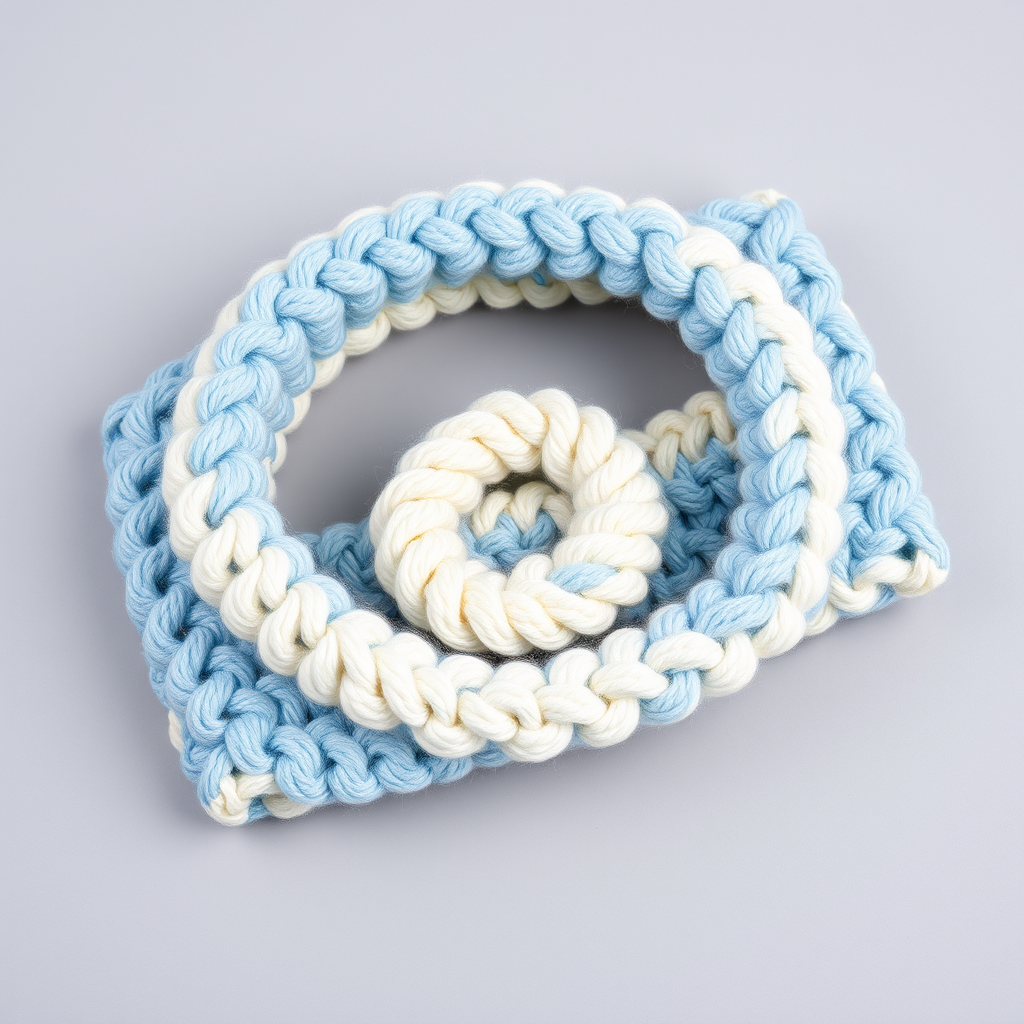
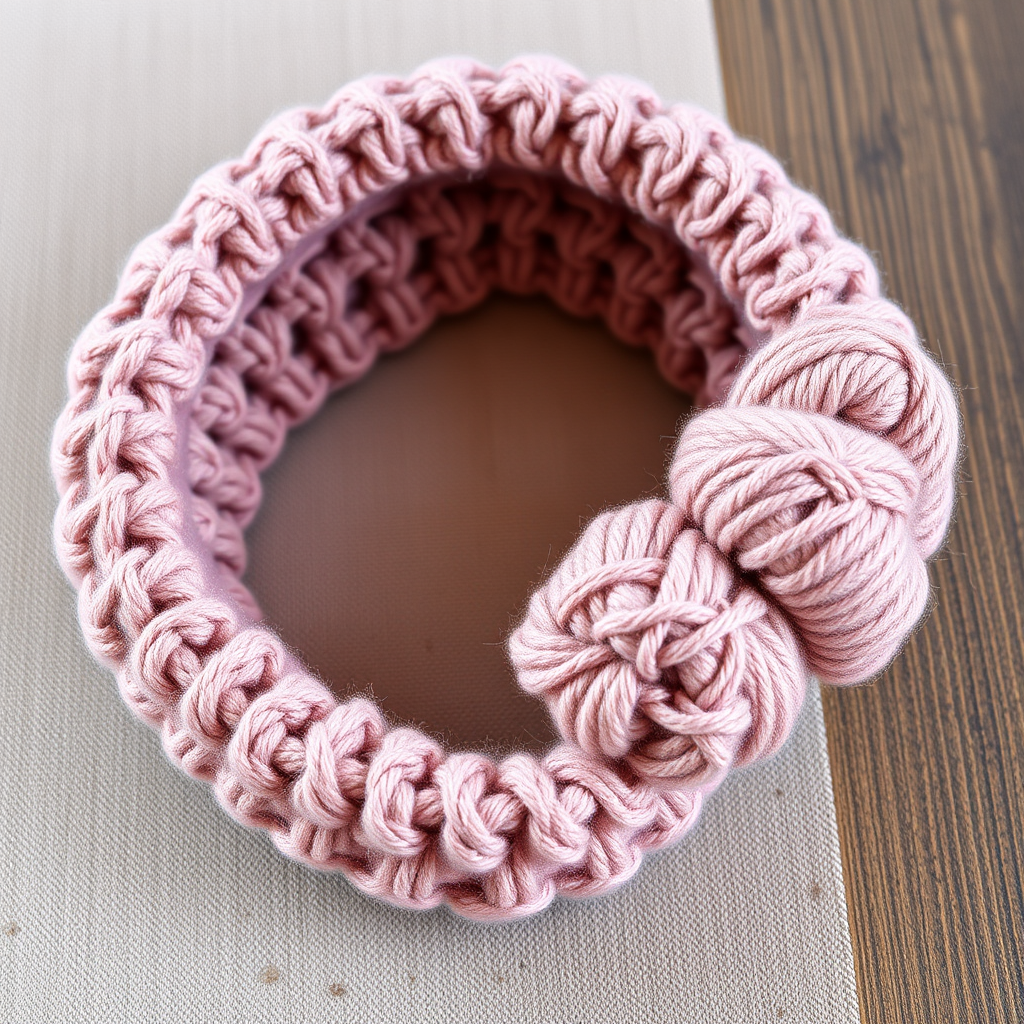
Are you looking for a quick, satisfying crochet project that delivers stunning results? Look no further than the Willow Wisp Twist Headband. This isn't just another simple strip of fabric; it features a unique, ridged texture created by a clever technique that mimics a twisted cable. The result is an elegant, sophisticated accessory that elevates any winter outfit. Crafted in a soft sage green with a natural wooden button closure, this headband is as practical as it is beautiful, promising to be your new favorite handmade accessory. Whether you're a seasoned crocheter seeking a fast gift idea or a beginner ready to learn a new stitch, this free pattern is perfect for you.
This pattern is designed to be accessible. By working into the "third loop" of a half double crochet, you'll create a dense, warm, and wonderfully textured fabric that looks far more complex than it actually is. Let's dive in and create this stylish and functional piece together.
Materials Needed
Before you begin, gather your supplies. This project requires minimal materials, making it an excellent on-the-go project.
- Yarn: Worsted weight yarn in a soft sage green (or any color you love). You will need approximately 100 yards. A smooth, well-defined yarn is best to showcase the textured stitch.
- Crochet Hook: Size H/8 (5.0 mm) crochet hook. Ensure your hook size matches your yarn weight for the best drape and gauge.
- Other Notions: A yarn needle for weaving in ends, a pair of scissors, and one wooden button (approximately 1 inch in diameter) in a natural tone.
- Measuring Tape: To measure your head circumference and ensure a perfect fit.
Step-by-Step Instructions
Follow these detailed instructions carefully, and you'll have a beautiful headband in no time. The key to this pattern is mastering the "third loop" stitch, which creates the signature ridged texture.
Understanding the Special Stitch
This pattern uses a special technique that is easier than it sounds.
- HDC in the 3rd loop: When you look at the top of a standard half double crochet stitch, you'll see a "V" shape. Directly below that "V" on the back side of the stitch, there is a horizontal bar. This is the "3rd loop." To work this stitch, insert your hook under this horizontal bar, yarn over, and complete the half double crochet as you normally would. This pulls the stitch forward and creates a beautiful, woven ridge on the surface.
Calculating Your Size
This headband is worked in a long strip and then joined with a button. To get the perfect fit, you'll need to do a little simple math.
- Measure: Use your measuring tape to measure the circumference of your head where you plan to wear the headband. For an average adult, this is typically around 22 inches.
- Calculate: Subtract 2 inches from your head measurement to account for the button overlap. For a 22-inch head, this gives you 20 inches.
- Determine Repeats: The pattern repeat (2 rows) adds approximately 1 inch in length. Therefore, the number of repeats you need is equal to your calculated length in inches. For a 20-inch length, you will need 20 repeats (which is 40 rows).
Creating the Headband Body
Now, let's start crocheting! The entire headband is worked in one long piece.
- Foundation Chain: Make a slip knot and chain 10.
- Row 1: Work a half double crochet (HDC) into the 3rd chain from your hook. Then, work 1 HDC into each of the remaining chains across. You should have a total of 8 HDC stitches. Chain 1 and turn your work.
- Row 2: This is where the magic happens. Chain 1 (this does not count as a stitch). Now, work 1 HDC into the 3rd loop of each HDC stitch from the previous row. You will have 8 HDC stitches. Chain 1 and turn your work.
- Rows 3-40 (or until desired length): Repeat Row 2 for all subsequent rows. Continue this process until your strip measures your calculated length (e.g., 20 inches for an average adult). Remember, each 2-row repeat adds about 1 inch. As you work, you'll see the beautiful, ridged texture forming on the front of your work.
Creating the Button Loop End
Once your strip has reached the desired length, you will create a loop for your button to pass through.
- Do not fasten off your yarn. You will be working directly from your last stitch.
- Chain 8. This will create a long loop.
- Now, insert your hook into the first stitch of the row you just finished (the last row of the headband body). Make a slip stitch to secure the loop. Fasten off your yarn and weave in this end securely with your yarn needle.
Finishing and Assembly
The final steps will bring your headband together.
- Overlap: Take the straight end of the headband (the beginning end) and overlap it over the end with the button loop by about 1 inch. The loop should be on top.
- Position the Button: Place your wooden button on the straight end, positioning it so that it aligns perfectly with the center of the crocheted loop when the loop is folded over.
- Sew the Button: Thread your yarn needle with a length of your yarn. Securely sew the button onto the headband, passing the needle through the button holes and the fabric several times to ensure it is firmly attached.
- Weave in Ends: Weave in all remaining loose ends with your yarn needle to give your headband a clean, professional finish.
Congratulations! You've completed your very own Willow Wisp Twist Headband. The unique texture and elegant button closure make it a standout piece. This pattern is wonderfully versatile—try it in different colors to match your wardrobe or give them as thoughtful, handmade gifts. The technique you've learned is a fantastic skill to add to your crochet repertoire. We hope you enjoyed this project and are proud of the beautiful, functional accessory you've created!