Whispering Pines Puff Headband Free Pattern

Introducing the Whispering Pines Puff Headband
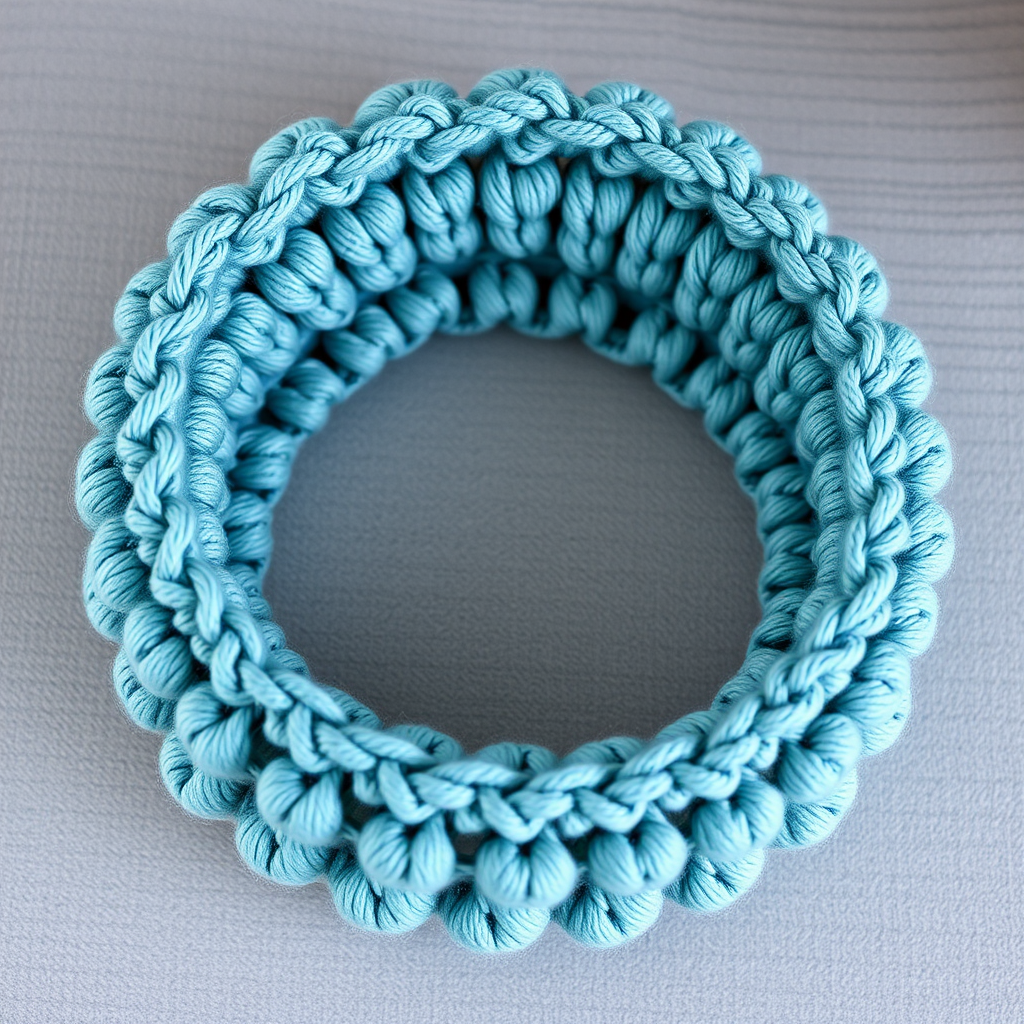
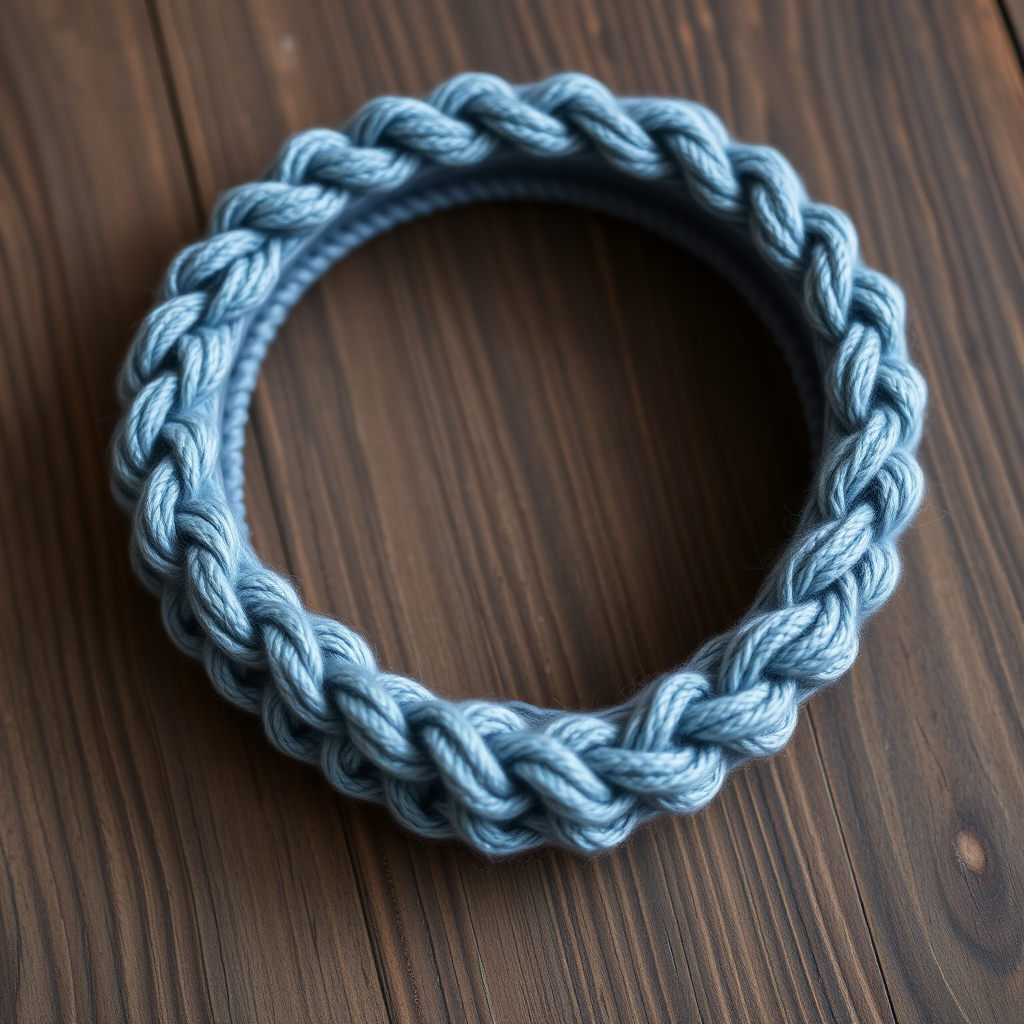
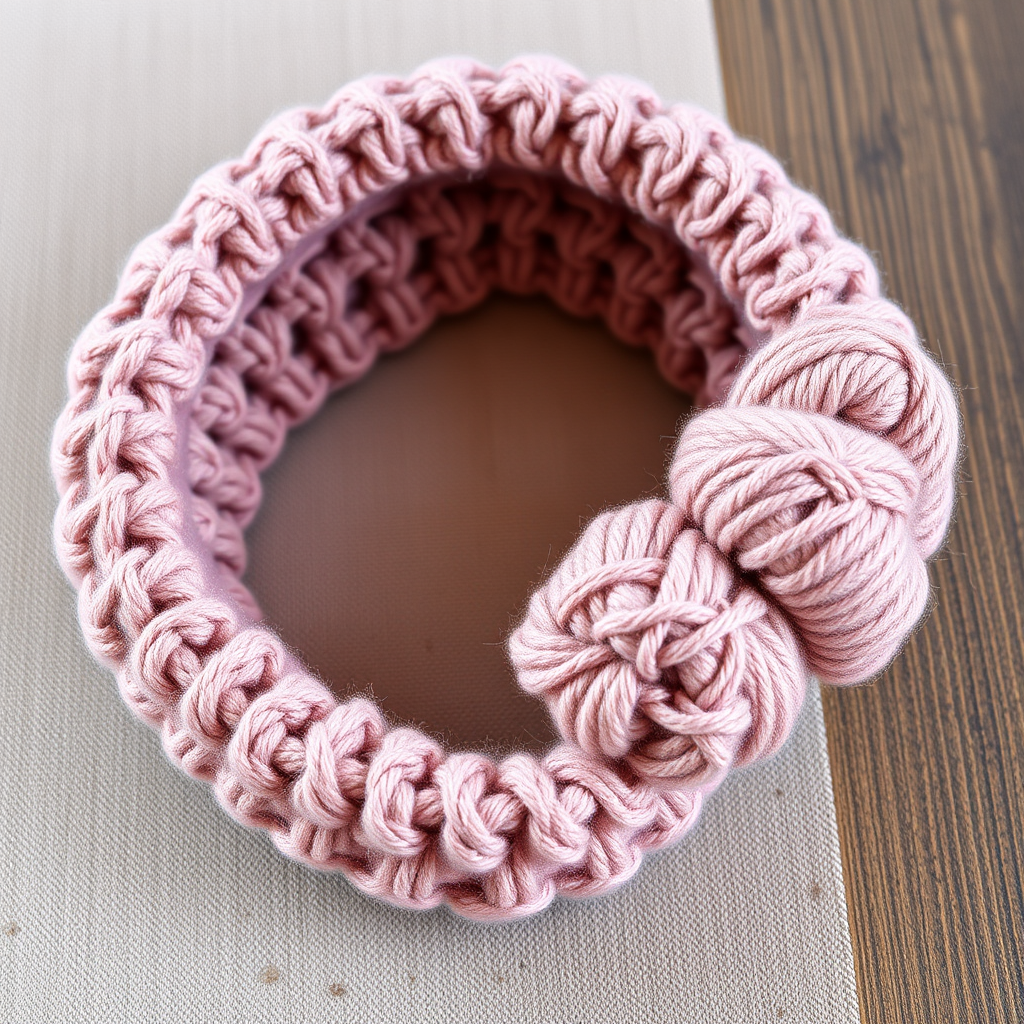
Wrap yourself in the cozy elegance of a woodland-inspired crochet headband, featuring a lush, textured puff stitch that mimics the softness of pine needles. This quick and satisfying project is perfect for adding a handmade touch to any autumn or winter outfit. Whether you're a seasoned crocheter or a beginner looking for your next challenge, this pattern is designed to be accessible, rewarding, and beautifully functional. The dense, warm fabric created by the puff stitch ensures both style and comfort, making it a staple accessory for the colder months.
This headband is worked flat in rows, creating a stretchy and comfortable band that is then seamed at the back. The puff stitch creates a dense, warm, and beautifully textured fabric that is sure to become a favorite in your handmade collection.
Materials Needed
Before you begin, gather the following materials to ensure a smooth and enjoyable crochet experience:
- Yarn: Worsted weight (4) yarn in two complementary colors:
- Main Color (MC): Forest Green – approximately 80-100 yards
- Contrast Color (CC): Cream or Soft White – approximately 20-30 yards
- Hook: 5.5 mm (I-9) crochet hook
- Gauge: 4 puff stitches x 4 rows = 4 inches (10 cm) in pattern
- Other: Yarn needle for seaming and weaving in ends, scissors
Step-by-Step Instructions
Follow these detailed instructions carefully to create your own Whispering Pines Puff Headband. The pattern is written in US crochet terms.
Abbreviations (US Terms)
- ch = chain
- sc = single crochet
- dc = double crochet
- puff = puff stitch (see special stitch instruction below)
- st(s) = stitch(es)
- sl st = slip stitch
Special Stitch – Puff Stitch (puff)
This is the signature stitch of this pattern, creating the beautiful, textured bobbles. Follow these steps carefully:
- Yarn over, insert hook into indicated stitch.
- Yarn over and pull up a loop (3 loops on hook).
- Yarn over, insert hook into same stitch.
- Yarn over and pull up a loop (5 loops on hook).
- Yarn over, insert hook into same stitch again.
- Yarn over and pull up a loop (7 loops on hook).
- Yarn over and draw through all 7 loops on hook.
- Ch 1 to close the puff stitch securely.
Pattern Instructions
Row 1: With MC, ch 14. Sc in 2nd ch from hook and in each ch across. Turn. (13 sc)
Row 2: Ch 1 (does not count as a st). Sc in first st. *Skip next st, puff in next st. Skip next st, sc in next st.* Repeat from * to * across. Turn. (You will have 3 puff stitches and 4 sc stitches, including the first and last sc).
Row 3: Ch 1. Sc in each st across (each sc and each puff stitch counts as one stitch). Turn. (13 sc)
Row 4: Ch 1. Sc in first st. *Skip next st, puff in next st. Skip next st, sc in next st.* Repeat from * to * across. Turn. (3 puff stitches)
Rows 5-40: Repeat Rows 3 and 4 alternately until the headband measures approximately 18-20 inches (46-51 cm) from the beginning, or desired length to fit comfortably around your head. End after completing a Row 3 (a plain sc row).
Edging (Optional but Recommended)
This neat border gives the headband a polished, professional finish:
- Do not fasten off. Ch 1, turn to work along the long edge of the headband.
- Work a row of sc evenly down the side edge, placing 1 sc in each row-end.
- At the corner, work 2 sc.
- Continue working sc along the bottom edge, placing 1 sc in each foundation ch.
- At the next corner, work 2 sc.
- Work sc up the other side edge.
- Join with a sl st to the first sc. Fasten off and weave in ends.
Seaming
To create the loop shape of the headband:
- Fold the headband in half with right sides together.
- Using MC and a yarn needle, whip stitch the two short ends together.
- Turn right side out.
Finishing with a Decorative Twisted Cord
This final touch adds a beautiful contrast and woodland charm:
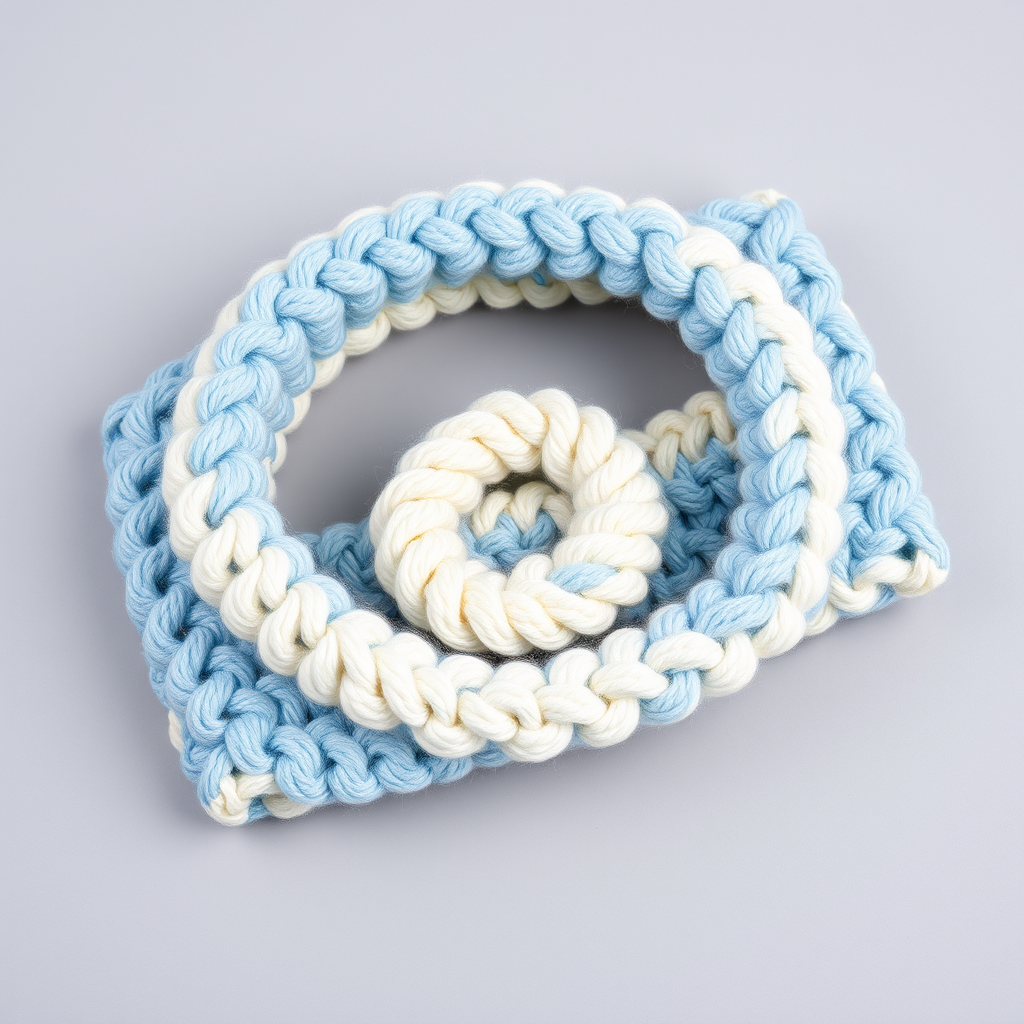
- With CC, create a decorative twisted cord or a simple chain.
- To make a twisted cord: Cut two lengths of CC yarn, each about 3 feet long.
- Hold them together and twist them tightly in one direction until they start to kink.
- Fold the twisted yarn in half and let it twist back on itself.
- Tie a knot at each end.
- Weave this cord through the puff stitches along the center of the headband, or simply tie it around the seam as a decorative accent.
- Trim the ends to create small tassels.
Your Whispering Pines Puff Headband is now complete! The rich forest green paired with the cream twisted cord creates a stunning, rustic accessory that evokes the quiet beauty of a pine forest. This project works up quickly, making it an ideal gift for loved ones or a delightful treat for yourself. Enjoy the warmth and texture of your handmade creation!