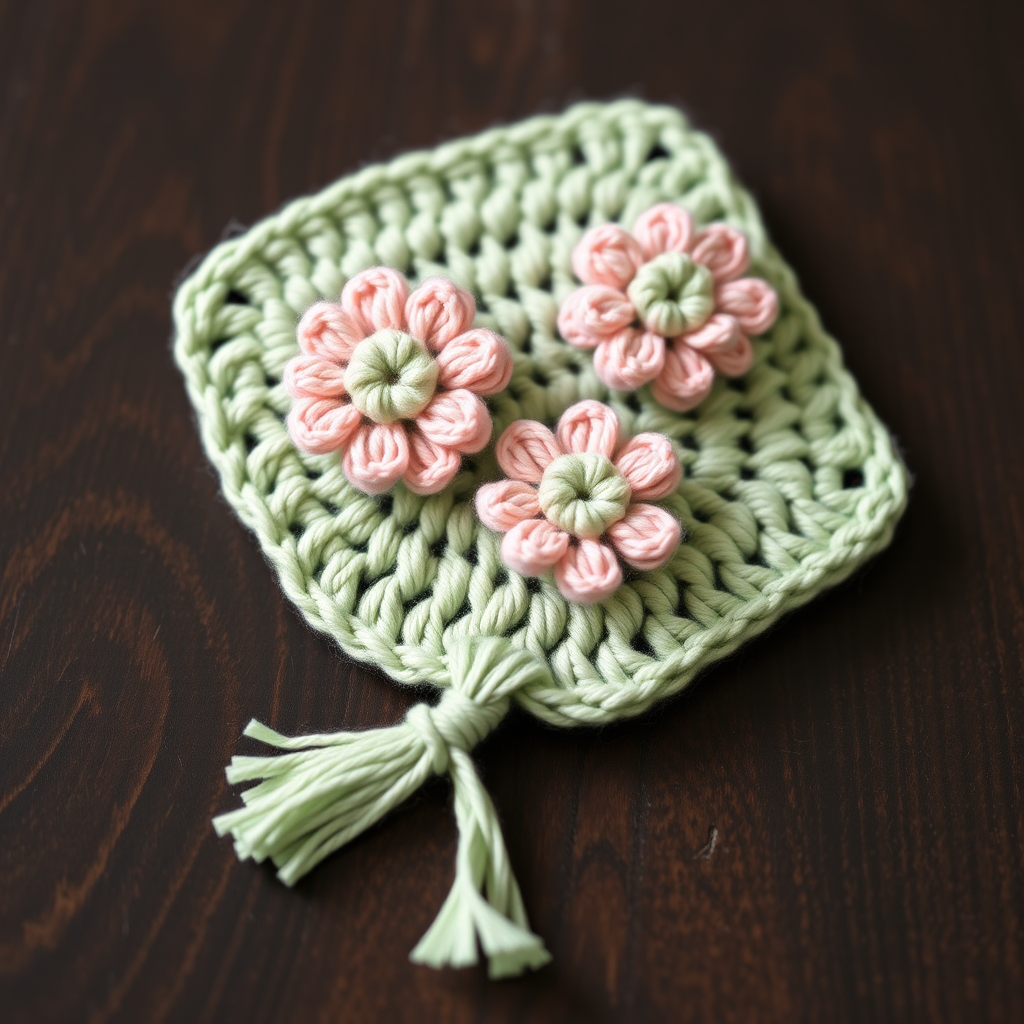
Whispering Willow Bookmark Free Pattern – Crocheted Leafy Vine Bookmark

Whispering Willow Bookmark: A Beginner-Friendly Crochet Project
There's something magical about a handmade bookmark—it turns the simple act of reading into a ritual. The Whispering Willow Bookmark is a delicate, botanical-inspired crochet pattern that mimics a winding vine with tiny, cream-colored leaves. It's quick, uses minimal yarn, and is perfect for beginners who want to practice basic stitches while creating something beautiful and functional.
This pattern is ideal for gift-giving, book club meetings, or simply treating yourself to a little handmade luxury. With just a few yards of worsted weight cotton yarn and a single crochet hook, you'll have a charming bookmark ready in under an hour. Let's dive in!
Materials Needed
Before you begin, gather the following supplies. This project is wonderfully portable—you can easily tuck it into a bag and work on it anywhere.
- Yarn: Worsted weight cotton yarn in two shades—sage green (Yarn A) and cream (Yarn B). You'll need approximately 20 yards of each color. Cotton is recommended because it holds its shape well and has a nice, firm texture.
- Crochet Hook: US Size G/6 (4.0 mm) crochet hook. This size pairs perfectly with worsted weight yarn to create a tight, sturdy fabric.
- Gauge: Gauge is not critical for this project. However, aim for a tight, firm fabric to maintain the bookmark's shape and prevent stretching. If your stitches are loose, consider using a smaller hook.
- Extras: A yarn needle for weaving in ends, and scissors. Optional: blocking pins and a spray bottle if you choose to block your finished bookmark.
Step-by-Step Instructions
This bookmark is worked in two parts: first, you'll create the main vine (worked lengthwise), and then you'll add the leaves along the vine. Follow along carefully, and you'll have a gorgeous bookmark in no time.
Part 1: The Main Vine (Worked in Sage Green – Yarn A)
The vine forms the backbone of your bookmark. It's a simple rectangle with a decorative row of chain spaces that will hold your leaves.
Row 1: With Yarn A, chain 30. Single crochet (sc) in the 2nd chain from the hook, then sc in each chain across. Turn. (You should have 29 sc stitches.)
Row 2: Chain 1, sc in each sc across. Turn. (29 sc)
Row 3 (The Gap Row): Chain 1, sc in the first 2 sc. *Chain 5, skip 3 sc, sc in the next 2 sc.* Repeat from * to * across the row, ending with a sc in the last sc. Turn. (This creates the gaps where your leaves will be attached. You should have 5 gaps total.)
Row 4: Chain 1, sc in each sc and in each chain across the row. Turn. (29 sc)
Row 5: Chain 1, sc in each sc across. Fasten off Yarn A. (29 sc)
Your vine is now complete. It should be a flat, narrow rectangle with a row of small holes running through the middle. These holes are where you'll attach the leaves.
Part 2: The Leaves (Worked in Cream – Yarn B)
Now for the fun part—adding the delicate leaves! Each leaf is a simple teardrop shape made with basic stitches. You'll attach them to the gaps you created in Row 3 of the vine.
Attaching the First Leaf: Insert your hook into the first gap on one side of the vine (the space created by the chain-5 loop). Pull up a loop of Yarn B and chain 1 to secure it.
Leaf Pattern: Chain 6. Single crochet (sc) in the 2nd chain from the hook. Half double crochet (hdc) in the next chain. Double crochet (dc) in the next chain. Half double crochet (hdc) in the next chain. Single crochet (sc) in the last chain. Slip stitch (sl st) into the same gap to secure the leaf. Fasten off Yarn B.
You've just made your first leaf! It should look like a tiny, pointed teardrop.
Repeat for All Gaps: Repeat this leaf pattern in each gap along both sides of the vine. For a natural, organic look, alternate sides as you go—attach one leaf on the left side, the next on the right side, and so on.
Optional Fuller Vine: If you prefer a denser, more lush look, you can add two leaves per gap—one on each side of the vine. Simply repeat the leaf pattern twice in each gap, once on the left and once on the right.
Finishing Touches
Once all your leaves are attached, it's time to finish your bookmark.
- Weave in all ends: Use your yarn needle to carefully weave in any loose yarn tails on the back of the bookmark. Make sure they're secure so nothing unravels with use.
- Block lightly (optional): If your bookmark is curling or not lying flat, you can block it. Mist it lightly with water, lay it flat on a towel, and gently press it into shape. Allow it to dry completely.
- Trim any excess: Once dry, trim any stray yarn fibers for a clean, polished look.
Your Whispering Willow Bookmark is complete! Slip it into your current read, gift it to a fellow book lover, or keep it for yourself as a little piece of handmade beauty.
Tips for Success
- Keep tension consistent: Try to keep your stitches even throughout. This will ensure your bookmark lies flat and looks professional.
- Count your stitches: Especially in Row 3, it's easy to lose track. Count your gaps as you go to make sure you have 5 evenly spaced openings.
- Experiment with colors: While sage green and cream are classic, feel free to experiment! A deep burgundy vine with blush leaves would be stunning, or a navy vine with gold leaves for a touch of elegance.
This pattern is a wonderful introduction to crochet beyond basic squares. You'll practice chains, single crochet, half double crochet, double crochet, and slip stitches—all in one small, satisfying project. Happy crocheting, and happy reading!