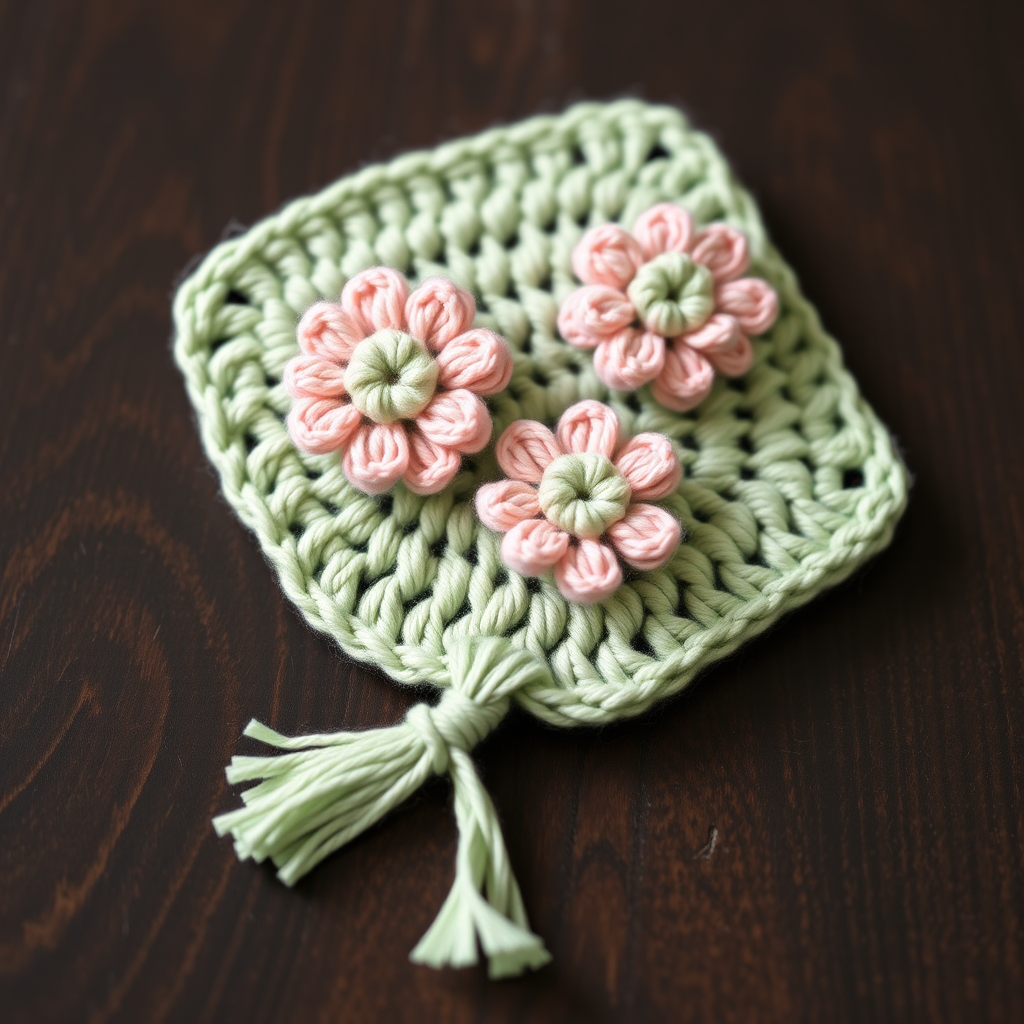
Enchanted Fern Frond Bookmark Free Pattern

Enchanted Fern Frond Bookmark: A Free Crochet Pattern for Book Lovers
Bring a touch of woodland magic to your reading nook with this delicate crochet fern bookmark. Its intricate, lacy texture and graceful shape make it a charming companion for any book lover. Whether you're an experienced crocheter or just starting your yarn journey, this pattern offers a rewarding project that combines simple stitches with stunning results. The finished bookmark makes a thoughtful handmade gift for teachers, librarians, or anyone who treasures a good book.
This pattern is designed with beginners in mind—if you know how to chain, single crochet, and double crochet, you can create this botanical beauty. The repeating pattern is easy to memorize after a few rows, making it a relaxing evening project. Let's dive into the enchanting world of crochet and create something truly special.
Materials Needed
Before you begin, gather these simple supplies:
- Yarn: Worsted weight cotton yarn in two colors—sage green (for the stem) and cream (for the fronds). Cotton yarn is ideal because it holds its shape well and feels lovely against paper.
- Crochet Hook: 3.5mm (E) crochet hook. This size creates a tight, neat fabric that won't stretch out of shape.
- Yarn Needle: For weaving in ends and attaching the optional tassel.
- Scissors: For cutting yarn.
- Optional: Blocking mats and pins (or a towel and pins) to shape your finished bookmark.
Gauge: 4 single crochet stitches = 1 inch; 4 rows = 1 inch. While gauge isn't critical for a bookmark, matching it ensures your finished piece has the intended dimensions.
Understanding the Pattern Structure
This bookmark is worked in two parts: the central stem and the lacy fronds. The stem is a simple chain worked in sage green, and the fronds are built up in a repeating pattern of chain loops and double crochet clusters along both sides. The result is a symmetrical, fern-like shape that tapers naturally at the bottom.
Here's a quick overview of the stitches you'll use:
- ch = chain
- sc = single crochet
- dc = double crochet
- skip = skip a stitch without working into it
Step-by-Step Instructions
Part 1: The Stem
Using your sage green yarn, begin by making a slip knot and chaining 30 stitches.
Row 1: Work 1 single crochet (sc) into the 2nd chain from your hook. Continue working 1 sc into each chain across. You should have 29 sc stitches total. Turn your work.
This simple row forms the sturdy central spine of your bookmark. The even number of stitches ensures your frond pattern will work out symmetrically on both sides.
Part 2: Building the Fronds
Now we'll switch to your cream yarn. Attach it at the beginning of the next row, or simply carry the sage green yarn along the side (you'll weave it in later). The following rows create the lacy fern fronds.
Row 1: Chain 1, work 1 sc in the first sc. Then *chain 5, skip the next 3 sc, work 1 sc in the next sc.* Repeat from * to * across the row, ending with 1 sc in the last sc. Turn. You should have 8 chain-5 loops.
Pro tip: Count your loops after this row—it's much easier to fix a mistake now than later!
Row 2: Chain 1, work 1 sc in the first sc. *Work 5 double crochet (dc) into the next chain-5 loop, then 1 sc in the next sc.* Repeat from * to * across the row. Turn. You'll have 8 groups of 5 dc.
This row transforms your simple chains into the first layer of fern fronds. The clusters of double crochet create that beautiful, textured leaf effect.
Row 3: Chain 1, work 1 sc in the first sc. *Chain 3, skip the next 2 dc, work 1 sc in the next dc, chain 3, skip the next 2 dc, work 1 sc in the next sc.* Repeat from * to * across the row. Turn. You should have 16 chain-3 loops.
Notice how the pattern is expanding—each group of 5 dc is now being split into two smaller sections, creating the branching effect of a fern.
Row 4: Chain 1, work 1 sc in the first sc. *Work 3 dc into the next chain-3 loop, then 1 sc in the next sc.* Repeat from * to * across the row. Turn. You'll have 16 groups of 3 dc.
Row 5: Chain 1, work 1 sc in the first sc. *Chain 4, skip the next 2 dc, work 1 sc in the next dc, chain 4, skip the next 2 dc, work 1 sc in the next sc.* Repeat from * to * across the row. Turn. You should have 16 chain-4 loops.
Row 6: Chain 1, work 1 sc in the first sc. *Work 4 dc into the next chain-4 loop, then 1 sc in the next sc.* Repeat from * to * across the row. Turn. You'll have 16 groups of 4 dc.
Row 7: Chain 1, work 1 sc in the first sc. *Chain 5, skip the next 3 dc, work 1 sc in the next dc, chain 5, skip the next 3 dc, work 1 sc in the next sc.* Repeat from * to * across the row. Turn. You should have 16 chain-5 loops.
Row 8: Chain 1, work 1 sc in the first sc. *Work 5 dc into the next chain-5 loop, then 1 sc in the next sc.* Repeat from * to * across the row. Turn. You'll have 16 groups of 5 dc.
Row 9: Chain 1, work 1 sc in the first sc. *Chain 3, skip the next 2 dc, work 1 sc in the next dc, chain 3, skip the next 2 dc, work 1 sc in the next sc.* Repeat from * to * across the row. Turn. You should have 16 chain-3 loops.
Row 10: Chain 1, work 1 sc in the first sc. *Work 3 dc into the next chain-3 loop, then 1 sc in the next sc.* Repeat from * to * across the row. Turn. You'll have 16 groups of 3 dc.
Row 11: Chain 1, work 1 sc in the first sc. *Chain 4, skip the next 2 dc, work 1 sc in the next dc, chain 4, skip the next 2 dc, work 1 sc in the next sc.* Repeat from * to * across the row. Turn. You should have 16 chain-4 loops.
Row 12: Chain 1, work 1 sc in the first sc. *Work 4 dc into the next chain-4 loop, then 1 sc in the next sc.* Repeat from * to * across the row. Turn. You'll have 16 groups of 4 dc.
Finishing Touches
After completing Row 12, fasten off your yarn, leaving a 6-inch tail. Thread the tail through your yarn needle and weave it carefully through the back of your work, hiding it among the stitches. Do the same with any other loose ends from where you changed colors.
Blocking (Recommended): To give your bookmark its beautiful, crisp shape, wet block it. Soak the bookmark in lukewarm water for about 10 minutes, then gently squeeze out excess water (don't wring!). Lay it flat on a towel and pin it into shape—stretching the fronds slightly to open up the lace pattern. Allow it to dry completely before removing the pins.
Optional Tassel: For an extra whimsical touch, create a small tassel using your cream yarn. Cut 6-8 strands of yarn about 4 inches long. Fold them in half and use your yarn needle to pull the folded loop through the bottom edge of your bookmark. Thread the loose ends through the loop and pull tight. Trim the ends to even them out.
Tips for Success
- Count your stitches after each row, especially the chain-loop rows. It's much easier to fix a missed loop right away than to unravel several rows later.
- Keep your tension consistent. The lacy pattern looks best when your chains and stitches are uniform in size.
- Use stitch markers if you find yourself losing track of where you are in the pattern.
- Don't be afraid to frog it! If something doesn't look right, unravel and try again. Crochet is forgiving, and practice makes perfect.
This Enchanted Fern Frond Bookmark is more than just a practical accessory—it's a little piece of art that brings nature's beauty to your reading experience. The combination of sage green and cream creates a sophisticated, botanical look that complements any book cover. Whether you keep it for yourself or gift it to a fellow book lover, this handmade treasure is sure to be cherished.
Happy crocheting, and may your reading adventures be as magical as this little fern!