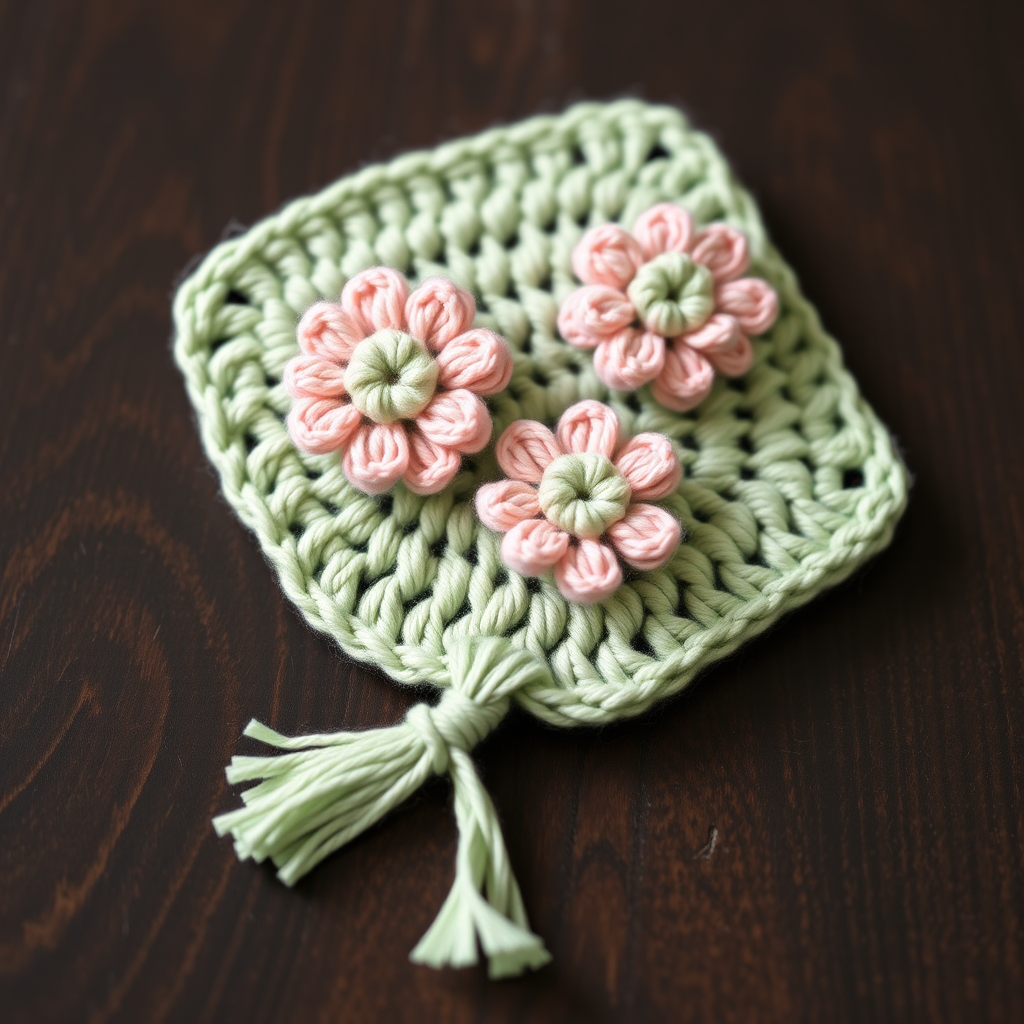
Enchanted Meadow Blossom Bookmark Free Pattern

Bring a Touch of Whimsy to Your Reading Nook: The Enchanted Meadow Blossom Bookmark
There is something truly magical about marking the pages of a beloved book with a handmade treasure. The Enchanted Meadow Blossom Bookmark is a delightful crochet project that combines the charm of a sunny daisy with the elegance of trailing green leaves. This pattern is perfect for beginners and experienced crocheters alike, offering a quick, satisfying make that results in a beautiful, functional gift for any book lover in your life. With its fresh, spring-like colors and dimensional texture, this bookmark adds a touch of handmade whimsy to every reading session.
Whether you are looking for a thoughtful present for a friend, a lovely addition to your own collection, or simply a fun afternoon project, this pattern is sure to bring a smile. Let’s gather our materials and dive into creating this enchanting bookmark together.
Materials Needed
Before we begin, let's ensure you have everything you need. This project uses simple, readily available materials:
- Yarn: Worsted weight cotton yarn in two colors:
- Main Color (MC): Soft sage green (for the stem and leaves)
- Contrast Color (CC): Sunny yellow (for the flower)
- Crochet Hook: G/6 (4.0 mm) crochet hook
- Other: Yarn needle for weaving in ends and sewing, scissors
Note on Gauge: Gauge is not critical for this project, but for reference, 4 dc = 1 inch and 2 dc rows = 1 inch. The finished bookmark will be approximately 1 inch wide and 10 inches long, with the flower adding about 2 inches to the width at the top.
Step-by-Step Instructions
This pattern is worked in two main parts: the flower and the stem with leaves. We'll tackle the flower first, then move on to the stem, and finally assemble everything together. Don't worry if you're new to crochet—these instructions are detailed and easy to follow.
Part 1: The Flower (Make 1)
We'll start with the cheerful yellow daisy. This is worked in the round, starting with a magic ring.
Round 1: With your Contrast Color (CC - yellow), make a magic ring. Chain 2 (this counts as your first double crochet). Work 11 double crochet (dc) into the ring. Join with a slip stitch (sl st) to the top of the beginning chain-2. You should now have 12 dc stitches total.
Round 2: This round creates the loops that will form the base of our petals. *Chain 5, slip stitch (sl st) into the next dc.* Repeat from * to * around the circle. Join with a slip stitch to the first chain of the round. Fasten off the yellow yarn. You will now have 12 chain loops radiating from the center.
Round 3: Now, we'll attach the green yarn to create the petals. With your Main Color (MC - green), join with a slip stitch in any of the chain-5 loops from Round 2. *In the next chain-5 loop, work the following sequence: (single crochet (sc), half double crochet (hdc), 3 double crochet (dc), half double crochet (hdc), single crochet (sc)). This entire sequence forms one petal. Then, slip stitch (sl st) into the next chain-5 loop.* Repeat from * to * around the circle. Join with a slip stitch to the first single crochet of the round. Fasten off the green yarn. You have now created 12 beautiful, rounded petals.
Part 2: Stem and Leaves (Worked in One Piece)
Now, we'll create the long, leafy stem. This piece is worked in rows, back and forth.
Foundation Row: With your Main Color (MC - green), make a chain of 30 stitches.
Row 1: Single crochet (sc) in the 2nd chain from your hook, and in each chain across. You will have 29 single crochet stitches. Turn your work.
Row 2: Chain 1 (this counts as your first sc), single crochet (sc) in the first sc. *Chain 3, skip the next sc, single crochet (sc) in the next sc.* Repeat from * to * across the row. You will finish with 15 single crochet stitches and 14 chain-3 spaces. Turn your work.
Row 3: Chain 1, single crochet (sc) in the first sc. *In the next chain-3 space, work the following sequence: (single crochet (sc), half double crochet (hdc), double crochet (dc), half double crochet (hdc), single crochet (sc)). This entire sequence forms one leaf. Then, single crochet (sc) into the next sc.* Repeat from * to * across the row. Fasten off, leaving a long tail (about 12 inches) for sewing the flower to the stem.
Finishing and Assembly
You've completed both parts! Now, let's bring your Enchanted Meadow Blossom Bookmark to life.
- Position the Flower: Take your finished flower and place it at one end of the stem. The best end to use is the one with the first single crochet of Row 1 (the starting tail end). Position the flower so it sits on top of the stem.
- Sew the Flower: Thread the long tail from the stem onto your yarn needle. Carefully sew the flower securely to the stem. Stitch through the back of the flower's petals and into the stitches of the stem. Make sure it's attached firmly so it doesn't come loose with use. Weave the needle back and forth a few times to secure it.
- Weave in All Ends: Use your yarn needle to weave in any remaining loose ends from the flower and the beginning of the stem. This will give your bookmark a clean, professional finish.
- Optional Blocking: To give your bookmark a polished look and help the petals and leaves lay flat and beautifully shaped, you can gently block it. Lightly mist the bookmark with water and pin it into shape on a flat surface, then allow it to dry completely.
And there you have it—your very own Enchanted Meadow Blossom Bookmark! This project is a wonderful way to practice your crochet skills while creating something truly special. The combination of the vibrant yellow flower and the delicate green leaves makes it a charming accessory for any book. Enjoy your new handmade treasure, and happy crocheting!