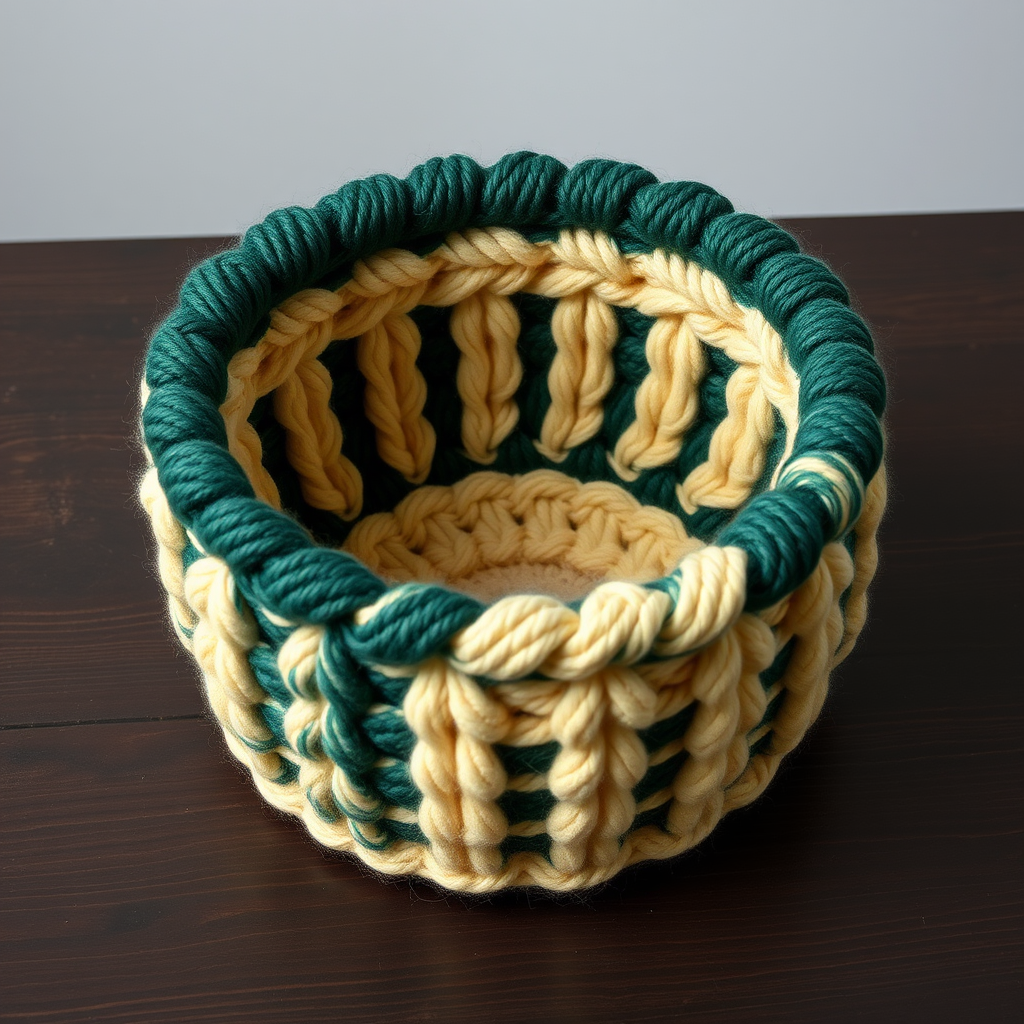
Whispering Pines Wall Pocket Free Pattern

Whispering Pines Wall Pocket: A Free Knitting Pattern for Rustic Home Decor
Bring a touch of the forest into your living space with this charming Whispering Pines Wall Pocket. This free knitting pattern creates a textured, rustic wall hanging that's perfect for holding small treasures, dried flowers, or faux botanicals. The combination of sage green and cream worsted-weight cotton yarn gives it a cozy, organic feel that complements modern rustic and farmhouse decor beautifully. Whether you're a seasoned knitter or looking for a satisfying weekend project, this wall pocket is a delightful way to add handcrafted warmth to any room.
This project is an excellent way to practice your stockinette stitch while creating a functional piece of art. The simple construction—a back panel and a front pocket—makes it approachable for confident beginners, while the finishing details give it a polished, professional look. Let's gather our materials and get started on this woodland-inspired creation.
Materials Needed
Before you begin, make sure you have the following supplies on hand. Using the specified yarn weight and needle size will ensure your finished piece matches the intended dimensions and drape.
- Yarn: Worsted weight cotton or cotton-blend yarn in two colors:
- Main Color (MC): Sage Green – approximately 120 yards
- Contrast Color (CC): Cream – approximately 40 yards
- Knitting Needles: US Size 7 (4.5 mm) knitting needles
- Notions: Tapestry needle for weaving in ends and sewing pieces together, scissors
- Optional: A wooden dowel or branch for hanging (for a more rustic look)
Gauge: 20 stitches and 26 rows = 4 inches in stockinette stitch. Always take time to check your gauge to ensure your finished project matches the specified size.
Step-by-Step Instructions
This pattern is worked flat in pieces and then seamed together. The finished size is approximately 8 inches wide x 10 inches tall (excluding the hanging loop). Follow these detailed instructions carefully, and you'll have a beautiful wall pocket in no time.
Abbreviations
- CO: Cast on
- K: Knit
- P: Purl
- St(s): Stitch(es)
- RS: Right side
- WS: Wrong side
- K2tog: Knit two together (a right-leaning decrease)
- Ssk: Slip, slip, knit (a left-leaning decrease)
- BO: Bind off
Back Panel (Make 1)
The back panel forms the main structure of the wall pocket. It features a simple tapered top that gives it a refined, finished look.
- With MC, CO 40 sts.
- Row 1 (RS): K all sts.
- Row 2 (WS): P all sts.
- Repeat Rows 1-2 until the piece measures 9 inches from the cast-on edge, ending with a WS row. This creates a solid stockinette rectangle.
- Next Row (RS): K2tog across the row (20 sts remain). This begins the taper at the top.
- Next Row (WS): P all sts.
- Next Row (RS): K2tog across the row (10 sts remain).
- Next Row (WS): P all sts.
- Next Row (RS): K2tog across the row (5 sts remain).
- Cut the yarn, leaving a long tail (about 12 inches). Thread the tail through a tapestry needle, then pass it through the remaining 5 sts on the knitting needle. Pull tight to gather the stitches and secure them. Weave in the end on the wrong side of the work.
Front Pocket (Make 1)
The front pocket is where you'll store your treasures. Its striped design adds visual interest and depth to the piece.
- With MC, CO 40 sts.
- Work in stockinette stitch (K on RS, P on WS) for 4 inches, ending with a WS row. This is the bottom sage green section.
- Switch to CC and continue in stockinette stitch for 2 more inches, ending with a WS row. This creates the cream stripe.
- Switch back to MC and work 2 more inches in stockinette stitch, ending with a WS row. This is the top sage green section.
- BO all sts loosely. Tip: Bind off loosely to prevent the top edge from pulling in. Weave in the ends.
Assembly
Now it's time to bring the pieces together. Take your time with the seaming to ensure a neat, professional finish.
- Position the Pocket: Place the front pocket on top of the back panel, aligning the bottom and side edges. The pocket's top edge will be about 2 inches below the back panel's top edge. This creates the opening for your wall pocket.
- Sew the Sides: Using MC yarn and a tapestry needle, sew the side edges of the pocket to the back panel using a whip stitch or mattress stitch. Leave the top edge of the pocket open. Weave in the ends securely.
- Create the Hanging Loop: With MC, CO 10 sts. Work in stockinette stitch for 4 inches. BO all sts. Fold the strip in half to form a loop. Sew the two ends of the strip to the top back corner of the back panel (on the inside, at the very top) to create a sturdy loop for hanging. Weave in the ends.
- Final Weave-In: Weave in all remaining ends on the wrong side of the work to ensure a clean finish.
Optional Finishing Touch
For an extra rustic, woodland aesthetic, slide a wooden dowel or a straight branch through the hanging loop. This will help the wall pocket maintain its shape and add a natural element to your decor.
Your Whispering Pines Wall Pocket is now complete! Hang it on a hook, fill it with your favorite small items, and enjoy the cozy, handcrafted charm it brings to your home. This pattern is a wonderful way to practice your skills and create a unique piece that reflects your personal style. Happy knitting!