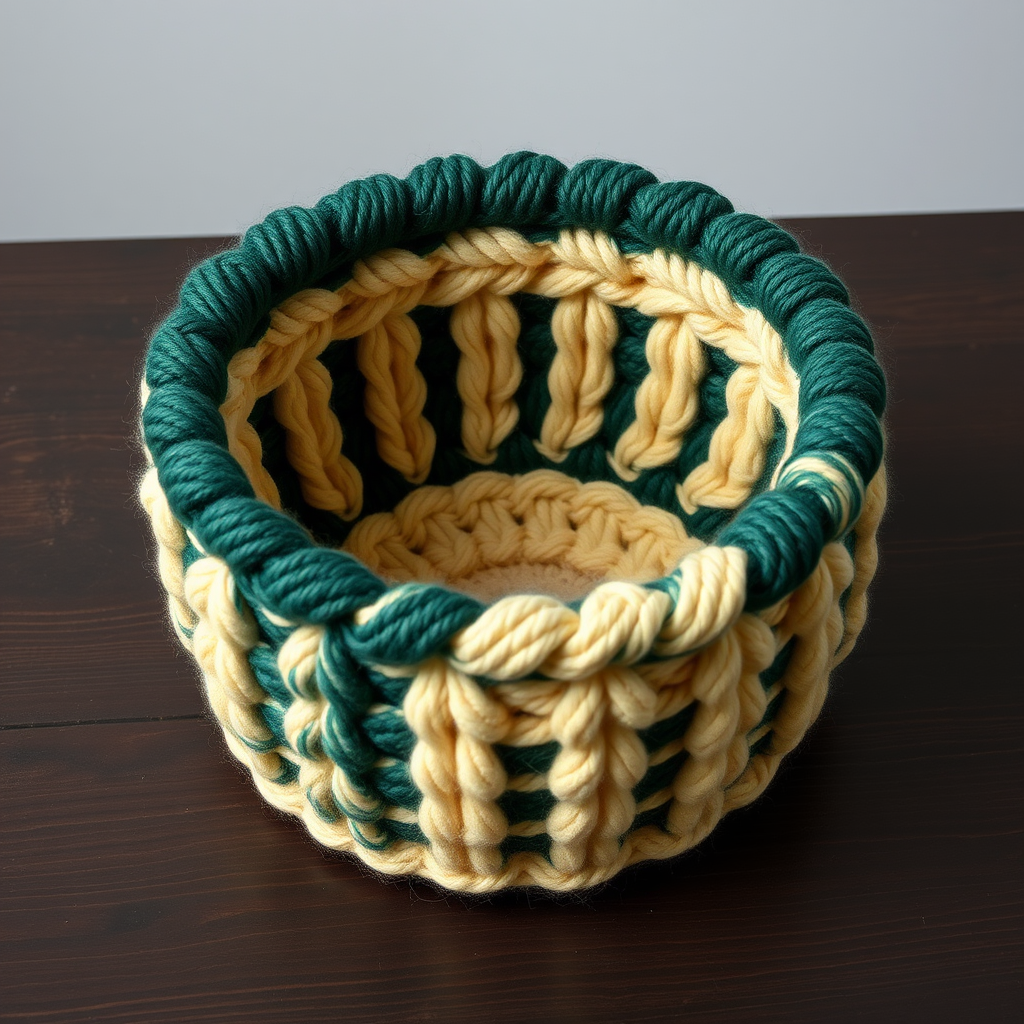
Rippled Dune Throw Pillow Cover Free Pattern – Knitted Sandstone Texture

Rippled Dune Throw Pillow Cover Free Pattern – Knitted Sandstone Texture
Bring the serene beauty of desert landscapes into your living space with this uniquely textured knitted pillow cover. The undulating ripple stitch mimics wind-swept sand dunes in warm, earthy tones. This free pattern is perfect for intermediate beginners looking to add a touch of boho-chic comfort to their home decor. The combination of garter stitch borders and a rhythmic purl/knit pattern creates a plush, tactile surface that invites you to relax and unwind.
Materials Needed
Before you begin, gather the following supplies to ensure a smooth knitting experience. This project uses simple, readily available materials.
- Yarn: Worsted weight cotton or cotton-blend yarn in three colors: Sand (A), Terracotta (B), and Cream (C) – approximately 250g total (about 85g of each color).
- Needles: US 7 (4.5mm) knitting needles. Straight needles are fine for this flat-knit project.
- Notions: Tapestry needle for seaming and weaving in ends, scissors, and a 16x16 inch pillow form.
- Gauge: 18 stitches and 24 rows = 4 inches in stockinette stitch. Always check your gauge to ensure the correct finished size.
Step-by-Step Instructions
This pillow cover is knitted flat in one piece for the front and one piece for the back, then seamed with a simple envelope closure. Follow these detailed instructions carefully to create your own Rippled Dune pillow.
Panel 1 (Front)
The front panel features the signature ripple texture created by alternating knit and purl stitches in a repeating pattern.
- Cast On: With Color A (Sand), cast on 72 stitches.
- Garter Border: Work in garter stitch (knit every row) for 6 rows. This creates a sturdy, non-curling edge.
- Begin Ripple Pattern: The ripple pattern is worked over 4 rows, and you will change colors every 4 rows. Follow this sequence:
- Row 1 (RS): With Color A, knit 3, *purl 2, knit 4, purl 2, knit 3*; repeat from * to * across the row.
- Row 2 (WS): With Color A, purl 3, *knit 2, purl 4, knit 2, purl 3*; repeat from * to * across the row.
- Rows 3-4: Repeat Rows 1 and 2 to complete the first color block.
- Rows 5-8: Switch to Color B (Terracotta) and repeat Rows 1-4.
- Rows 9-12: Switch to Color C (Cream) and repeat Rows 1-4.
- Rows 13-16: Switch to Color B (Terracotta) and repeat Rows 1-4.
- Continue Pattern: Continue alternating colors every 4 rows in this order: A, B, C, B, A, B, C, B, etc. Work until the piece measures 18 inches from the cast-on edge, ending with a complete 4-row color block.
- Top Garter Border: Work 6 rows of garter stitch with Color A (knit every row).
- Bind Off: Bind off all stitches loosely to maintain the stretch of the border.
Panel 2 (Back)
The back panel is worked in a smooth stockinette stitch and features an overlapping envelope closure for easy insertion of the pillow form.
- Cast On: With Color A (Sand), cast on 72 stitches.
- Stockinette Body: Work in stockinette stitch (knit on RS, purl on WS) for 16 inches from the cast-on edge.
- Create Flaps: On the next RS row, knit 36 stitches, bind off the next 36 stitches, and knit the remaining 36 stitches. You will now have two separate sections of 36 stitches each on your needle.
- Work Flap 1: Continue in stockinette stitch on the first 36 stitches for 2 more inches. Bind off these stitches.
- Work Flap 2: Attach yarn to the remaining 36 stitches and work in stockinette stitch for 2 more inches. Bind off these stitches.
Finishing and Assembly
Now it's time to bring the two panels together to create your finished pillow cover.
- Seam the Panels: With right sides together, use a tapestry needle and Color A yarn to sew three sides of the front panel to the back panel. Leave the top edge open. Use a mattress stitch or whip stitch for a neat seam.
- Turn Right Side Out: Carefully turn the cover right side out through the open top, gently pushing out the corners.
- Insert Pillow Form: Insert your 16x16 inch pillow form into the cover through the top opening.
- Close the Envelope: Overlap the two back flaps over the pillow form. They should overlap in the center. Pin them in place to hold the pillow form securely.
- Whip-Stitch Closed: Using a tapestry needle and Color A yarn, whip-stitch the overlapping flaps together securely. This creates a neat, invisible closure.
- Weave in Ends: Weave in all loose yarn ends on the inside of the cover using your tapestry needle. Trim any excess yarn.
Your Rippled Dune Throw Pillow Cover is now complete! The textured front and smooth back create a beautiful contrast, and the warm desert tones will add a cozy, organic feel to any room. Enjoy your handmade creation!