Whispering Pines Twist Headband Free Pattern

Whispering Pines Twist Headband: A Free Crochet Pattern for Beginners
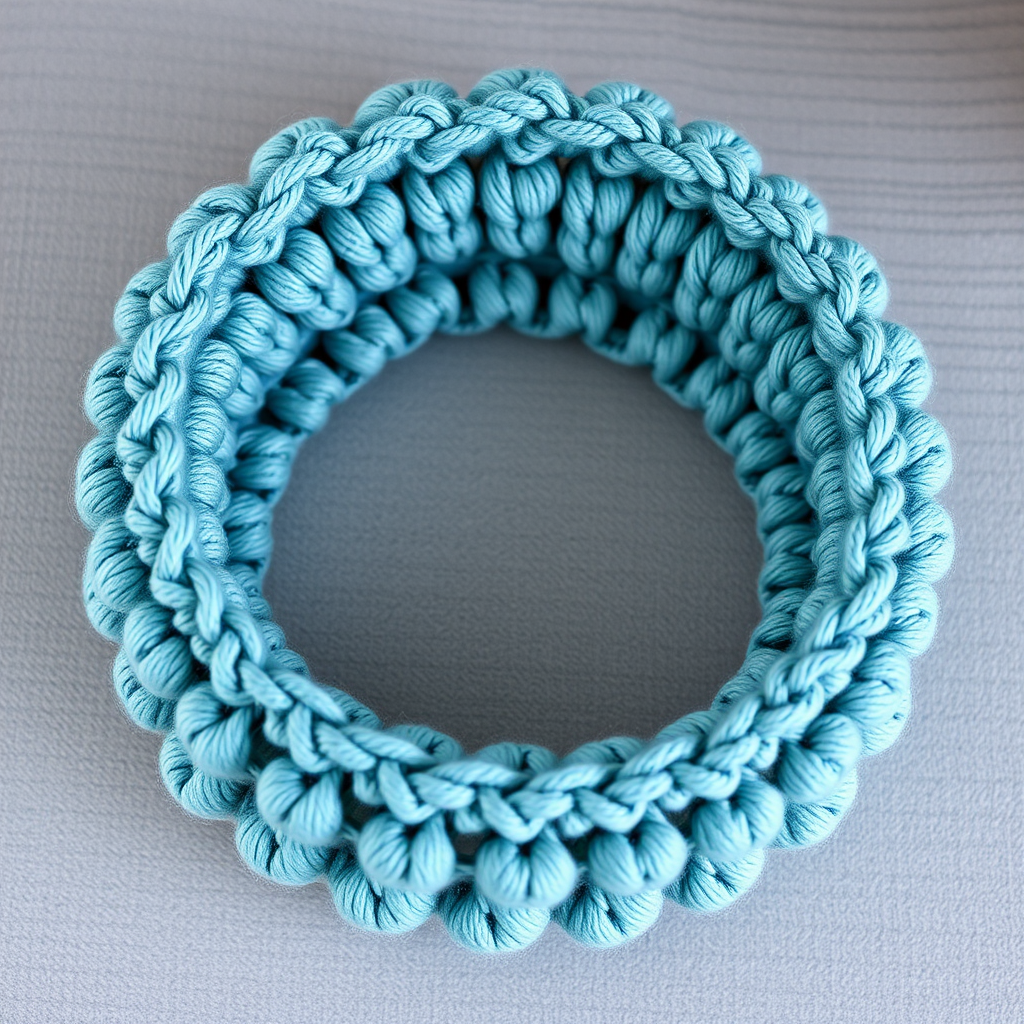
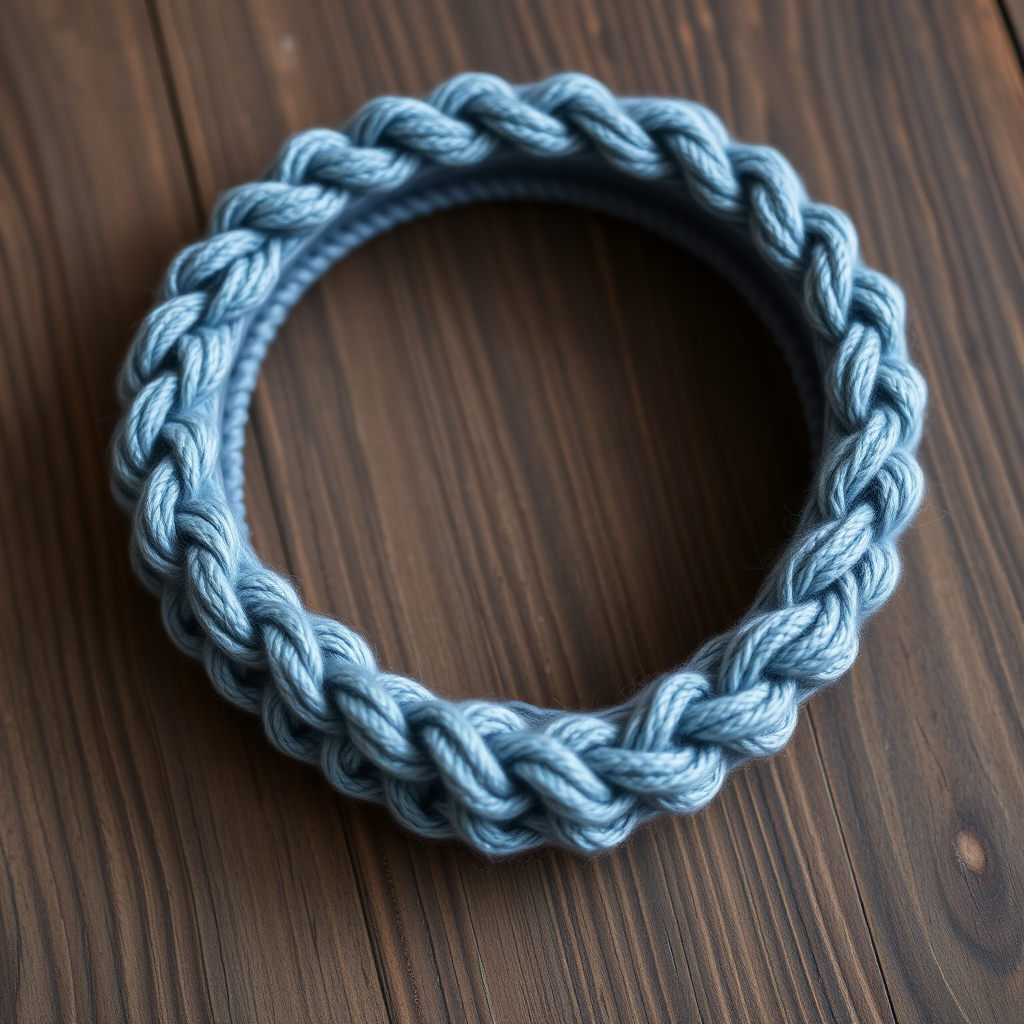
Embrace the serene beauty of the forest with the Whispering Pines Twist Headband—a delicate, airy accessory that adds a touch of woodland elegance to any outfit. This quick and satisfying project is perfect for crocheters of all skill levels, especially beginners looking to master a new stitch technique. The subtle twisted detail, created by a simple crossed stitch, produces a soft, textured band that's versatile enough for every season. Whether you're crafting a gift or treating yourself, this handmade accessory is sure to become a favorite.
In this comprehensive guide, I'll walk you through every step, from gathering your materials to seaming the final product. By the end, you'll have a beautiful, custom-fitted headband that captures the quiet charm of a whispering pine forest.
Materials Needed
Before we begin, let's gather all the necessary supplies. This project requires minimal materials, making it an excellent choice for a quick afternoon craft session.
- Yarn: Worsted weight (4) cotton or cotton-blend yarn in a muted forest green (approx. 60-80 yards). The cotton blend gives a lovely sheen and breathability, perfect for year-round wear.
- Crochet Hook: D/3 (3.25 mm) crochet hook. This smaller hook size creates a firm, structured fabric that holds its shape beautifully.
- Other Tools: Yarn needle for weaving in ends, scissors, and a measuring tape (optional, for checking length).
Gauge: 16-20 stitches and 12-14 rows = 4 inches in pattern stitch. Note: Exact gauge is not critical for this project, but aim for a firm fabric to ensure the headband sits snugly without stretching out.
Step-by-Step Instructions
This headband is worked flat in rows, then seamed at the back. The twist is created by a simple crossed stitch technique that looks intricate but is surprisingly easy to master. Let's break it down.
Special Stitches
Before we start, let's learn the one special stitch you'll need:
- Cross Stitch (CS): Skip next stitch, work 1 double crochet (dc) in the next stitch, then work 1 dc in the skipped stitch (working behind the first dc). This creates a crossed pair that forms the twisted texture.
Pattern Instructions
Row 1: Chain 8. Work 1 single crochet (sc) in the 2nd chain from the hook and in each chain across. You should have 7 sc stitches. Turn your work.
Row 2: Chain 3 (this counts as your first double crochet). Skip the first sc, work 1 dc in the next sc, then work 1 dc in the skipped sc (this completes one Cross Stitch). *Skip the next sc, work 1 dc in the next sc, then work 1 dc in the skipped sc.* Repeat from * to * across until you reach the last sc. Work 1 dc in the last sc. You should have 7 dc total: 3 crossed pairs plus 1 dc at each end. Turn your work.
Row 3: Chain 1. Work 1 sc in each dc across. You should have 7 sc. Turn your work.
Rows 4-60: Repeat Rows 2 and 3 alternately until the headband measures approximately 18-20 inches, or your desired length to fit around your head snugly. Pro tip: Wrap the work around your head (or the intended wearer's head) to check the fit. It should feel comfortably snug, as the cotton yarn will stretch slightly with wear. End with a Row 3 (sc row) to ensure a clean edge.
Finishing Touches
Now that your headband is the perfect length, it's time to seam it together and reveal the beautiful twisted texture.
- Fasten Off: Cut your yarn, leaving a long tail of about 12 inches. Pull the tail through the last loop on your hook to secure.
- Fold and Seam: Fold the headband in half with the right sides together, matching the short ends. Thread your yarn needle with the long tail.
- Whip Stitch: Using a whip stitch, carefully sew the two short ends together. Work through both layers of fabric, keeping your stitches even and close together for a secure seam. Weave in all loose ends with your needle.
- Turn Right Side Out: Gently turn the headband right side out. The seam will now be at the back, and the crossed stitches will create a lovely twisted texture along the front.
Optional Customization
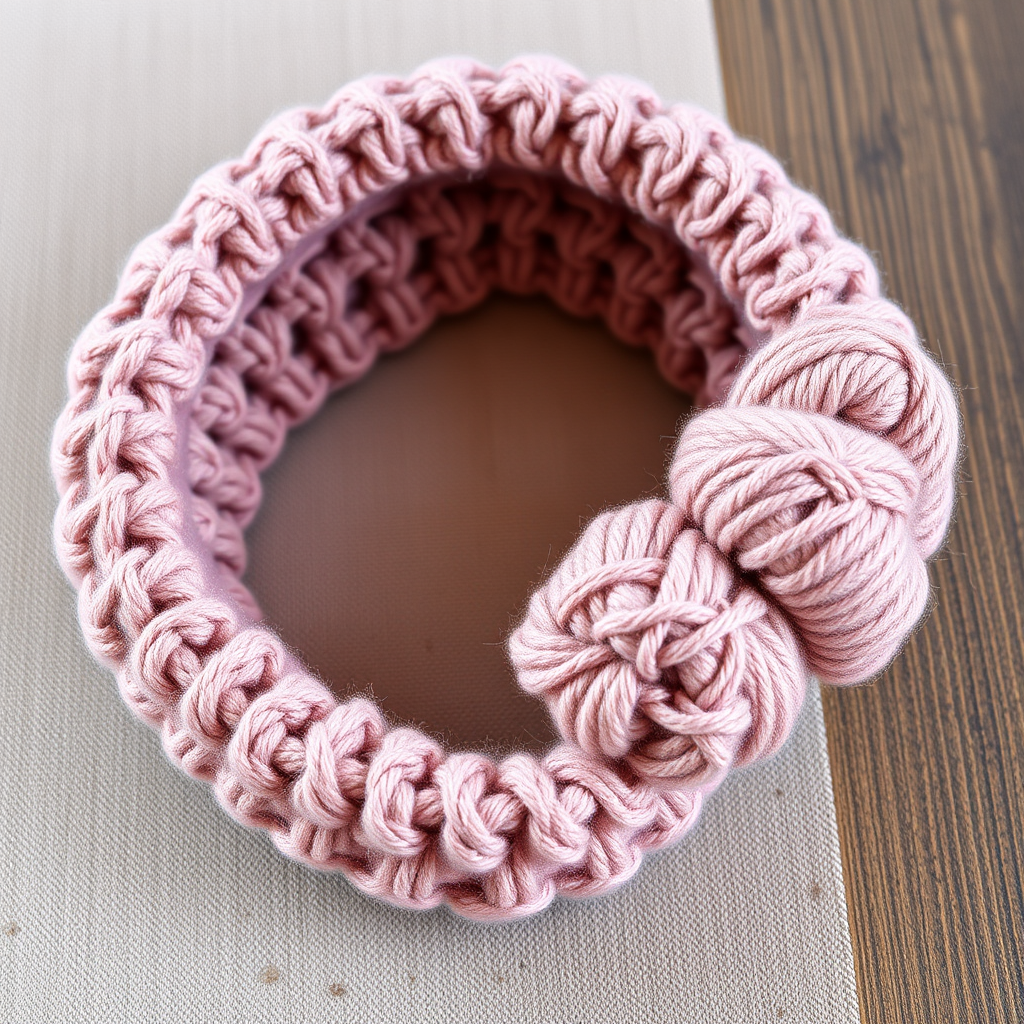
For a more secure fit or an extra touch of flair, you can add a small button or a few stitches to create a faux twist at the center front. However, the natural crossed stitch pattern already provides a beautiful twist effect, so this step is entirely optional.
Final Thoughts
Congratulations! You've just completed your very own Whispering Pines Twist Headband. This quick project is perfect for using up small amounts of yarn and makes a thoughtful handmade gift. The subtle twisted texture and muted forest green color evoke a sense of calm and connection to nature, making it a versatile accessory for any wardrobe.
I'd love to see your finished headbands! Share your creations on social media using the hashtag #WhisperingPinesHeadband and tag me so I can admire your work. Happy crocheting!