Velvet Dusk Ribbed Hat Free Knitting Pattern – Plush Texture
Velvet Dusk Ribbed Hat Free Knitting Pattern – Plush Texture
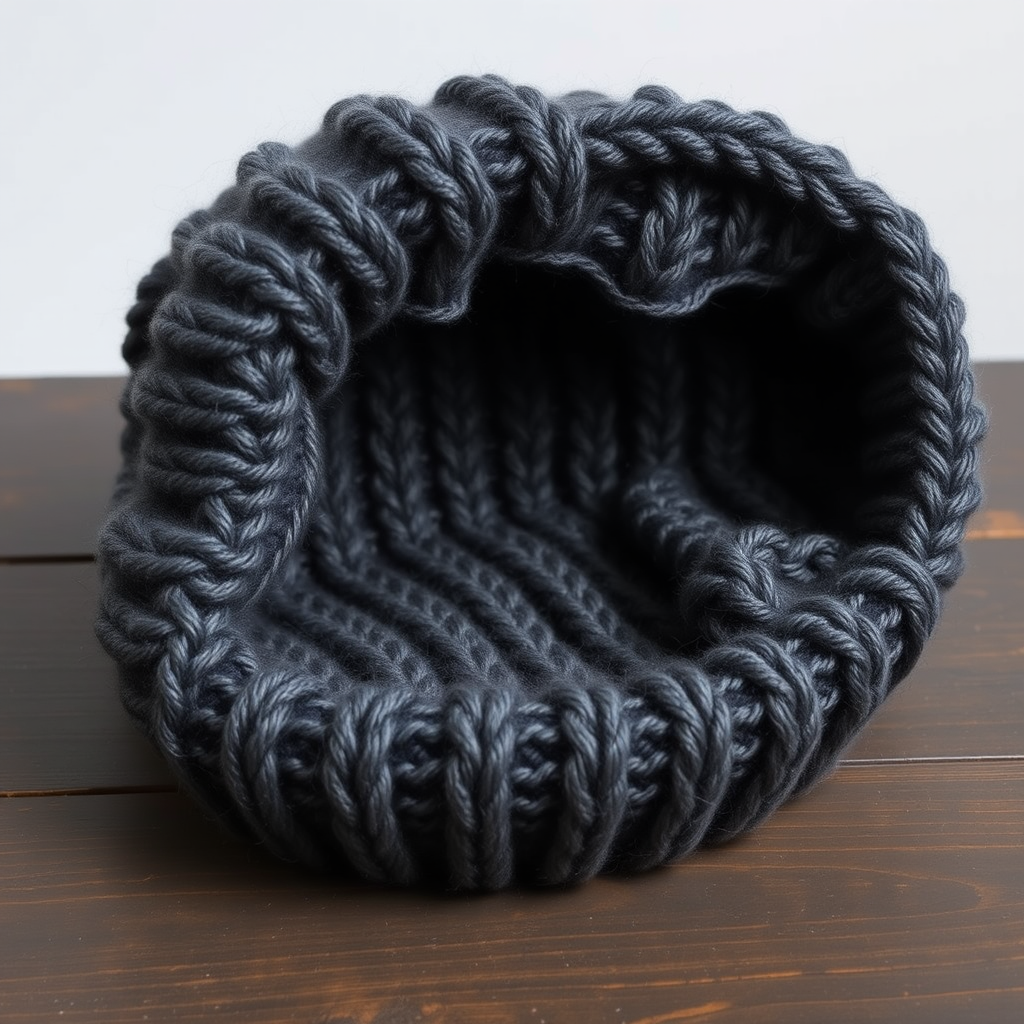
Wrap yourself in the cozy luxury of a chunky ribbed hat with a soft velvet touch. This pattern creates a modern, slouchy silhouette perfect for chilly evenings. The Velvet Dusk Ribbed Hat is the ultimate winter accessory—deep charcoal gray, plush, and impossibly soft. Whether you're a seasoned knitter or just starting your handmade journey, this free pattern will guide you through every step to create a stunning, professional-looking beanie that feels like a warm hug.
This hat features a wide, folded ribbed brim and a relaxed, slightly oversized crown that slouches gently at the back. The K2, P2 ribbing creates beautiful vertical columns of texture, while the super bulky yarn ensures quick knitting and instant gratification. Let's dive into this cozy project!
Materials Needed
Before you begin, gather the following supplies. All items are readily available at your local yarn shop or online.
Yarn
- 2 skeins of super bulky weight yarn (e.g., Lion Brand Wool-Ease Thick & Quick in 'Charcoal' and 'Mushroom')
- Note: The 'Charcoal' colorway provides the deep, heathered gray look shown in the photos. The 'Mushroom' can be used for a softer, lighter alternative or for a contrasting pom-pom.
Needles
- US 11 (8 mm) 16-inch circular knitting needle – for the main body and brim
- US 11 (8 mm) double-pointed needles – for the crown decreases when stitches become too tight for the circular needle
Notions
- Stitch marker (to mark the beginning of the round)
- Tapestry needle (for weaving in ends)
- Scissors
- Optional: Faux fur pom-pom for extra flair
Gauge
10 stitches and 14 rows = 4 inches in K2, P2 ribbing (slightly stretched). Always knit a gauge swatch to ensure your hat fits perfectly. If your gauge is off, adjust your needle size accordingly.
Step-by-Step Instructions
This pattern is worked in the round from the bottom up. The finished size is an adult medium (21-23 inch head circumference), and the hat measures 10 inches tall (including the fold). Follow along carefully, and you'll have a beautiful hat in no time.
Abbreviations
- CO: cast on
- K: knit
- P: purl
- K2tog: knit two together (decrease)
- P2tog: purl two together (decrease)
- St(s): stitch(es)
- Rnd: round
Getting Started: The Ribbed Brim
Step 1: Cast On
With your US 11 (8 mm) 16-inch circular needle, CO 80 stitches. Place a stitch marker on the right-hand needle to mark the beginning of the round.
Step 2: Join in the Round
Carefully join your work in the round, being extremely careful not to twist the stitches. The cast-on edge should lie flat and face the same direction all the way around. Knit the first stitch to secure the join.
Step 3: Work the Brim Ribbing
Rnds 1-12: *K2, P2; repeat from * to end of round.
This creates a 3-inch folded brim. The K2, P2 ribbing is stretchy and will hug the head comfortably. After 12 rounds, your work should measure approximately 3 inches from the cast-on edge.
Knitting the Body
Step 4: Continue in Ribbing
Continue working in the K2, P2 ribbing pattern for another 20 rounds. This will bring the total length of the hat (from the cast-on edge) to approximately 8 inches. The body of the hat will have a beautiful, defined ribbed texture that creates the slouchy silhouette.
Pro Tip: Keep your tension consistent. Ribbing can easily become too tight or too loose. Relax your hands and let the yarn flow smoothly through your fingers.
Shaping the Crown (Decreases)
Now it's time to shape the top of the hat. As the number of stitches decreases, you'll need to switch to double-pointed needles when the circular needle becomes too long for the remaining stitches.
Step 5: First Decrease Round
Rnd 1: *K2, P2tog; repeat from * to end of round. (60 stitches remain)
This round reduces the purl stitches, tightening the ribbing pattern.
Step 6: Establish New Ribbing
Rnd 2: *K2, P1; repeat from * to end of round.
You are now working in a K2, P1 ribbing pattern. This maintains the vertical columns while reducing stitch count.
Step 7: Second Decrease Round
Rnd 3: *K2tog, P1; repeat from * to end of round. (40 stitches remain)
Now you're decreasing the knit stitches. At this point, you may need to switch to your double-pointed needles. Distribute the 40 stitches evenly across three or four DPNs (e.g., 13, 13, 14 stitches).
Step 8: Continue Decreasing
Rnd 4: *K1, P1; repeat from * to end of round.
You're now working in a simple K1, P1 ribbing.
Step 9: Final Decreases
Rnd 5: *K2tog; repeat from * to end of round. (20 stitches remain)
This round eliminates all purl stitches, leaving only knit stitches.
Step 10: Close the Crown
Rnd 6: *K2tog; repeat from * to end of round. (10 stitches remain)
Cut the yarn, leaving a 10-inch tail. Thread the tail through a tapestry needle, then pass the needle through the remaining 10 stitches. Remove the needle from the stitches, pull the tail tight to close the hole, and secure with a knot. Weave in the end on the inside of the hat.
Finishing Touches
Step 11: Weave in Ends
Using your tapestry needle, weave in the cast-on tail and any other loose ends along the inside of the brim. Be sure to weave them securely so they don't unravel with wear.
Step 12: Fold the Brim
Fold the bottom 3 inches of the brim up for a cozy, double-layer effect. This creates the classic beanie look and adds extra warmth around the ears and forehead.
Step 13: Optional Embellishment
For extra flair, attach a faux fur pom-pom to the top of the hat. Simply sew it securely to the crown using the yarn tail or a matching thread.
Your Finished Velvet Dusk Hat
Congratulations! You've just completed a beautiful, plush Velvet Dusk Ribbed Hat. The deep charcoal color and velvety texture make it a versatile accessory that pairs perfectly with any winter coat. The slouchy crown and folded brim give it a modern, relaxed vibe that's both stylish and functional.
This pattern is perfect for gifting—handmade gifts carry so much warmth and love. Make one for yourself and one for a friend, or experiment with different colorways to match your wardrobe. The 'Mushroom' shade offers a softer, earthy alternative that's equally gorgeous.
We'd love to see your finished hats! Share your photos on social media with the hashtag #VelvetDuskHat and tag us so we can admire your handiwork. Happy knitting, and stay cozy!


