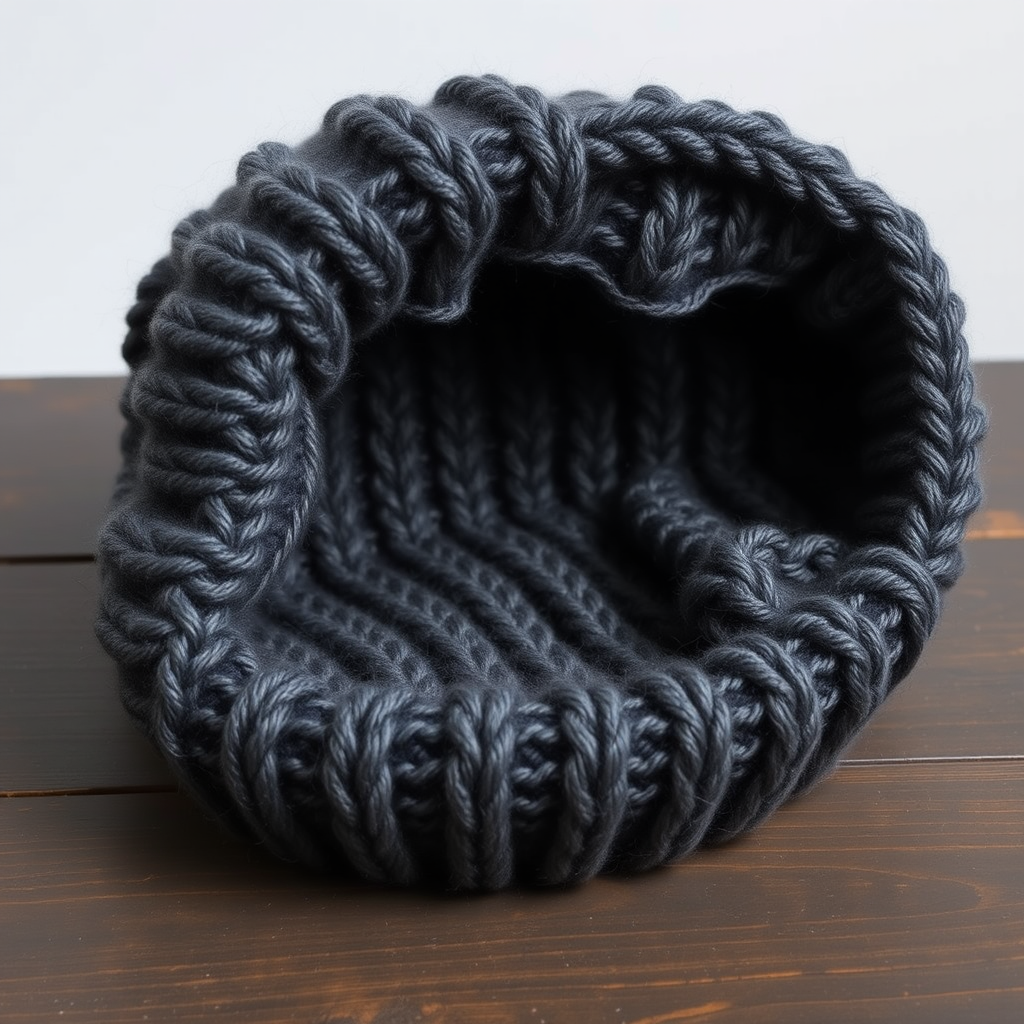
Aurora Alpine Double Layer Ear Warmer Free Pattern – Knitted Frosted Cable Twist

Aurora Alpine Double Layer Ear Warmer – Free Knitting Pattern
Wrap yourself in the cozy embrace of the mountains with this stunning double-layer ear warmer. Featuring a sculptural cable twist and a soft, brushed halo, this pattern creates a beautiful gradient effect from alpine blue to snow white. Whether you're hitting the slopes or simply braving the winter commute, this ear warmer is the perfect cold-weather companion. The double-layer construction ensures maximum warmth, while the intricate cable detail adds a touch of elegance to any winter outfit.
This pattern is designed for intermediate knitters who are comfortable with basic cables and shaping. The result is a professional-looking accessory that makes a thoughtful handmade gift. Let's dive into this cozy project!
Materials Needed
Before you begin, gather the following materials:
- Yarn: Worsted weight yarn in two colors:
- Color A (Alpine Blue) – 80 yards (suggested: Lion Brand Wool-Ease Worsted in 'Blue Mist')
- Color B (Snow White) – 80 yards (suggested: Lion Brand Wool-Ease Worsted in 'Fisherman')
- Needles: US Size 8 (5.0 mm) 16-inch circular knitting needle (used for flat knitting), plus a cable needle
- Other: Tapestry needle for seaming and weaving in ends, scissors, stitch markers (optional)
Gauge: 18 stitches and 24 rows = 4 inches in stockinette stitch (after blocking). Always check your gauge to ensure the correct fit.
Step-by-Step Instructions
This ear warmer is knitted flat in one piece, then seamed and folded to create a double-layer effect. The cable twist adds a beautiful sculptural element. Follow along carefully, and you'll have a gorgeous, cozy accessory in no time.
Abbreviations
- CO: cast on
- K: knit
- P: purl
- C4F: slip 2 stitches to cable needle, hold to front, knit next 2 stitches, then knit 2 stitches from cable needle
- C4B: slip 2 stitches to cable needle, hold to back, knit next 2 stitches, then knit 2 stitches from cable needle
- K2tog: knit 2 stitches together (decrease)
- SSK: slip, slip, knit (decrease)
- BO: bind off
- RS: right side
- WS: wrong side
Getting Started: Color A (Alpine Blue)
Cast On: With Color A, CO 22 stitches using your preferred method (long-tail cast on works well).
Ribbing Section:
Row 1 (RS): *K2, P2*; repeat from * to * across, ending with K2. (22 stitches)
Row 2 (WS): *P2, K2*; repeat from * to * across, ending with P2. (22 stitches)
Repeat Rows 1-2 until the piece measures 4 inches from the cast-on edge, ending with a WS row. This ribbed section will form the bottom edge of your ear warmer, providing a snug, stretchy fit.
Cable Section: The Sculptural Twist
Now we'll create the beautiful cable pattern that gives this ear warmer its distinctive look.
Row 1 (RS): K2, P2, C4F, P2, K2, P2, C4B, P2, K2. (22 stitches)
Row 2 (WS): P2, K2, P4, K2, P2, K2, P4, K2, P2.
Row 3 (RS): K2, P2, K4, P2, K2, P2, K4, P2, K2.
Row 4 (WS): P2, K2, P4, K2, P2, K2, P4, K2, P2.
Row 5 (RS): K2, P2, C4B, P2, K2, P2, C4F, P2, K2.
Row 6 (WS): P2, K2, P4, K2, P2, K2, P4, K2, P2.
Row 7 (RS): K2, P2, K4, P2, K2, P2, K4, P2, K2.
Row 8 (WS): P2, K2, P4, K2, P2, K2, P4, K2, P2.
Repeat Rows 1-8 once more (16 rows total in the cable section). This will create a beautiful, braided cable twist that runs horizontally across the front of the ear warmer.
Pro tip: When working C4F and C4B, keep your tension even. Don't pull the cable needle stitches too tightly, or the cable will pucker.
Transition to Color B (Snow White)
Cut Color A, leaving a 6-inch tail for weaving in later. Join Color B.
Row 1 (RS): K2, P2, K2, P2, K2, P2, K2, P2, K2, P2, K2. (22 stitches)
Row 2 (WS): P2, K2, P2, K2, P2, K2, P2, K2, P2, K2, P2.
Repeat Rows 1-2 until the piece measures 8 inches from the cast-on edge (total length), ending with a WS row. This section will form the inner layer of the ear warmer, providing extra warmth and comfort.
Decrease Section: Shaping the Ear Flap
Now we'll shape the tapered back of the ear warmer for a comfortable, snug fit.
Row 1 (RS): K2tog, P2, K2, P2, K2, P2, K2, P2, K2, P2, SSK. (20 stitches)
Row 2 (WS): P2, K2, P2, K2, P2, K2, P2, K2, P2, K2, P2.
Row 3 (RS): K2tog, P2, K2, P2, K2, P2, K2, P2, SSK. (18 stitches)
Row 4 (WS): P2, K2, P2, K2, P2, K2, P2, K2, P2.
Row 5 (RS): K2tog, P2, K2, P2, K2, P2, SSK. (16 stitches)
Row 6 (WS): P2, K2, P2, K2, P2, K2, P2.
Row 7 (RS): K2tog, P2, K2, P2, SSK. (14 stitches)
Row 8 (WS): P2, K2, P2, K2, P2.
Row 9 (RS): K2tog, P2, K2, SSK. (12 stitches)
Row 10 (WS): P2, K2, P2, K2, P2.
Row 11 (RS): K2tog, P2, SSK. (10 stitches)
Row 12 (WS): P2, K2, P2, K2, P2.
Row 13 (RS): K2tog, SSK. (8 stitches)
Row 14 (WS): P2, K2, P2, K2.
Row 15 (RS): K2tog, K2tog, K2tog, K2tog. (4 stitches)
Row 16 (WS): P4.
BO all stitches. Cut yarn, leaving a long tail for seaming.
Finishing: Creating the Double Layer
Now for the magic – transforming your flat piece into a cozy double-layer ear warmer!
- Fold the piece in half lengthwise, with the cable section on the outside and the stockinette section (Color B) inside. The cast-on edge and bound-off edge will meet at the center back.
- Sew the two short edges together using a mattress stitch. This will create a tube shape. Take your time to ensure the seam is neat and invisible.
- Turn the ear warmer right side out so the seam is hidden inside. The cable twist should now be on the outside, with the smooth stockinette layer inside for extra warmth.
- Weave in all ends using a tapestry needle. Make sure to secure them well so they don't unravel with wear.
- Block gently to shape. Wet block or steam block according to your yarn's care instructions. This will even out the stitches and give your ear warmer a professional finish.
Optional Embellishments
Add a small button or a knitted flower at the center front for extra flair. A decorative button in a contrasting color can add a charming touch, or you could knit a simple flower using leftover yarn and sew it on. Get creative and make it your own!
Tips for Success
- Check your gauge: Always knit a gauge swatch before starting. This ensures your ear warmer will fit properly.
- Use stitch markers: Place markers between pattern repeats to help you keep track of where you are, especially during the cable section.
- Keep tension even: When working cables, be careful not to pull the yarn too tightly. This will keep your cables looking crisp and defined.
- Take breaks: Cable knitting can be intense on your hands. Take regular breaks to stretch and rest.
This Aurora Alpine Double Layer Ear Warmer is a beautiful project that combines form and function. The gradient from alpine blue to snow white evokes frosty mountain mornings, while the double-layer construction ensures your ears stay toasty warm. Whether you're making it for yourself or as a gift, this ear warmer is sure to be a cherished accessory.
Happy knitting, and stay warm out there!