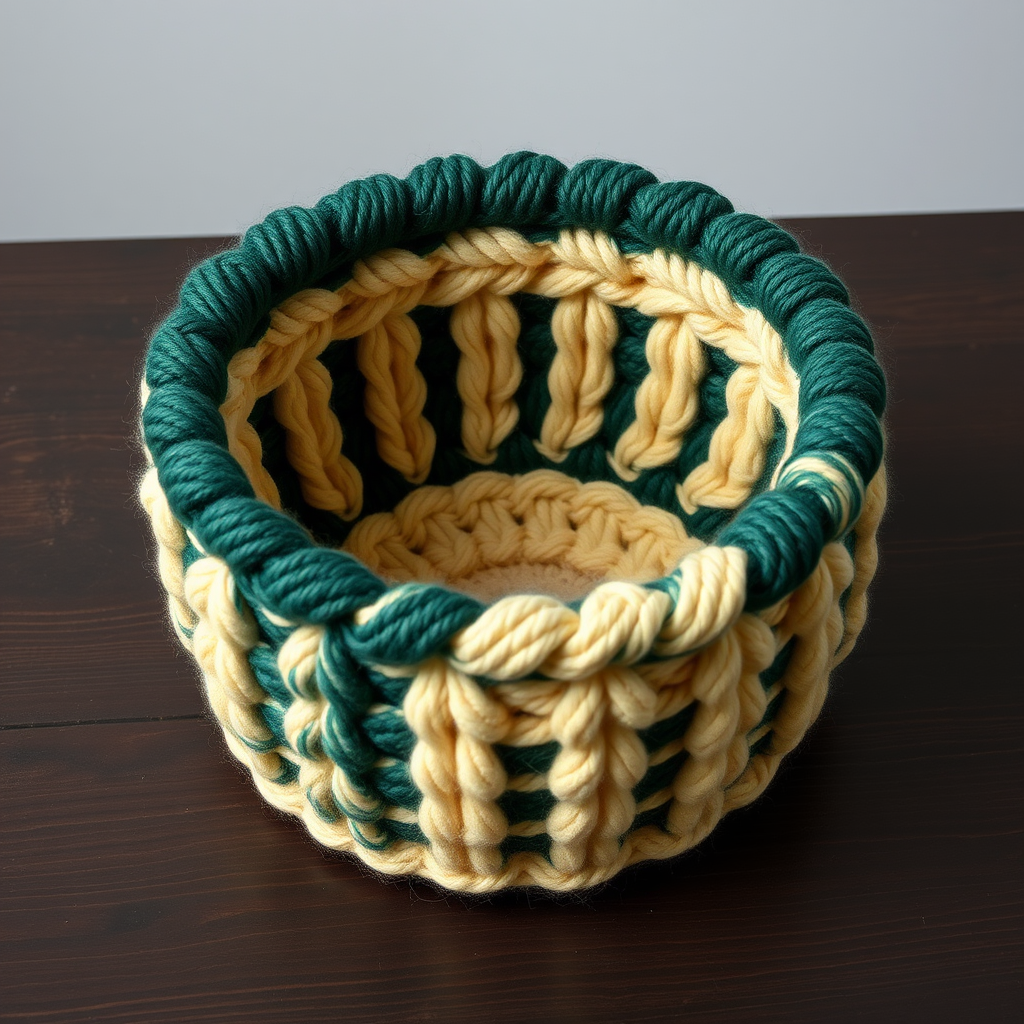
Rustic Ridge Textured Mug Rug Free Pattern – Cozy Cabin Stitch

Rustic Ridge Textured Mug Rug Free Pattern – Cozy Cabin Stitch
Bring the warmth of a rustic cabin to your coffee table with this beautifully textured mug rug, featuring a unique blend of knit and purl ridges. This quick and satisfying project uses chunky yarn to create a dense, heat-resistant mat that protects your surfaces in style. Whether you're a seasoned knitter or just starting your crafting journey, this pattern is designed to be beginner-friendly while delivering a professional, artisanal result.
The Rustic Ridge Textured Mug Rug is more than just a coaster—it's a statement piece. The slipped-stitch mosaic pattern creates a woven, dimensional effect that alternates between warm oatmeal and deep rust tones, evoking the cozy feeling of a mountain lodge. Best of all, this pattern is completely reversible and highly durable, making it a practical and beautiful addition to any home.
Materials Needed
Before you begin, gather the following supplies. All materials are readily available at your local craft store or online.
Yarn
- Worsted weight cotton yarn (e.g., Lion Brand Kitchen Cotton) in two contrasting earthy tones:
- Main Color (MC): Oatmeal – approximately 50 yards
- Contrast Color (CC): Rust – approximately 40 yards
Note: Cotton yarn is essential for heat resistance and absorbency. Avoid acrylic or wool blends, as they may not withstand hot mugs as effectively.
Needles
- US 7 (4.5 mm) knitting needles – straight or circular, whichever you prefer
Additional Supplies
- Tapestry needle for weaving in ends
- Scissors
- Blocking mats and pins (optional, for finishing)
Gauge
18 stitches and 24 rows = 4 inches in stockinette stitch (after blocking). While gauge is not critical for this project, matching it will ensure your mug rug measures approximately 6.5 inches wide by 7 inches tall.
Step-by-Step Instructions
This mug rug is knitted flat in one piece, using a slipped-stitch mosaic pattern to create a woven, textured effect. The pattern is reversible and highly durable. Follow along carefully, and you'll have a beautiful mug rug in no time.
Abbreviations
- CO: Cast on
- K: Knit
- P: Purl
- Sl: Slip stitch purlwise with yarn in back (unless otherwise noted)
- MC: Main Color (Oatmeal)
- CC: Contrast Color (Rust)
- BO: Bind off
- RS: Right Side
- WS: Wrong Side
Foundation (with MC)
CO 30 stitches using your preferred cast-on method (long-tail cast-on works well).
Row 1 (RS): Knit all stitches.
Row 2 (WS): Purl all stitches.
These two rows create a clean, stable base for the mosaic pattern to follow.
Mosaic Pattern (Repeat Rows 3-18)
Now we begin the textured mosaic pattern. This is where the magic happens! The slipped stitches create long, floating strands of yarn that form the woven appearance. Remember to keep your tension even and relaxed—don't pull the slipped stitches too tightly.
Row 3 (RS, with MC): K1, *Sl 1, K3; repeat from * to last stitch, K1.
Row 4 (WS, with MC): K1, *Sl 1, K3; repeat from * to last stitch, K1. (Note: On WS rows, slip stitches purlwise with yarn in front.)
Row 5 (RS, with CC): K2, *Sl 1, K3; repeat from * to last 2 stitches, Sl 1, K1.
Row 6 (WS, with CC): K2, *Sl 1, K3; repeat from * to last 2 stitches, Sl 1, K1. (Slip purlwise with yarn in front.)
Row 7 (RS, with MC): K1, *K3, Sl 1; repeat from * to last stitch, K1.
Row 8 (WS, with MC): K1, *K3, Sl 1; repeat from * to last stitch, K1. (Slip purlwise with yarn in front.)
Row 9 (RS, with CC): K2, *K3, Sl 1; repeat from * to last 2 stitches, K2.
Row 10 (WS, with CC): K2, *K3, Sl 1; repeat from * to last 2 stitches, K2. (Slip purlwise with yarn in front.)
Row 11 (RS, with MC): K1, *Sl 1, K3; repeat from * to last stitch, K1.
Row 12 (WS, with MC): K1, *Sl 1, K3; repeat from * to last stitch, K1. (Slip purlwise with yarn in front.)
Row 13 (RS, with CC): K2, *Sl 1, K3; repeat from * to last 2 stitches, Sl 1, K1.
Row 14 (WS, with CC): K2, *Sl 1, K3; repeat from * to last 2 stitches, Sl 1, K1. (Slip purlwise with yarn in front.)
Row 15 (RS, with MC): K1, *K3, Sl 1; repeat from * to last stitch, K1.
Row 16 (WS, with MC): K1, *K3, Sl 1; repeat from * to last stitch, K1. (Slip purlwise with yarn in front.)
Row 17 (RS, with CC): K2, *K3, Sl 1; repeat from * to last 2 stitches, K2.
Row 18 (WS, with CC): K2, *K3, Sl 1; repeat from * to last 2 stitches, K2. (Slip purlwise with yarn in front.)
Repeat rows 3-18 two more times (for a total of 3 pattern repeats). This will give your mug rug the perfect size and density.
Finishing (with MC)
Once you've completed all three pattern repeats, it's time to finish your mug rug with a clean, stable edge.
Row 19 (RS): Knit all stitches.
Row 20 (WS): Purl all stitches.
BO all stitches knitwise on the next row. This creates a neat, flexible edge that won't pucker.
Weaving in Ends
Using your tapestry needle, carefully weave in all loose ends along the edges of the work. Be sure to weave in the opposite direction of the knitting to secure them firmly. Trim any excess yarn.
Blocking
Blocking is the final step that transforms your mug rug from good to professional. Gently wet-block your piece:
- Soak the mug rug in lukewarm water for 10-15 minutes.
- Gently squeeze out excess water (do not wring or twist).
- Lay flat on a blocking mat or towel, shaping to the correct dimensions (approximately 6.5 inches wide by 7 inches tall).
- Pin the edges if needed to keep them straight and flat.
- Allow to dry completely before unpinning.
Blocking will flatten the edges, even out the stitches, and enhance the beautiful texture of the mosaic pattern.
Tips for Success
- Keep tension even: When slipping stitches, don't pull the yarn too tightly. The slipped strands should lie flat against the work.
- Count your stitches: After each row, quickly count to ensure you still have 30 stitches. This prevents accidental increases or decreases.
- Use stitch markers: If you find the pattern repeats confusing, place a marker every 4 stitches to help you track the pattern.
- Practice the slip stitch: If you're new to slipped stitches, practice on a small swatch first. The key is to slip the stitch as if to purl, which keeps the stitch orientation correct.
Creative Variations
Once you've mastered this pattern, feel free to experiment! Try different color combinations to match your home decor—sage green and cream, navy and mustard, or even a monochromatic palette for a subtle texture. You can also adjust the size by casting on more or fewer stitches (in multiples of 4, plus 2 edge stitches).
This mug rug also makes a wonderful handmade gift. Pair it with a beautiful mug and a bag of gourmet coffee or tea for a thoughtful, personalized present.
We hope you enjoy knitting this Rustic Ridge Textured Mug Rug as much as we enjoyed creating the pattern. The combination of warm colors and rich texture will bring a touch of cabin coziness to your daily coffee ritual. Happy knitting!