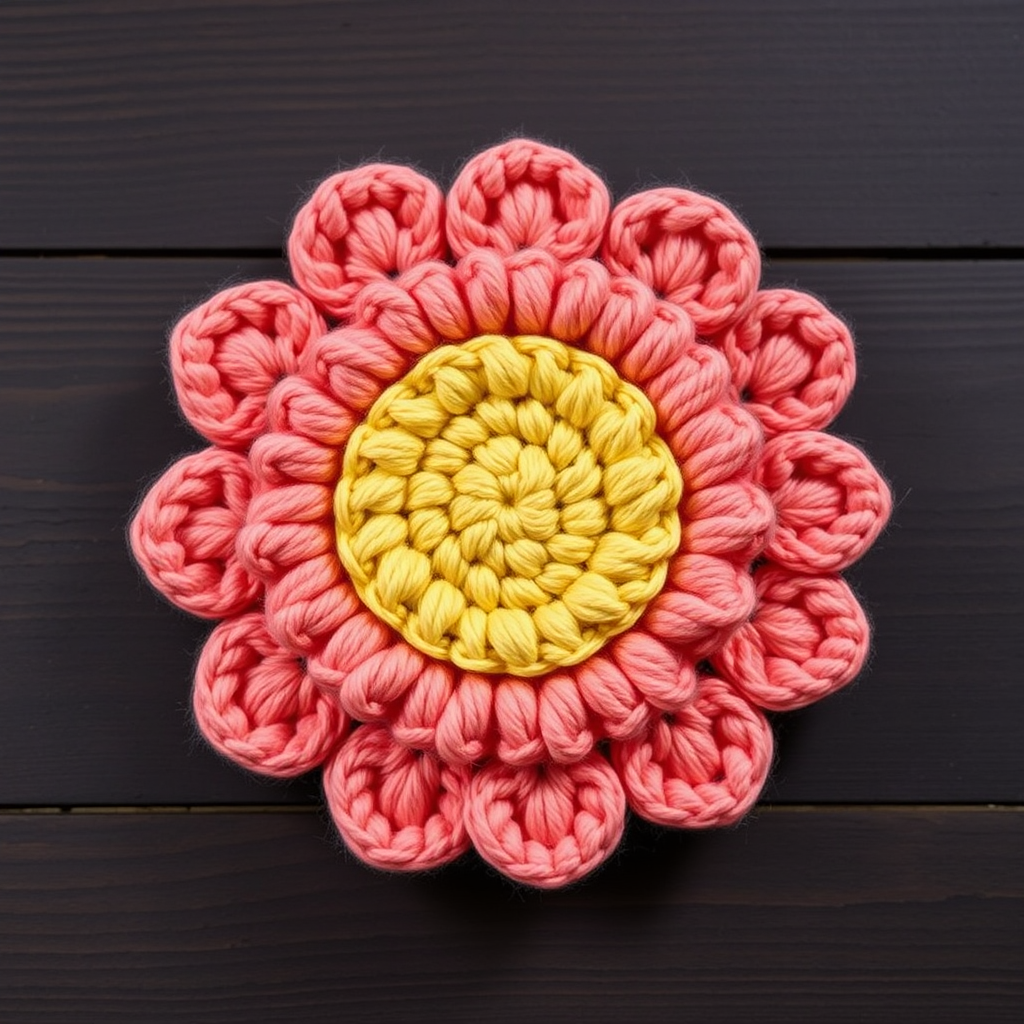
Radiant Crochet Rose Bouquet Free Pattern – Everlasting Bloom
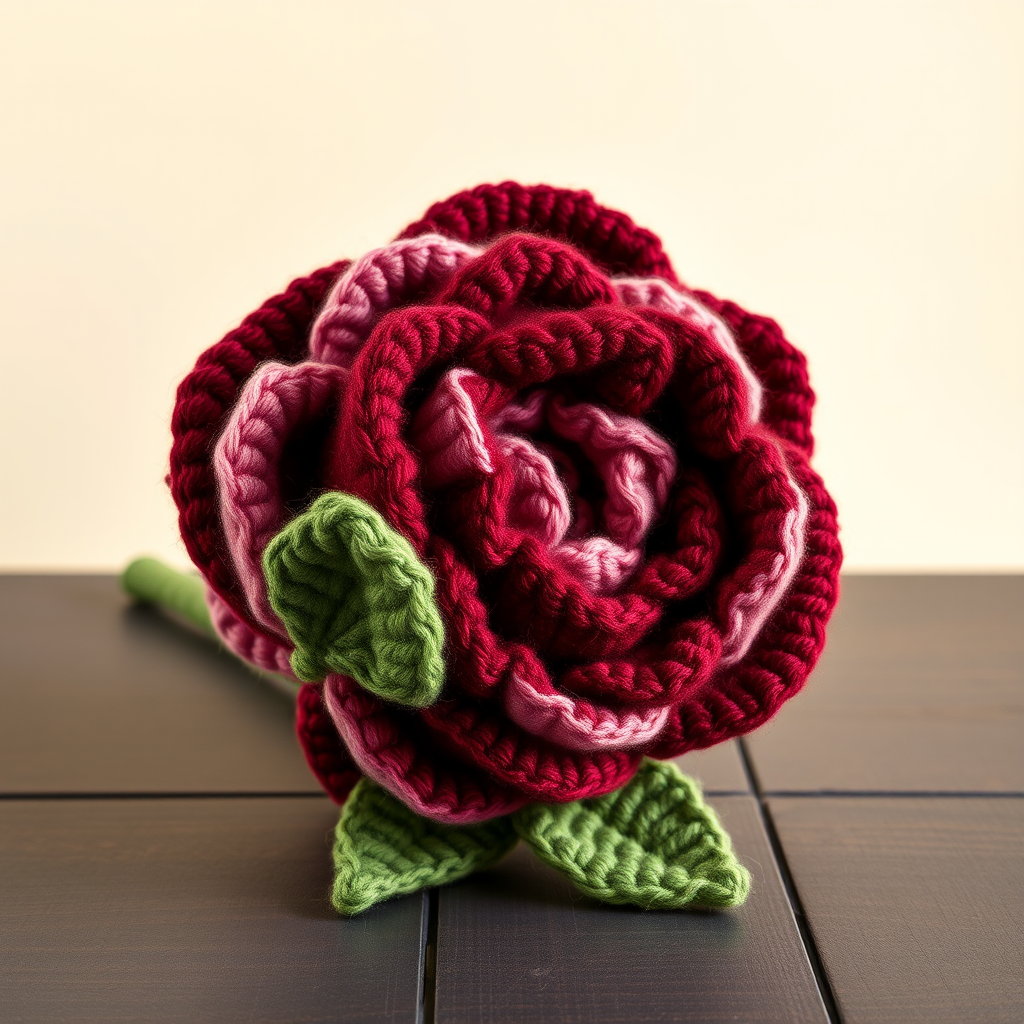
Radiant Crochet Rose Bouquet Free Pattern – Everlasting Bloom
Imagine a rose that never wilts, never fades, and always carries the warmth of your own hands. This detailed crochet pattern guides you through crafting a stunning, lifelike rose that adds a touch of handmade elegance to any room or serves as a timeless symbol of love for a special gift. Whether you're a seasoned crocheter or a curious beginner, this project is designed to be approachable and rewarding, resulting in a plush, dimensional bloom that looks like it was plucked from a garden of yarn.
With its layered petals in deep crimson and blush pink, transitioning from a tight, dark center to larger, softer outer petals, this rose is a true showstopper. The soft, thick texture and visible stitch definition give it a handcrafted charm that store-bought flowers simply can't replicate. Let's dive into the materials and steps to create your own everlasting bouquet.
Materials Needed
Before you begin, gather the following supplies. Gauge is not critical for this project, but aim for a tight, dense fabric to help the rose hold its shape beautifully.
- Yarn: Worsted weight cotton yarn in three colors:
- Deep crimson (Yarn A) – for large petals and center
- Blush pink (Yarn B) – for small and medium petals
- Forest green (Yarn C) – for sepals and leaves
- Hook: 3.5mm (E) crochet hook
- Yarn needle for sewing and weaving in ends
- Polyester fiberfill (optional, for stuffing the center)
- Floral wire (optional, for a stem)
Abbreviations Used
- ch: chain
- sl st: slip stitch
- sc: single crochet
- hdc: half double crochet
- dc: double crochet
- tr: treble crochet
- rnd: round
- inc: increase (2 sc in same stitch)
- dec: decrease (sc 2 together)
Step-by-Step Instructions
Follow these detailed instructions carefully. Each section builds on the last, so take your time and enjoy the process. The result will be a gorgeous, handcrafted rose you'll be proud to display or gift.
Rose Petals (Make 5 Large, 5 Medium, 5 Small)
The petals are worked in continuous rounds (spiral) without joining. Use a stitch marker to keep track of your rounds.
Small Petals (using Yarn B – Blush Pink)
Rnd 1: Make a magic ring, ch 1, work 6 sc into the ring. Pull the tail tight to close the ring. (6 stitches)
Rnd 2: Inc in each stitch around. (12 stitches)
Rnd 3: *Sc in next stitch, inc* repeat around. (18 stitches)
Rnd 4: *Sc in next 2 stitches, inc* repeat around. (24 stitches)
Rnd 5: *Sc in next 3 stitches, inc* repeat around. (30 stitches)
Rnd 6: *Sc in next 4 stitches, inc* repeat around. (36 stitches)
Fasten off, leaving a long tail (about 12 inches) for sewing. Set aside.
Medium Petals (using Yarn B – Blush Pink)
Rnd 1: Magic ring, ch 1, 6 sc into ring. Pull tight. (6)
Rnd 2: Inc in each stitch around. (12)
Rnd 3: *Sc in next stitch, inc* repeat around. (18)
Rnd 4: *Sc in next 2 stitches, inc* repeat around. (24)
Rnd 5: *Sc in next 3 stitches, inc* repeat around. (30)
Rnd 6: *Sc in next 4 stitches, inc* repeat around. (36)
Rnd 7: *Sc in next 5 stitches, inc* repeat around. (42)
Rnd 8: *Sc in next 6 stitches, inc* repeat around. (48)
Fasten off, leaving a long tail for sewing.
Large Petals (using Yarn A – Deep Crimson)
Rnd 1: Magic ring, ch 1, 6 sc into ring. Pull tight. (6)
Rnd 2: Inc in each stitch around. (12)
Rnd 3: *Sc in next stitch, inc* repeat around. (18)
Rnd 4: *Sc in next 2 stitches, inc* repeat around. (24)
Rnd 5: *Sc in next 3 stitches, inc* repeat around. (30)
Rnd 6: *Sc in next 4 stitches, inc* repeat around. (36)
Rnd 7: *Sc in next 5 stitches, inc* repeat around. (42)
Rnd 8: *Sc in next 6 stitches, inc* repeat around. (48)
Rnd 9: *Sc in next 7 stitches, inc* repeat around. (54)
Rnd 10: *Sc in next 8 stitches, inc* repeat around. (60)
Fasten off, leaving a long tail for sewing.
Rose Center (using Yarn A – Deep Crimson)
This forms the tight, dark bud at the heart of the rose.
Rnd 1: Magic ring, ch 1, 6 sc into ring. Pull tight. (6)
Rnd 2: Inc in each stitch around. (12)
Rnd 3: *Sc in next stitch, inc* repeat around. (18)
Rnd 4-6: Sc in each stitch around for 3 rounds. (18)
Rnd 7: *Sc in next stitch, dec* repeat around. (12)
Stuff lightly with polyester fiberfill to give the center a subtle plumpness.
Rnd 8: Dec around. (6)
Fasten off and weave in the end securely. The center should be a small, rounded dome.
Sepals (Make 1, using Yarn C – Forest Green)
The sepals form the green star-like base at the bottom of the rose.
Rnd 1: Magic ring, ch 1, 6 sc into ring. Pull tight. (6)
Rnd 2: Inc in each stitch around. (12)
Rnd 3: *Sc in next stitch, inc* repeat around. (18)
Rnd 4-5: Sc in each stitch around for 2 rounds. (18)
Now create 5 points for the sepals:
*Ch 4, turn, skip 1 ch, sc in next 3 ch, sl st into the next sc on the base* repeat 5 times around. This creates 5 little leaf-like points.
Fasten off, leaving a long tail for sewing.
Leaves (Make 3, using Yarn C – Forest Green)
These leaves are worked in rows, not rounds.
Row 1: Ch 10. Sc in 2nd ch from hook, hdc in next, dc in next 4, hdc in next, sc in next, ch 1, turn. (9 stitches)
Row 2: Sc in each stitch across, ch 1, turn. (9 stitches)
Row 3: Sc in first stitch, dec, sc in next 3, dec, sc in last stitch. (7 stitches)
Fasten off, leaving a long tail for sewing. Repeat to make 3 leaves total.
Assembly – Bringing Your Rose to Life
Now comes the magical part – assembling all the pieces into a beautiful bloom.
Step 1: Layer the Petals
Start with the 5 small petals. Arrange them in a circle, overlapping slightly. Using the long tails, sew them together at the base. Then, layer the 5 medium petals on top, offsetting them slightly so they sit between the small petals. Sew them together. Finally, add the 5 large petals on the outside, again offsetting them for a natural, full look. Sew them securely at the base.
Step 2: Attach the Center
Place the rose center into the middle of the petals. Using the yarn needle and the tail from the center, sew it firmly to the petals, ensuring it sits snugly in the middle.
Step 3: Add the Sepals
Turn the rose upside down. Position the sepals at the bottom of the rose, with the points facing outward. Sew them securely to the base of the petals using the long tail.
Step 4: Attach the Leaves and Stem (Optional)
If you're using floral wire for a stem, wrap it tightly with green yarn first. Then, sew the leaves onto the stem at different heights. If you're not using a stem, you can simply attach the leaves directly to the bottom of the rose for a standalone bloom.
Step 5: Weave in All Ends
Using your yarn needle, carefully weave in all loose ends on the inside of the rose and leaves. This ensures your creation is durable and looks clean from every angle.
And there you have it – your very own radiant crochet rose! Display it in a vase, attach it to a hair clip, or gift it to someone special. Because you made it by hand, it carries a warmth and love that no store-bought flower can match. Happy crocheting!