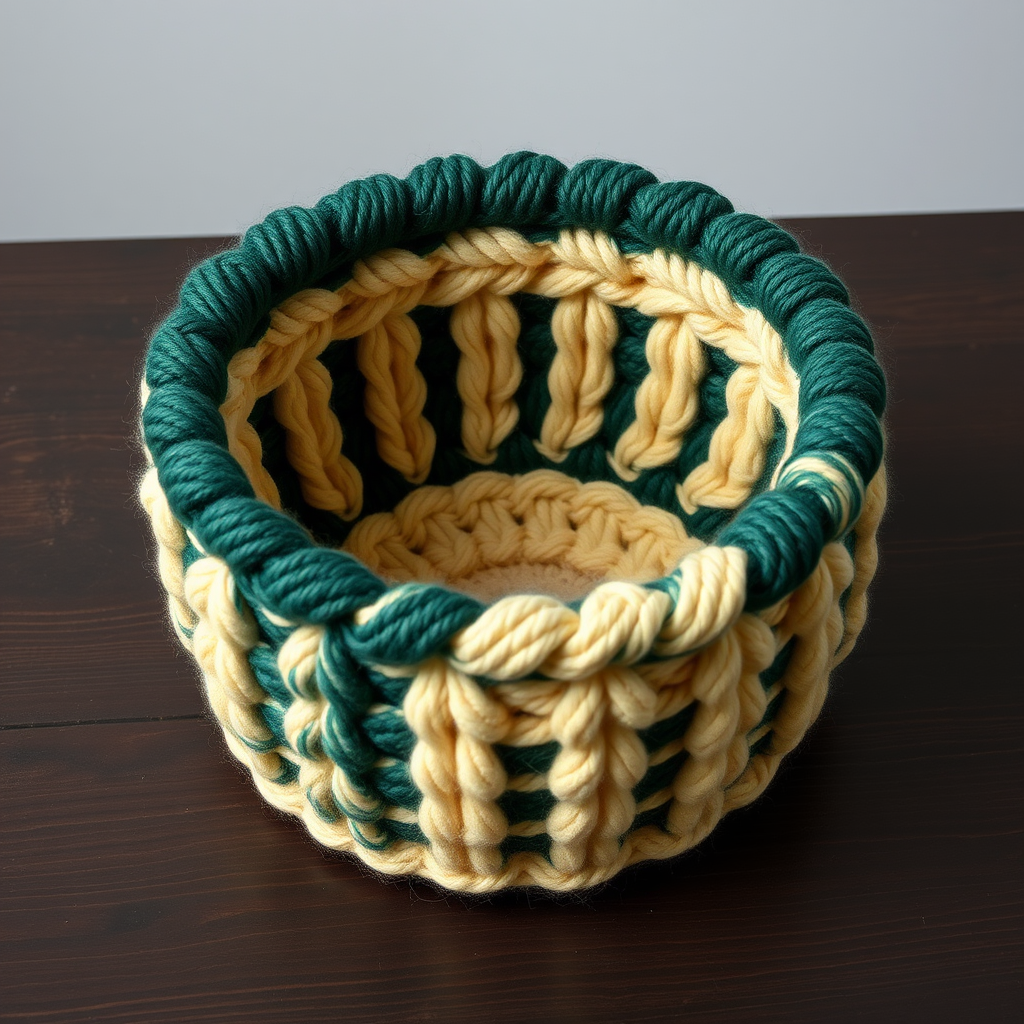
Purrfect Draft Stopper Free Pattern – Knitted Cat Door Snake with Cozy Cable Texture

Introducing the Purrfect Draft Stopper: A Cozy Knitted Cat Door Snake
Is a chilly draft sneaking under your door, making your home feel less cozy? Meet the Purrfect Draft Stopper—a charming, handcrafted solution that not only blocks cold air but also adds a whimsical, decorative touch to any room. This knitted cat door snake features a beautiful cable-knit texture and a lounging cat silhouette that will make you smile every time you see it.
This pattern is perfect for intermediate knitters looking for a rewarding project, but with clear instructions, even confident beginners can tackle it. The result is a functional, cozy home decor piece that makes a wonderful gift for cat lovers or a treat for your own home. Let's dive into creating this delightful draft stopper!
Materials Needed
Before you begin, gather the following materials to ensure a smooth knitting experience:
- Yarn: Worsted weight yarn in two colors:
- Main Color (MC): Warm taupe (approx. 300g)
- Contrast Color (CC): Cream (approx. 100g)
- Needles: US 7 (4.5mm) knitting needles
- Notions: Tapestry needle for seaming, stitch markers, cable needle (if adding the cable detail)
- Stuffing: Polyester fiberfill or a long cylindrical pillow insert (approx. 30 inches long)
Gauge: 20 stitches and 28 rows = 4 inches in stockinette stitch. Always check your gauge to ensure the correct size.
Step-by-Step Instructions
This pattern is knitted flat in pieces and then seamed together. Follow each step carefully for a flawless finish.
Body (Make 2 Identical Pieces)
The body forms the long, cylindrical tube of your draft stopper. You will knit two identical panels and seam them together.
- Cast on: With MC, cast on 40 stitches.
- Row 1 (Right Side - RS): *K4, P4; repeat from * across the row (ending with K4). This creates a ribbed texture.
- Row 2 (Wrong Side - WS): *P4, K4; repeat from * across the row (ending with P4).
- Repeat: Continue repeating Rows 1 and 2 until the piece measures 30 inches from the cast-on edge.
- Bind off: Bind off all stitches in pattern (knit the knits and purl the purls).
Optional Cable Panel (Adds Texture)
For the signature cable-knit texture, you'll add a simple cable in the center of each body piece. This is easier than it looks!
- While working the body pattern, identify the center 6 stitches of your row.
- Instead of working these 6 stitches in the rib pattern, you will work them as a cable.
- On the 8th row (and every 8th row thereafter), work a C6F (Cable 6 Front): Slip the next 3 stitches onto a cable needle and hold it at the front of your work. Knit the next 3 stitches from your left needle, then knit the 3 stitches from the cable needle.
- Work the rest of the row in the established rib pattern. This will create a beautiful twisted cable running down the center of the body.
Head (Make 1)
The head is shaped with simple decreases to create a rounded, cat-like face.
- Cast on: With MC, cast on 20 stitches.
- Work: Work in stockinette stitch (knit on RS, purl on WS) for 4 inches.
- Shape Nose (Decrease Row - RS): K2tog (knit two together), knit to the last 2 stitches, K2tog. (18 stitches remain)
- Next Row (WS): Purl all stitches.
- Repeat: Repeat the decrease row every other row (on RS rows) until 8 stitches remain.
- Bind off: Bind off all remaining stitches.
Ears (Make 2)
These small triangular ears are quick to knit and add the final cat-like touch.
- Cast on: With MC, cast on 6 stitches.
- Work: Work in stockinette stitch for 2 inches.
- Decrease Row (RS): K2tog, K2, K2tog. (4 stitches remain)
- Next Row (WS): Purl all stitches.
- Bind off: Bind off all stitches.
Tail (Make 1)
The tail is long and tapered, curling around the end of the body.
- Cast on: With MC, cast on 10 stitches.
- Work: Work in stockinette stitch for 12 inches, while decreasing 1 stitch at each end every 4 inches to create a taper. (You will have 4 stitches remaining at the end).
- Bind off: Bind off all stitches.
Assembly and Finishing
Now for the fun part—bringing your cat to life!
- Seam the Body: Place the two body pieces together with right sides facing. Sew along three sides, leaving one short end open. Turn the tube right side out.
- Stuff the Body: Firmly stuff the body with polyester fiberfill, or slide in a long cylindrical pillow insert. Ensure it's evenly filled for a plump, cozy look.
- Close the Body: Sew the open end closed with a neat whipstitch.
- Attach the Head: Position the head at one end of the body, with the decreased (nose) end pointing outward. Sew it securely to the body, angling it slightly so the cat looks like it's lounging.
- Attach the Ears: Sew the ears to the top of the head, spacing them evenly apart.
- Attach the Tail: Sew the tail to the opposite end of the body, curling it slightly for a playful look.
- Embroider the Face: Using the CC yarn and a tapestry needle, embroider simple eyes and whiskers. Use French knots for the eyes and straight stitches for the whiskers, or use duplicate stitch for a flatter look.
- Weave in Ends: Carefully weave in all loose yarn ends to give your draft stopper a professional finish. Block lightly if desired to even out the stitches.
Place your new Purrfect Draft Stopper in front of a door, and enjoy the warmth and charm it brings to your home. Happy knitting!