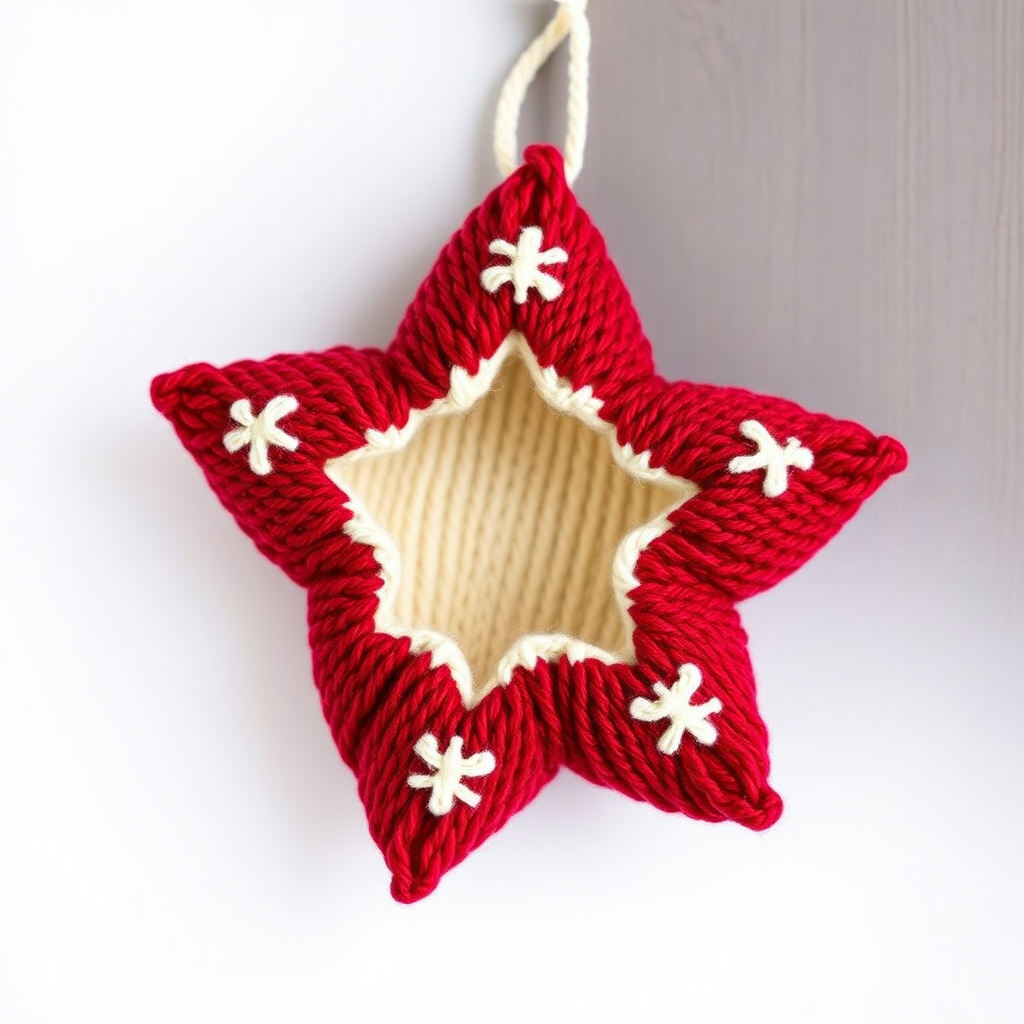
Frosted Pinecone Ornament Free Knitting Pattern – Woodland Charm

Frosted Pinecone Ornament Free Knitting Pattern – Woodland Charm
Bring the serene beauty of a winter forest into your home with this charming knitted pinecone ornament. This quick and satisfying project uses warm earthy brown tones that transition into a soft, snowy cream tip, perfectly mimicking a frost-dusted pinecone. Whether you're decorating your own holiday tree, adding a rustic touch to a cozy corner, or looking for a heartfelt handmade gift, this pattern is a delightful addition to your holiday crafting repertoire. The subtle scale-like texture, created through strategic increases and decreases, gives the ornament a natural, organic look that is both rustic and elegant.
Materials Needed
Before you begin, gather the following materials to ensure a smooth and enjoyable knitting experience. This project is perfect for using up small amounts of worsted weight yarn from your stash.
- Yarn: Worsted weight yarn in three colors:
- Yarn A (Brown): For the main pinecone body
- Yarn B (Cream): For the snowy tip
- Yarn C (Green): For the hanging loop
- Needles: US 5 (3.75 mm) double-pointed needles (DPNs) or a circular needle long enough for the magic loop method.
- Notions: Stitch marker, tapestry needle for weaving in ends, and a small amount of fiberfill or polyester stuffing.
- Optional: A small bead or wooden star for extra embellishment at the top.
Gauge: 22 stitches and 30 rows = 4 inches in stockinette stitch. While gauge is not critical for an ornament, matching it will ensure your pinecone is the intended size.
Step-by-Step Instructions
This pinecone is knitted from the top down in the round. You will use increases to create the wide, scale-like texture, then switch to decreases to close the bottom. The finished piece is lightly stuffed and topped with a knitted loop. Follow these detailed instructions carefully, and you'll have a beautiful ornament in no time.
Abbreviations
- CO: Cast on
- K: Knit
- P: Purl
- KFB: Knit into the front and back of the stitch (this increases the stitch count by 1)
- K2tog: Knit two stitches together (this decreases the stitch count by 1)
- St(s): Stitch(es)
- Rnd(s): Round(s)
- Rep: Repeat
Pinecone Body (Make 1)
Starting at the Top:
With Yarn A (brown), CO 6 stitches. Distribute these stitches evenly onto 3 double-pointed needles (2 stitches on each needle). Join in the round, being very careful not to twist your stitches. Place a stitch marker to indicate the beginning of the round.
Increasing for the Base:
Rnd 1: KFB in each stitch around. (12 stitches)
Rnd 2: *K1, KFB*; rep from * to * around. (18 stitches)
Rnd 3: *K2, KFB*; rep from * to * around. (24 stitches)
Rnd 4: *K3, KFB*; rep from * to * around. (30 stitches)
Rnd 5: *K4, KFB*; rep from * to * around. (36 stitches)
Rnd 6: *K5, KFB*; rep from * to * around. (42 stitches)
Rnd 7: *K6, KFB*; rep from * to * around. (48 stitches)
Knitting the Body:
Rnd 8-12: Knit all stitches. (48 stitches)
Creating the Scale Texture:
Rnd 13: *K7, KFB*; rep from * to * around. (54 stitches)
Rnd 14: *K8, KFB*; rep from * to * around. (60 stitches)
Rnd 15: *K9, KFB*; rep from * to * around. (66 stitches)
Rnd 16-20: Knit all stitches. (66 stitches)
Adding the Snowy Tip:
Switch to Yarn B (cream).
Rnd 21: *K10, KFB*; rep from * to * around. (72 stitches)
Rnd 22-24: Knit all stitches. (72 stitches)
Shaping the Bottom (Decreasing):
Rnd 25: *K10, K2tog*; rep from * to * around. (66 stitches)
Rnd 26: *K9, K2tog*; rep from * to * around. (60 stitches)
Rnd 27: *K8, K2tog*; rep from * to * around. (54 stitches)
Rnd 28: *K7, K2tog*; rep from * to * around. (48 stitches)
Rnd 29: *K6, K2tog*; rep from * to * around. (42 stitches)
Rnd 30: *K5, K2tog*; rep from * to * around. (36 stitches)
Rnd 31: *K4, K2tog*; rep from * to * around. (30 stitches)
Rnd 32: *K3, K2tog*; rep from * to * around. (24 stitches)
Rnd 33: *K2, K2tog*; rep from * to * around. (18 stitches)
Rnd 34: *K1, K2tog*; rep from * to * around. (12 stitches)
Rnd 35: *K2tog*; rep from * to * around. (6 stitches)
Closing the Bottom:
Cut the yarn, leaving a long tail (about 8 inches). Thread the tail onto a tapestry needle. Slide the needle through the remaining 6 stitches, removing them from the knitting needle. Pull the yarn tight to gather the stitches and close the hole. Secure the yarn with a knot.
Stuffing:
Before you pull the yarn completely tight to close the bottom, insert a small amount of fiberfill into the pinecone. Use the blunt end of a pencil or a chopstick to push the stuffing gently into the tip. The pinecone should be lightly stuffed—firm enough to hold its shape, but still soft and squishy. Once you are happy with the stuffing, pull the yarn tight and secure it.
Hanging Loop
Knitting the Loop:
With Yarn C (green), CO 12 stitches.
Knit in stockinette stitch (knit one row, purl one row) back and forth for 4 rows. Bind off all stitches.
Attaching the Loop:
Fold the knitted strip in half so the ends meet. Use the tapestry needle and the yarn tail from the loop to sew the two ends together, forming a circle. Attach this loop to the very top of the pinecone (the cast-on edge where you started) with a few firm stitches, ensuring it is securely fastened.
Finishing Touches
Weave in all loose ends using your tapestry needle, hiding them inside the pinecone body. Give your ornament a gentle squeeze to shape it. For an extra touch of charm, you can sew a small wooden star or a single wooden bead to the top of the pinecone, right where the loop is attached.
Your Frosted Pinecone Ornament is now complete! Hang it on your tree, tie it to a gift, or display it in a bowl for a touch of woodland charm. This pattern is so quick and enjoyable, you'll likely want to make a whole forest of them.