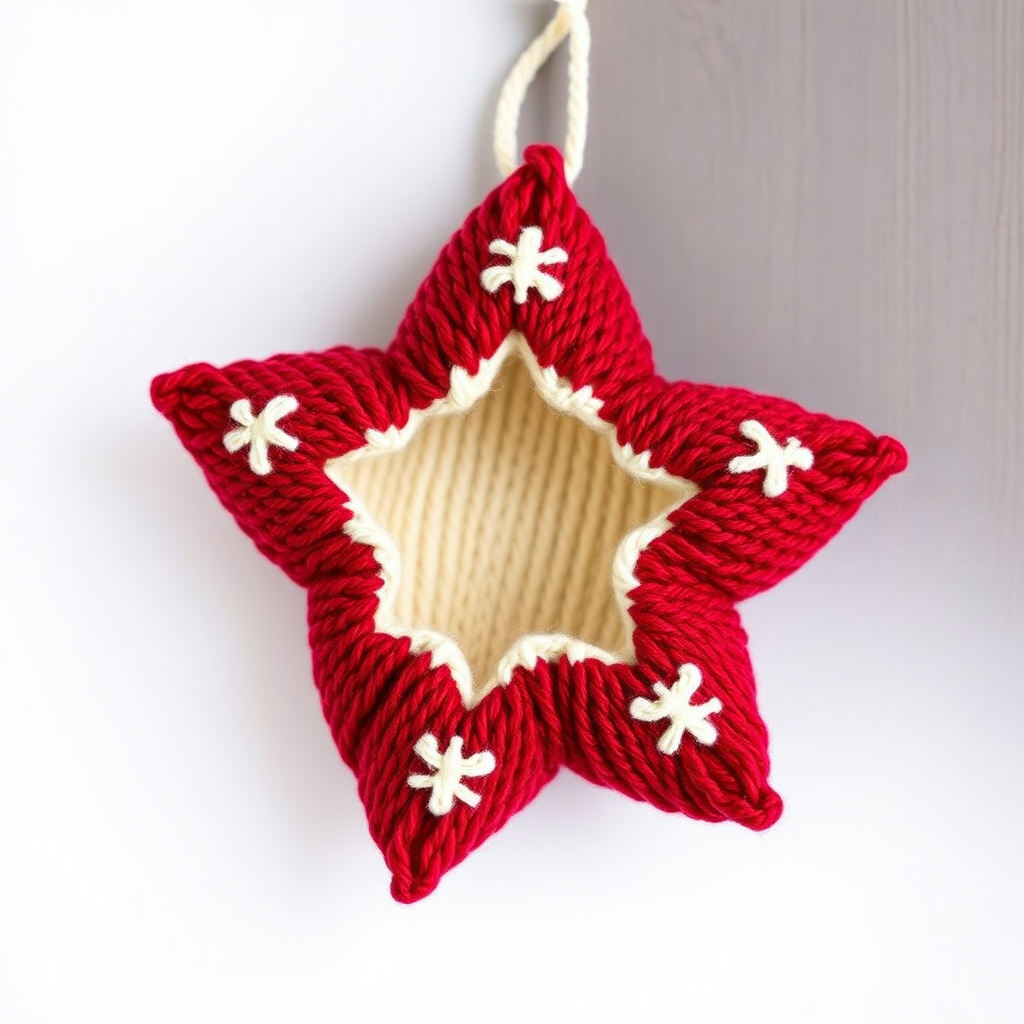
Frosted Evergreen Gift Card Cozy Free Pattern – Knitted Santa's Sack Ornament

Knitted Santa's Sack Gift Card Cozy: A Free Holiday Ornament Pattern
Looking for a quick, heartfelt handmade gift that combines practicality with festive charm? This knitted Santa's Sack Gift Card Cozy is the perfect solution. Not only does it transform a simple gift card into a delightful present, but it also doubles as a beautiful Christmas tree ornament that can be treasured for years to come. With its rich red body, snowy cream cuff, and jingle bell accent, this pattern is a joy to make and even more joyful to give. Best of all, it's beginner-friendly and works up in just a few hours.
This pattern creates a small, drawstring sack that holds a standard gift card and hangs as an ornament. The design is worked flat in simple stockinette stitch, making it an ideal project for knitters who are comfortable with basic knit and purl stitches and ready to try their hand at a few simple decreases.
Materials Needed
Before you begin, gather the following supplies. This project uses small amounts of yarn, making it a great stash-buster or a chance to use up those leftover skeins from larger projects.
- Yarn: Worsted weight yarn in three colors:
- Main Color (MC) - Red: Approximately 50g (about 100 yards)
- Contrast Color (CC) - Cream: Approximately 20g (about 40 yards)
- Accent Color (AC) - Green: Approximately 10g (about 20 yards)
- Needles: US 6 (4.0 mm) knitting needles
- Notions: Tapestry needle for seaming and weaving in ends
- Optional Embellishments: One small jingle bell (gold or silver)
- Gauge: 20 stitches and 26 rows = 4 inches in stockinette stitch (knit one row, purl one row). Gauge is important for achieving the correct size, so be sure to check your tension.
Step-by-Step Instructions
Follow these detailed instructions carefully, and you'll have a beautiful Santa's sack in no time. The pattern is broken down into manageable sections: the sack body, the cuff, the drawstring, and finishing touches.
Sack Body (Worked Flat, Then Seamed)
The main body of the sack is knitted flat in a rectangle, then gathered at the bottom and seamed up the side. This creates the classic plump sack shape.
- Cast On: With your Main Color (red) yarn, cast on 24 stitches.
- Row 1 (Right Side): Knit all stitches.
- Row 2 (Wrong Side): Purl all stitches.
- Repeat: Continue repeating Rows 1 and 2 (stockinette stitch) until the piece measures 4 inches from the cast-on edge. It's important to end with a Wrong Side row (a purl row) so that your next row is a Right Side row.
- Decrease for Bottom: Now you will shape the gathered bottom of the sack.
- Row 1 (RS): Knit 2 stitches together (K2tog) across the row. You will have 12 stitches remaining.
- Row 2 (WS): Purl all stitches.
- Row 3 (RS): Knit 2 stitches together (K2tog) across the row. You will have 6 stitches remaining.
- Gather Bottom: Cut the yarn, leaving a long tail (about 12 inches). Thread this tail onto your tapestry needle. Slide the needle through all 6 remaining stitches on your knitting needle, then remove the knitting needle. Pull the yarn tail tight to gather the stitches together into a cinched point. Secure it with a few small stitches to prevent it from coming undone. This forms the bottom of the sack.
Seaming the Sack
Now it's time to turn your flat piece into a three-dimensional sack.
- Fold the knitted piece in half with the Right Sides (the smooth "V" stitch side) facing each other. The gathered bottom should be at one end, and the cast-on edge at the other.
- Using your tapestry needle and the yarn tail from the cast-on edge (or a new piece of red yarn), sew the side seam together. Use a mattress stitch or a simple whip stitch, working from the gathered bottom up to the top edge. Leave the top edge completely open.
- Once the seam is secure, weave in the yarn end. Turn the sack right side out. You should now have a small, open-topped pouch.
The Cream Cuff (Knitted Separately, Then Attached)
The cuff is knitted as a separate flat piece, seamed into a ring, and then sewn onto the top of the sack. The eyelet row creates the holes for your drawstring.
- Cast On: With your Contrast Color (cream) yarn, cast on 24 stitches.
- Rows 1-6: Work in stockinette stitch (knit the Right Side rows, purl the Wrong Side rows) for 6 rows, ending with a Wrong Side row. This creates the lower half of the cuff.
- Eyelet Row (RS): This row creates the holes for the drawstring. Knit 1, *yarn over (yo), knit 2 together (k2tog); repeat from * to the last stitch, knit 1. The yarn overs create small holes, and the k2tog keeps the stitch count the same.
- Rows 8-13: Work 6 more rows in stockinette stitch, starting with a purl row (WS). This creates the upper half of the cuff.
- Bind Off: Bind off all stitches loosely. A loose bind-off is crucial so the cuff can easily fit over the top of the sack.
- Seam the Cuff: Fold the cuff piece so the Right Sides are together and the short ends meet. Sew the short ends together using your tapestry needle and the yarn tail to form a ring. Weave in the ends.
Attaching the Cuff
- Slip the cream cuff ring over the top of the red sack. Align the cast-on edge of the cuff with the top edge of the sack.
- Using your tapestry needle and a length of cream yarn, sew the cuff to the sack using a neat whip stitch. Work your way around the entire circumference of the sack, attaching the cuff securely. Ensure the eyelet row is facing upward and is left exposed so you can thread the drawstring through it later.
Creating the Drawstring
The green drawstring is simple to make and adds a lovely pop of color.
- With your Accent Color (green) yarn, create a twisted cord or crochet a chain that is approximately 14 inches long. A twisted cord is made by twisting two strands of yarn together until they kink up on themselves. A crochet chain is simply a series of chain stitches. Either method works perfectly.
- Thread the drawstring through the eyelet holes. Start at the front of the cuff, push the drawstring through one hole, and work it all the way around the inside of the cuff until it comes out the hole next to where you started. Both ends of the drawstring should now be at the front of the sack.
- Pull the ends to close the sack, and tie them into a small, neat bow.
Finishing Touches
These final details transform your cozy from a simple pouch into a charming ornament.
- Weave in Ends: Carefully weave in all remaining loose yarn ends on the inside of the sack and cuff using your tapestry needle.
- Add Jingle Bell (Optional): For a festive touch, sew a small jingle bell to the ends of the drawstring or to the gathered point at the bottom of the sack. Use a doubled length of matching thread or green yarn to secure it firmly.
- Create a Hanging Loop: With your Contrast Color (cream) yarn, crochet a simple chain of 10 stitches. Attach the ends of this chain to the top of the cuff, opposite the drawstring bow, to create a loop for hanging the ornament on your tree. Secure the ends with a few stitches.
Inserting the Gift Card
Your Santa's sack is now complete and ready for its special cargo.
- Slide a standard gift card (3.5 x 2 inches) into the sack. The sack is perfectly sized to hold it snugly.
- Pull the drawstring tight to close the sack over the card, and tie the bow.
- Hang it on the tree or present it as a unique, handmade gift.
This pattern is a wonderful way to add a personal, handcrafted touch to your holiday giving. The combination of the soft, cozy knit and the cheerful jingle bell makes it a gift that will be remembered long after the card is spent. Happy knitting, and have a wonderful holiday season!