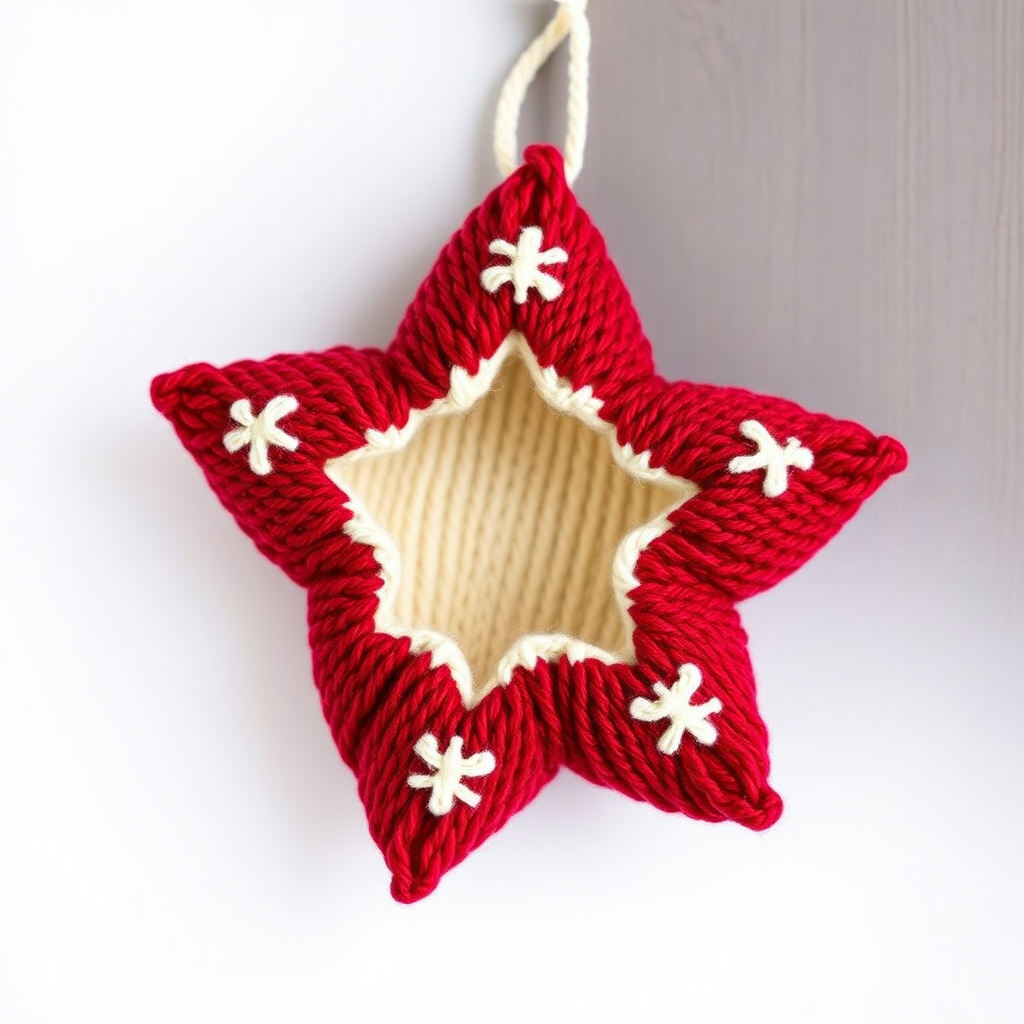
Frosted Pinecone Gnome Ornament Free Knitting Pattern – Cozy Nordic Holiday Decor

Frosted Pinecone Gnome Ornament Free Knitting Pattern – Cozy Nordic Holiday Decor
Bring a touch of Scandinavian hygge to your tree with this adorable knitted gnome ornament, complete with a fluffy beard and a textured pinecone-inspired body. It's a quick, satisfying project that adds handmade charm to any holiday setting. Whether you're a seasoned knitter or just starting out, this little gnome is the perfect weekend project to get you in the festive spirit.
This pattern creates a soft, cozy ornament about 3 inches tall, perfect for hanging on a Christmas tree, adorning a gift, or adding to a wreath. The combination of warm brown, cream, and bright red yarns evokes a classic Nordic aesthetic that will look beautiful against the glow of fairy lights.
Materials Needed
Before you begin, gather the following supplies. This project uses small amounts of yarn, making it perfect for using up scraps from your stash.
- Yarn: Worsted weight yarn in three colors:
- Red (for the hat) – approximately 15 yards
- Cream (for the beard) – approximately 10 yards
- Brown (for the pinecone body) – approximately 20 yards
- Needles: US 5 (3.75 mm) double-pointed needles (or a circular needle for the magic loop method)
- Notions:
- Stitch marker
- Tapestry needle for weaving in ends
- Scissors
- Fiberfill stuffing (optional, for a plumper body)
- Small wooden bead (optional, for hat tip decoration)
Gauge: 22 stitches and 30 rows = 4 inches in stockinette stitch. Gauge is not critical for this project, but matching it will ensure your ornament is the intended size.
Step-by-Step Instructions
This ornament is knitted in the round from the top down. It features a textured pinecone body, a cream beard, and a red hat with a hanging loop. Follow along carefully, and you'll have a charming gnome in no time.
Abbreviations
- CO: cast on
- K: knit
- P: purl
- K2tog: knit two together (decrease)
- Kfb: knit front and back (increase)
- St(s): stitch(es)
- Rnd(s): round(s)
- BO: bind off
- RS: right side
Body (Pinecone Texture)
The body is worked from the top down, starting with a small cast-on and increasing to create a rounded shape. The subtle texture comes from the increase and decrease rounds.
- With brown yarn, CO 6 sts. Distribute onto 3 DPNs (2 sts each). Join in the round, being careful not to twist. Place a stitch marker to mark the beginning of the round.
- Rnd 1: Kfb in each st (12 sts).
- Rnd 2: *K1, Kfb* repeat around (18 sts).
- Rnd 3: *K2, Kfb* repeat around (24 sts).
- Rnd 4: *K3, Kfb* repeat around (30 sts).
- Rnds 5-8: Knit all sts. (4 rounds of plain knitting to create the body height)
- Rnd 9: *K3, K2tog* repeat around (24 sts).
- Rnd 10: *K2, K2tog* repeat around (18 sts).
- Rnd 11: *K1, K2tog* repeat around (12 sts).
- Rnd 12: K2tog around (6 sts). Cut yarn, leaving a 6-inch tail. Thread the tail through a tapestry needle, slide it through the remaining 6 sts, and pull tight to close the bottom. Weave in the end securely.
Tip: If you want a plumper gnome, stuff the body lightly with fiberfill before closing the bottom. Insert the stuffing after Rnd 11, before the final decrease round.
Beard
The beard is knitted flat in garter stitch (knit every row) to create a dense, fluffy texture. It's shaped like a triangle, with the point facing down when attached.
- With cream yarn, CO 12 sts.
- Row 1 (RS): Knit all sts.
- Row 2: Knit all sts.
- Row 3: Knit all sts.
- Row 4: Knit all sts.
- Row 5: Knit all sts.
- Row 6: Knit all sts. (6 rows of garter stitch completed)
- Row 7 (RS): K2tog, K8, K2tog (10 sts).
- Row 8: Knit all sts.
- Row 9: K2tog, K6, K2tog (8 sts).
- Row 10: Knit all sts.
- Row 11: K2tog, K4, K2tog (6 sts).
- Row 12: Knit all sts.
- Row 13: BO all sts. This creates a triangular beard shape.
Attaching the Beard: Using a tapestry needle and the yarn tail from the beard, sew the beard onto the front of the body. Position it so the wide top edge sits just below the top of the body, and the point faces downward. Sew along the top edge and a few stitches down the sides to secure it firmly.
Hat
The hat is knitted in the round, starting at the brim and working up to a long, pointy tip that will fold over charmingly.
- With red yarn, CO 18 sts. Distribute onto 3 DPNs (6 sts each). Join in the round, being careful not to twist. Place a marker.
- Rnds 1-8: Knit all sts. (8 rounds of plain knitting for the hat band)
- Rnd 9: *K1, K2tog* repeat around (12 sts).
- Rnds 10-12: Knit all sts.
- Rnd 13: K2tog around (6 sts).
- Rnds 14-16: Knit all sts.
- Rnd 17: K2tog around (3 sts).
- Cut yarn, leaving a 6-inch tail. Thread through the remaining 3 sts and pull tight. This creates a long, pointy hat that folds over.
Finishing
Now it's time to assemble your gnome and add the final touches.
- Attach the Hat: Using a tapestry needle and the red yarn tail, sew the hat onto the top of the body. Position it so it covers the top edge of the beard. Sew securely around the brim of the hat.
- Fold the Hat: Gently fold the tip of the hat to one side, creating a jaunty angle. Secure the fold with a small stitch through the hat and the body to hold it in place.
- Create a Hanging Loop: Cut a 6-inch piece of red yarn. Fold it in half to form a loop. Using a tapestry needle, sew the two loose ends to the very top of the hat, just at the point. Make a knot to secure the loop, ensuring it's strong enough to hold the ornament's weight.
- Weave in All Ends: Use a tapestry needle to weave in any remaining yarn tails on the inside of the body and hat. Trim any excess yarn.
- Optional Decoration: For extra charm, sew a small wooden bead to the tip of the folded hat. This adds a lovely finishing touch and a bit of weight to help the hat fold nicely.
Your Frosted Pinecone Gnome Ornament is complete! Make a few in different color combinations to create a whole family of gnomes for your tree. They also make wonderful handmade gifts for friends, family, and coworkers. Happy knitting, and enjoy your cozy Nordic holiday decor!